
Junie Playbook
Exploring Junie with
Exploring Junie with You JetBrains IDE
Welcome to Junie, the coding agent by JetBrains!
We're here to help you hand off your tasks and let Junie handle routine or more complex tasks for you—check out this guide to get started.
This playbook includes examples from different technologies for new Junie users so that you can explore it in action for your JetBrains IDE.
As of September 2025, Junie is supported in:
- IntelliJ IDEA
- PyCharm
- WebStorm
- GoLand
- PhpStorm
- RubyMine
- RustRover
- Rider
Please note that since Junie is powered by AI, the results of the examples are not deterministic. This is where you can use follow-up prompts to further refine the results.
Install Junie
- Install JetBrains Junie from the Marketplace in the Plugin tab, and restart the IDE if required.
- Open the plugin from the right sidebar.

Junie Guidelines
You can use the .junie/guidelines.md file in the root directory to personalize Junie and make it truly effective for your team.
You can ask Junie to create it by entering a prompt such as:
The .junie/guidelines.md file can contain instructions in any format. For example:
Specify that tests should always be added to a specific folder or use a particular framework.Inform Junie about existing guidelines in your repository (e.g., by pointing to the correct file path), and it will read and apply them.
If you notice Junie doing something suboptimal, add a hint or clarification in the guidelines file. These instructions will be added to Junie’s context, helping it make better decisions and work more effectively within your project.
If the .junie/guidelines.md file already exists in your project (e.g., created by teammates), Junie will automatically use it.
Analyze the project structure and tech stack, and create a .junie/guidelines.md file with concise, well-structured information to help new developers. Include guidance on organizing the structure, running tests, executing scripts, and following best practices. Keep the content short, clear, and practical. By consolidating your project's coding standards in the .junie/guidelines.md file, you enable Junie to consistently apply them without needing to include the same instructions in every prompt.
This will trigger Junie to explore the project for a bit, executing commands like 'ls' and then it will generate this file. You as the smart developer should review the results carefully. Good instructions make Junie more effective, while unclear or incomplete guidelines can lead to low-quality outcomes. Alternatively, you can create this file manually from scratch and copy any existing guides you have into it. JetBrains has a GitHub repository of Junie guidelines for different technologies, which you can use as a starting point.
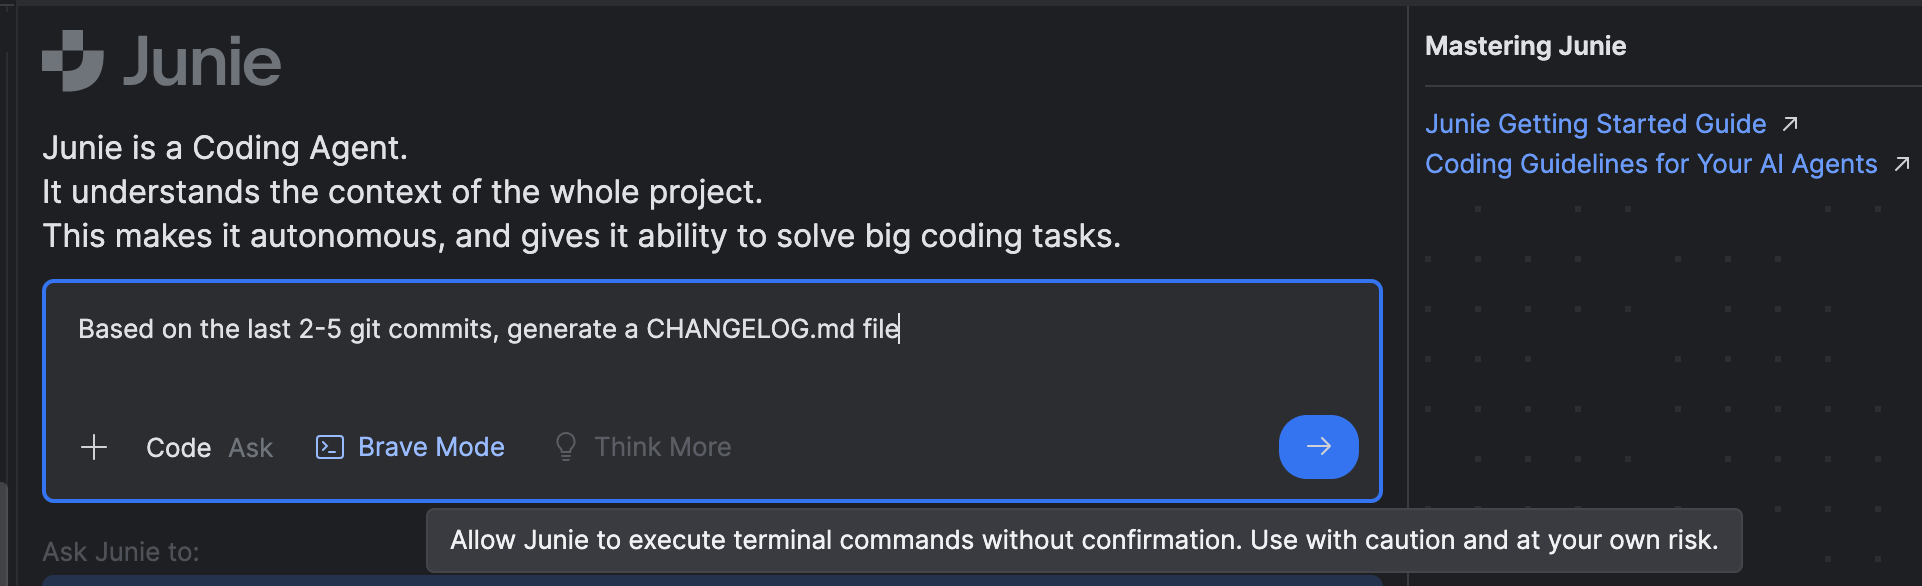
Brave Mode versus Playing Safe
Junie is an agent that can run code, execute terminal commands, and work with the file system. This means Junie could, in theory, install something you don’t want, delete files or execute unexpected code on your system.
With that in mind, don't use risky prompts such as do something with my personal important files in this directory which I have in one copy and no backups. Likewise do pay attention to what Junie does during and after it has finished.
Junie has a setting called Brave mode which when selected means that Junie can execute terminal commands without your explicit approval. By default, approval is required, and it’s safer to keep this enabled.
Technology-agnostic prompts to try
To start with, here are some fun Junie prompts for you to try in your project:
Write/update a README.md about the project
——————
Analyze the repository, read important files and build an architectural dependency map between the modules, generate an ASCII diagram, and add it to the README.md.
——————
Analyze the last 10 commits, read relevant files and understand how it impacted user scenarios, generate very short and concise summary and an ASCII diagram (make it interesting, engaging, using emoji and art), and create a file changelog.txt
——————
Provide a code coverage report in a text file. If coverage is less than 80%, add tests to achieve the coverage goal.
Technology-specific examples to try
Once you've got a feel for Junie, try some of these technology-specific prompts.
Java
In a new Spring Boot project, try this prompt:
Create a JPA entity called Bookmark and a corresponding Spring Data Repository_
Tip: As we mentioned, for security reasons, the default is to approve any terminal action for Junie explicitly. However, there are many terminal actions in this example, so you can choose to uncheck it if you want to.
Junie will add the necessary dependencies (spring-boot-starter-data-jpa, H2 in-memory database driver) in the pom.xml, create a Bookmark JPA entity and Spring Data JPA Repository BookmarkRepository. Review the generated code, and if it looks good to you, click Done.
Next, you can implement basic CRUD (Create, Read, Update, Delete) functionalities for bookmarks with Thymeleaf view templates.
Try this prompt: Implement CRUD operations for Bookmarks with Thymeleaf and Bootstrap CSS
Once Junie is done, you can start the application and access the URL.
You should be able to view, add, edit and delete bookmarks.
Finally, let’s ask Junie to write integration test cases for our app.
Try this prompt: Add integration tests for all controller methods.
Once Junie is Done, it will automatically run all the tests.
As we mentioned, you can define your coding conventions and best practices in a .junie/guidelines.md file located at the root of your project. Junie will automatically follow these guidelines when generating code.
Python
We have three examples for you to try for Python. Firstly a Django project, then a Fast API project and finally a Jupyter notebook project.
Example One - Quick Start Guide for Django Projects
In this example, we will create the basic structure for a Django app that allows us to register membership with Junie. We will also ask Junie to help customise the website's look and add some tests. Throughout the process, you will monitor how Junie works and help Junie fix any issues that arise.
Step one - Create an app with membership
First, create a new Django project in PyCharm. Prepare the database by running the following command in the terminal:
python manage.py migrate
After that, let’s create a superuser so we can later access the built-in Django admin:
python manage.py createsuperuser
Try this prompt: Add a membership sign up app in the Django website
Unless you selected Brave mode, each time Junie needs to run a Django management command, it will ask for permission and display a blue “Run command” icon. Click it to continue each time.
When Junie has finished, try to run the server with ⌃⇧R (macOS) / Ctrl+Shift+F10 (Windows/Linux) and open the web app in a browser window. You can then try to register a new account and login with the URL endpoint provided.
Test around and see if there are any problems. What issues did you notice? Let’s use some following-up prompts to improve our application.
Prompt suggestions:
Use POST for logout view endpoint
Create a root welcoming page
Activate basic membership for all members by default
Step two - Add payment gateway
In the next step, we will try to add a payment gateway and use the Stripe API in our application. First, log in to admin as superuser and add some new subscriptions.
Try this prompt: Add Stripe as payment gateway for subscriptions
Tip: New packages are required; you can install them by clicking the tips provided by PyCharm. You will need to rerun the local server after the new packages have been installed.
When Junie has finished, instructions on how to set up the Stripe payment gateway are written in the README.md file. If you have a Stripe account, you can follow the instructions in README.md and set up a payment gateway with test mode to see if it works.
Tip: Check if the migrations have been applied; if not, it can be done manually in the terminal using the command python manage.py makemigrations and then python manage.py migrate.
Step three - Customize looks and themes
In the next step we can try to change the colour theme with Junie’s help. Let’s ask Junie to match our app’s theme with that of the Django website.
Try this prompt: change the color theme to match <https://www.djangoproject.com/>
You can also try a follow-up prompt: Add a button to switch between dark and light theme.
You can even ask Junie to check if the web UI follows the accessibility standard.
Try this prompt: Make sure the UI follows the accessibility standard
Be creative! Feel free to play around and try asking Junie to change the look of the website with other color themes or layouts.
Step four - Adding tests
Last, we will add tests and make sure the project gets good coverage.
Try this prompt: Add appropriate tests for this project
Try this follow-up prompt: make sure test code coverage is > 80% and create a coverage report
Check the coverage report in the terminal:
coverage report
Example Two - Fast API for Machine Learning
In this example, we will use Junie to create a machine learning Fast API project where an ML model is trained to predict a review rating depending on the review text. Junie can also add tests and reports for the model evaluation and code coverage. Lastly, we will also use Junie to dockerize the application to get it ready for deployment.
Step one - Getting data ready
First, we will create a basic Fast API app with some data stored in a database. Let’s start by creating a new Fast API project.
Download an example data set from Kaggle and put the CSV in the project folder.
Try this prompt with Junie: Create a database and populate it with the data in Womens Clothing E-Commerce Reviews.csv.
Notice that not just data has been added to the database. Relevant endpoints have also been created in main.py.
Try this follow-up prompt: Create an API endpoint to receive input data to database
Whilst Junie is not-deterministic, it’s likely that there will be updates to your main.py file as a result of this command.
Step two - Build and train a model
In the next steps, we will add the machine learning function to the app and try to predict the review rating from the review text.
Try this prompt: Create a NLP model to predict ‘Rating’ from ‘Review Text’ using data from the database
Tip: Install the requirements when notified.
Try this prompt: Train and save ml model, provide model evaluation report as text file
In my run, I noticed that Junie decided to use the CSV file for model training. While that makes sense for now, it will not make sense when we have user input data, so I am going to ask Junie to fix it.
Try this follow-up prompt: Use data from the database for train_and_evaluate_model, rerun the training and model evaluation
After Junie is done, inspect the report and see if the model achieves good results.
In my run, the overall accuracy is around 60%, apparently, there is room for improvement. Feel free to ask Junie to use or incorporate other NLP models (even pre-trained models) to get better results. One such prompt could be:
Use a pre-trained sentiment analysis model from Hugging Face in conjunction with our model to improve prediction accuracy
Step three - Adding tests
Next, we will add tests and make sure the project has good coverage for the project.
Try this prompt: Add appropriate tests for this project
Tests should be added. However, we want to make sure we have good code coverage.
Try this follow-up prompt: make sure test code coverage is > 80% and create coverage report
Check the coverage report in the terminal.
Step four - Dockerize for production
Last, we will prepare a docker image for the deployment of our application.
Try this prompt: prepare the project in production in Docker containers
Instructions are also added to the README.md file after Junie has completed the task. Feel free to follow them and test it yourself.
Example Three - Jupyter notebook and data exploration
In this example, we will use Junie to create Jupyter notebooks to do data explorations. After that we will create a prediction model and results are visualized in Jupyter notebooks..
Step one - Simple data exploration
First, create a Jupyter project in PyCharm, download the Tic-Tac-Toe Game Dataset from Kaggle and add the csv file in the data folder.
Try this Prompt: Create a Jupyter notebook and perform data exploration with the data inside the csv file in the data folder
After Junie has finished, open the new Jupyter notebook that has been created. Install the requirements and run the notebook.
Notice that the generated notebook is using ‘seaborn’, a plotting style that is no longer supported (for all the supported styles, please see here). Let’s try using the ‘ggplot’ style instead.
Try this follow-up prompt: use 'ggplot' as plt style instead
Now run the notebook again and you will see all the data exploration visualizations.
Step two - Draw end game board illustration**
Next we want to draw the game board and illustrate some of the end games documented in the csv file.
Try this prompt: In tictactoe_analysis.ipynb, add images to illustrate 10 random tic-tac-toe end game board
Do you like the result? Here are some follow-up prompts that you could use to improve the visualization:
-
improve game board images by moving X and O a bit higher -
make the game board black and white for accessibility -
Step three - Create a prediction model to win the game**
Finally, we want to tell Junie to create a model which can help us to win the game.
Try this prompt: Create a model to predict the best move for player X and O based on the opponent's previous move
The prompt may take some time as Junie is hard at work building the model and running it for tests. After that you will see a Jupyter notebook, together with some other files which contain the model and the visualization of the result. Feel free to ask Junie to make any improvements.