Installation and Setup
How to install and set up PyCharm.
Let’s find and download PyCharm Professional Edition which we’ll be using in this series. PyCharm has a free 1-month trial, but feel free to follow along with your PyCharm Community Edition if you prefer.
Finding and downloading
Download PyCharm by clicking the download button.
Installing
These instructions differ depending on your operating system.
On the first launch of PyCharm Professional, you’ll be asked to log into your JetBrains account or start a free 30-day evaluation and that's it for installation!
Welcome Screen
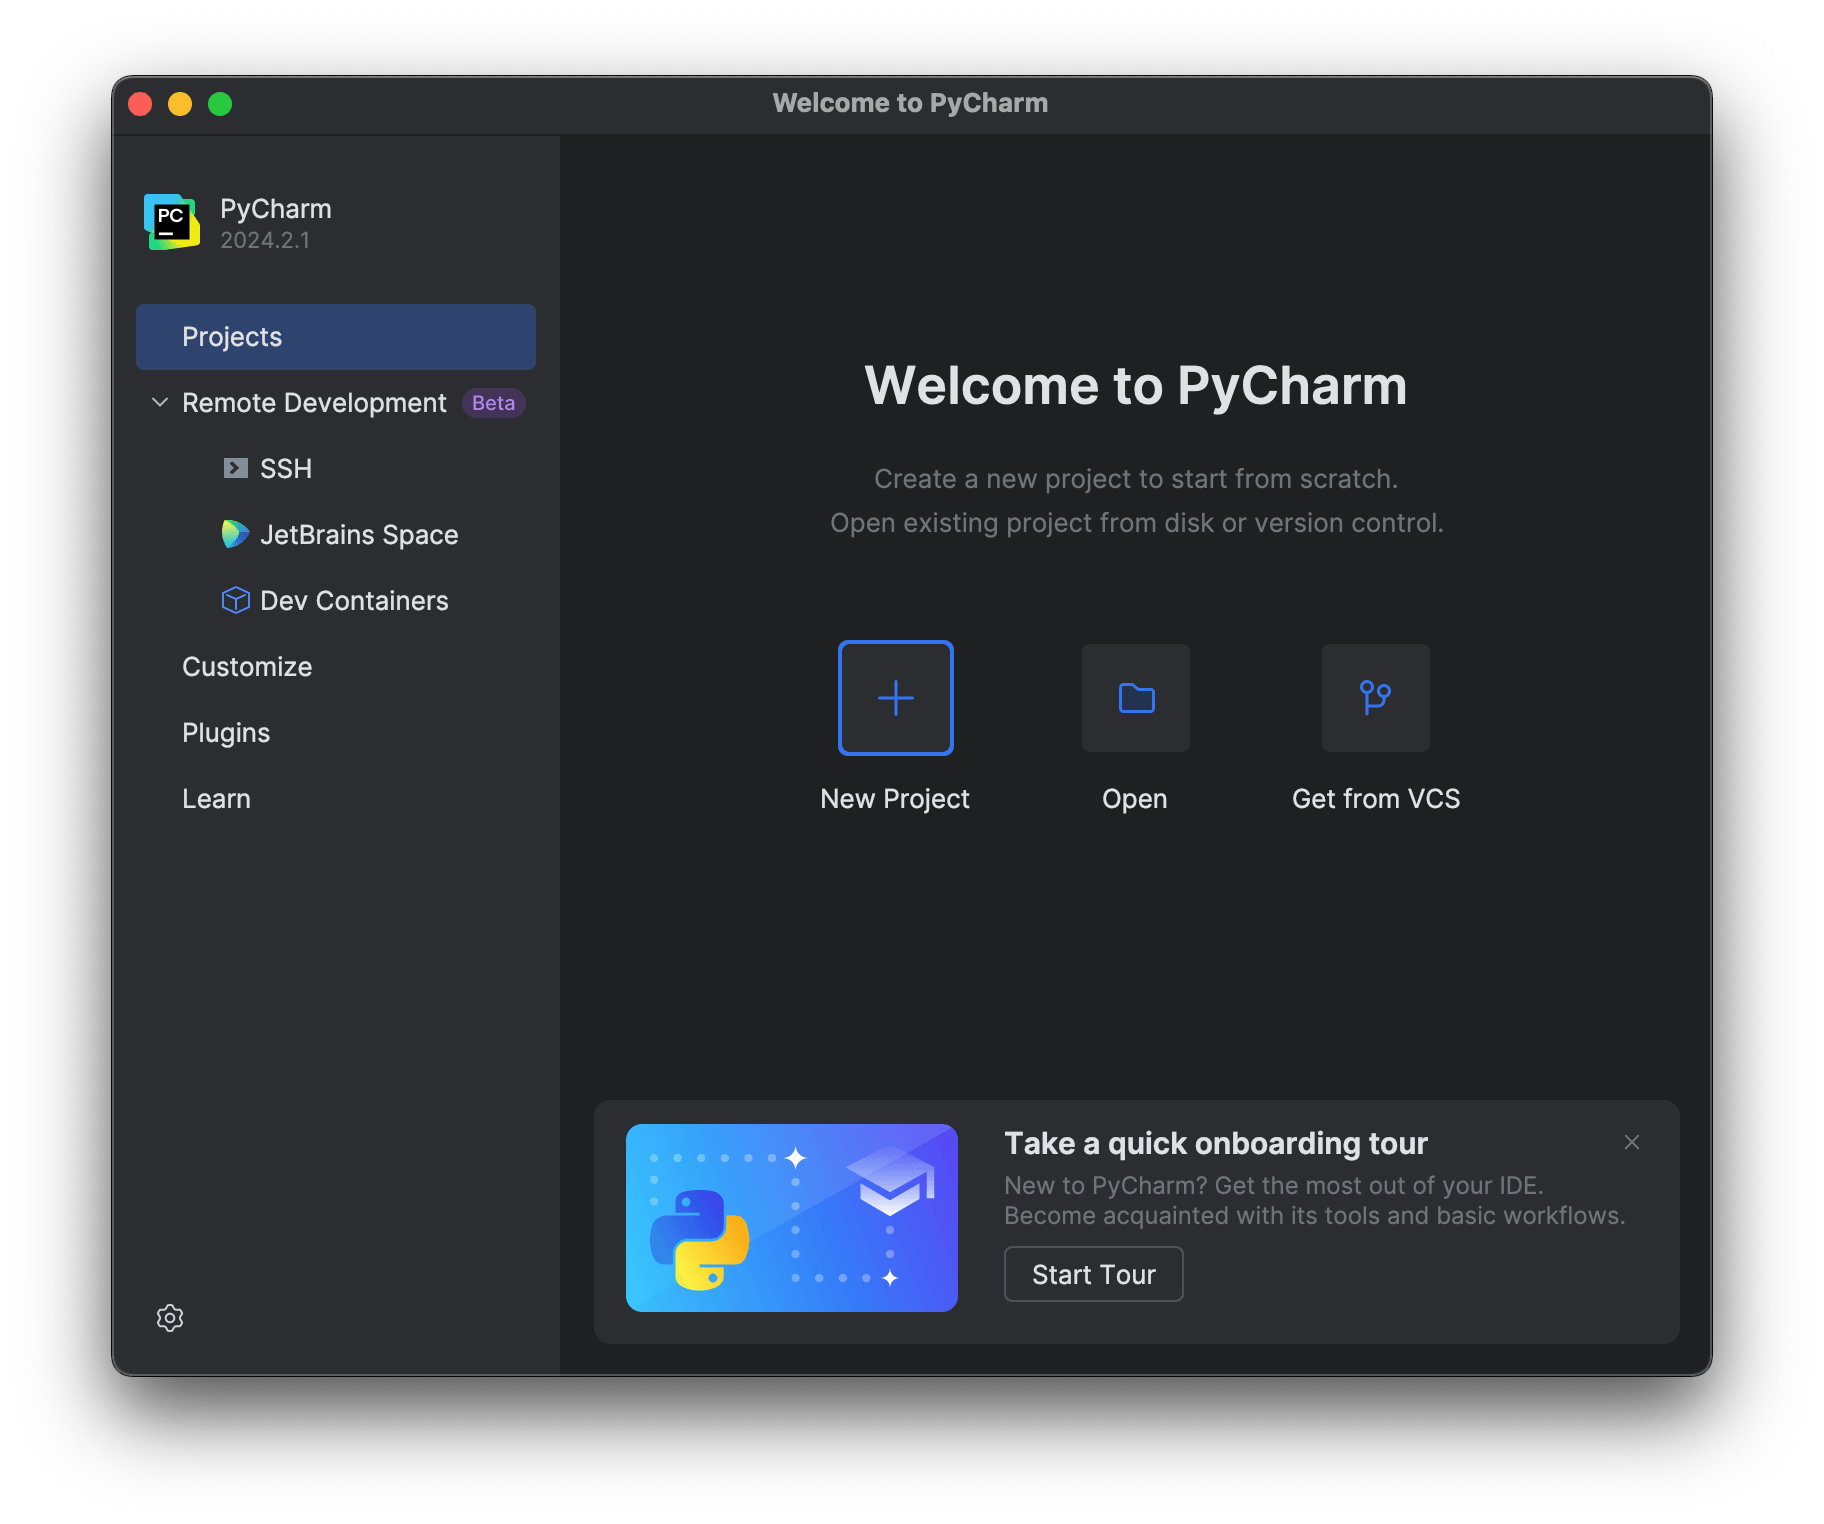
When you open PyCharm for the first time, you are presented with the Welcome Screen.

From PyCharm's Welcome Screen, there are four main sections you can explore.
On the Learn PyCharm tab you can use the links to jump to documentation pages and other resources, and you can also enroll in the interactive Feature Trainer which is designed to quickly teach you some productivity boosters in PyCharm.
The Plugins tab lets you install some additional plugins like custom themes or keymaps if you are coming from other editors/IDEs.
Installing Keymaps makes your migration from other editors easier and painless. To search, just start typing “keymaps”, for example, and PyCharm will list available keymaps for popular editors. You can find the one that suits you best and click it to install it.
The Customize section lets you tweak some of the most commonly used settings. For example, we can change our theme from Darcula to IntelliJ Light. You can also sync with the OS if you prefer. If you have installed any keymap or themes plugin you would need to switch it here as well.
Finally, on the Projects tab, you can create, open, or clone projects to start working with.
Conclusion
In this step we learned how to download and install PyCharm, and we also went through the Welcome Screen.
In the next step, we’ll see how to start our first project in PyCharm.
Video
You can also check out the video for this step from our Getting Started series on YouTube:
