Testing in Gradle
In the Gradle project, you can create and run tests the same way you do in any other project.
Aqua also lets you change the default test runner for your testing process and even configure a test runner for each test.
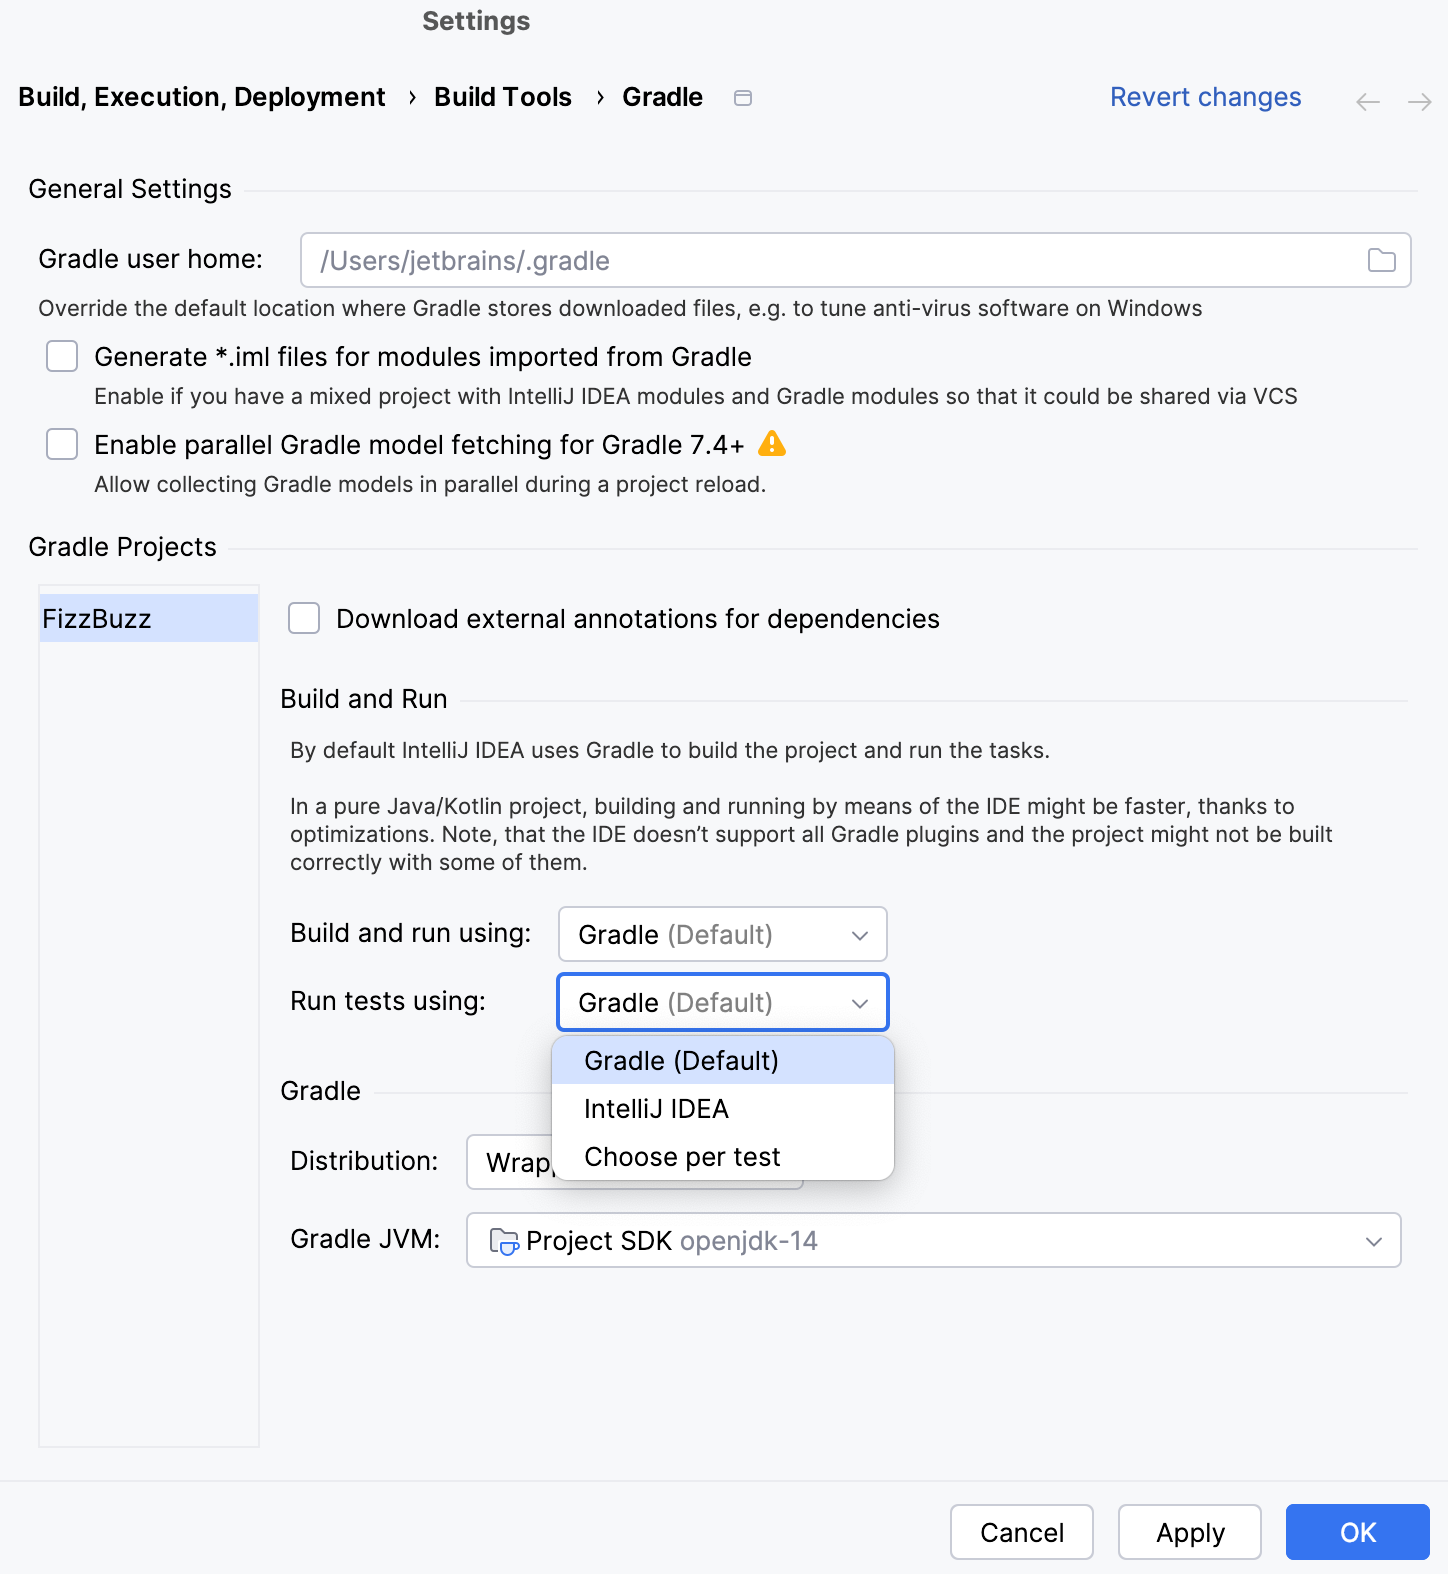
Configure a test runner
In the Gradle tool window, click
to open the Gradle settings page.
In the Run test using list, select one of the following test runner options for the selected Gradle project:
Gradle: Aqua uses Gradle as a default test runner. As an outcome, you get the same test results on the continuous integration (CI) server. Also, tests that are run in the command line will always work in the IDE.
Aqua: select this option to delegate the testing process to Aqua. In this case, Aqua uses the JUnit test runner and tests are run much faster due to the incremental compilation.
Choose per test: select this option to configure which test runner (Gradle or Aqua) to use specifically per each test.

Click OK.
Run Gradle tests
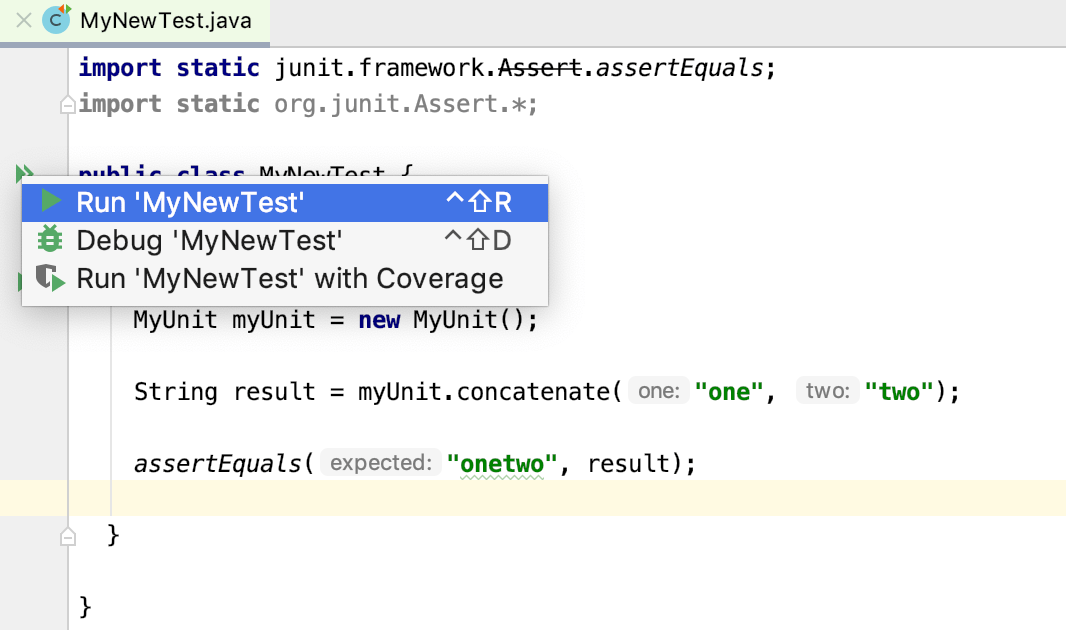
In your Gradle project, in the editor, create or select a test to run.
From the context menu, select Run <test name>.
Alternatively, click the
icon in the left gutter.

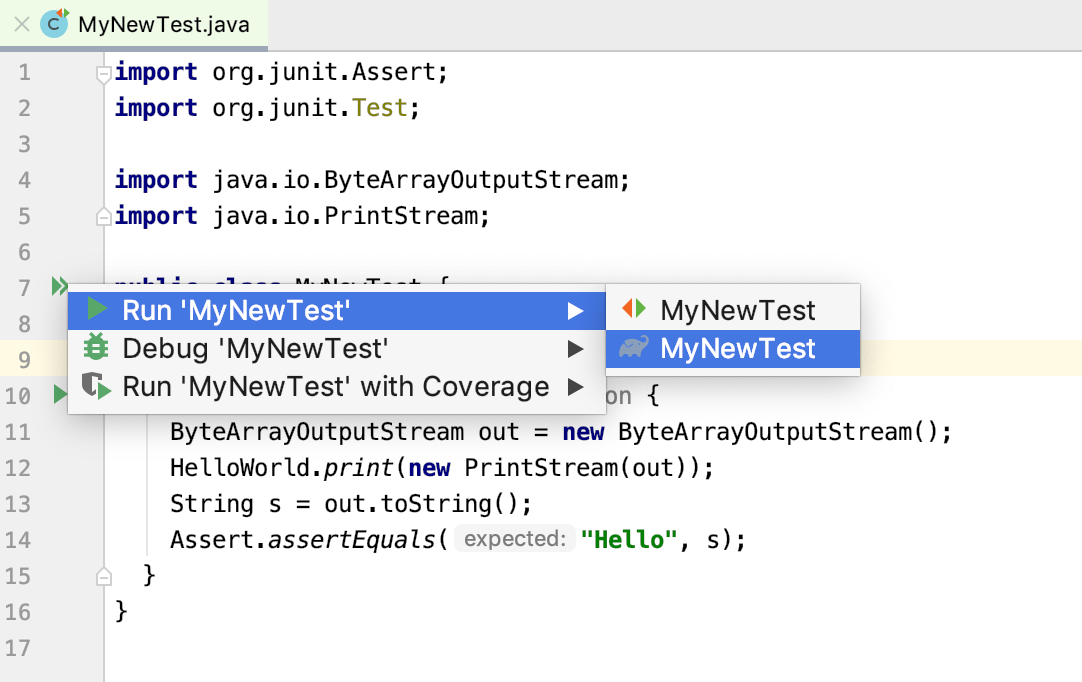
If you selected the Choose per test option, Aqua displays both Gradle and JUnit test runners for each test in the editor.

If you want to see the code coverage when you run a test, select the Run 'name()' with coverage option. It works for both Aqua and the Gradle test runners.

Aqua runs the tests with the configured test runner and displays the output in the test tab of the Run tool window.

If you ran tests with the Gradle test runner, the additional Gradle options become available in the Run tool window. You can generate the Gradle test report
and run internal Gradle test suites.
Debug Gradle tests
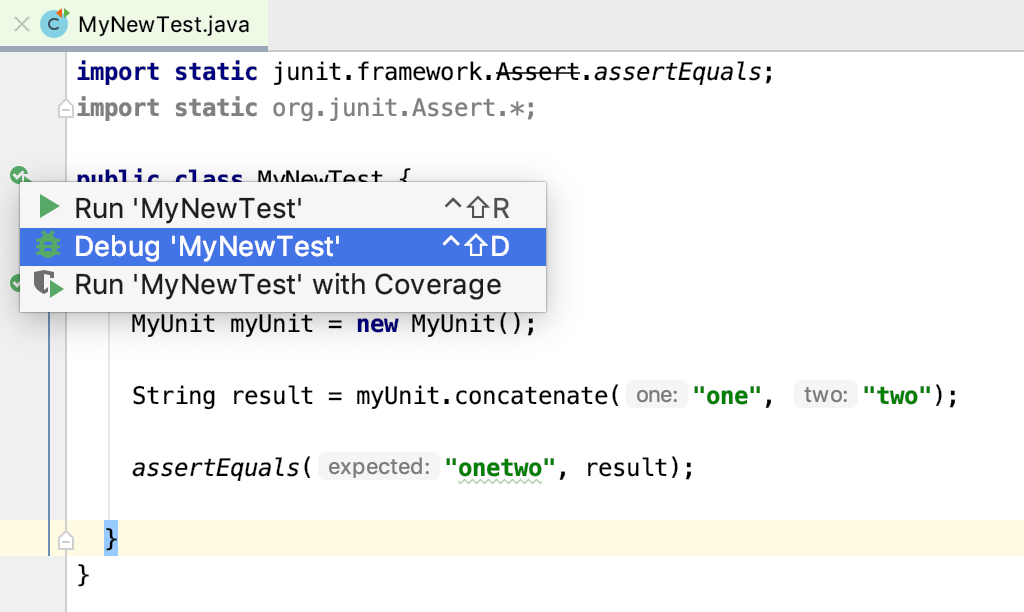
In your Gradle project, in the editor, create or select a test that you want to debug.
From the context menu, select Debug <test name>.

If the Choose per test option is selected in the Gradle settings, Aqua clears the Debug Gradle scripts option located inside the Run/debug configuration and disables the breakpoints in the Gradle scripts.

This is done to speed up your debugging process. You can manually enable or disable breakpoints in the Gradle scripts by selecting or clearing the Debug Gradle scripts option.
For more information about debugging, refer to the Gradle debugging section.
Run internal Gradle test suites
Sometimes, in the multi-module projects you might want to see information about Gradle internal tests suites. For example, when tests are run in parallel, you can make Aqua display information about the testing processes. Aqua also displays how many of those processes are working simultaneously.
In the Run tool window, click the
select Show Internal Gradle Test Suites.

Rerun the tests to see the test results that include the Gradle internal ones.