Node.js with Docker Compose
Last modified: 01 July 2022Required plugins:
JavaScript and TypeScript, JavaScript Debugger, Docker - The plugins are bundled with CLion and enabled by default.
Node.js, Node.js Remote Interpreter - Install the plugins on the Settings/Preferences | Plugins page, tab Marketplace.
See Before you start below.
Docker Compose is used to run multi-container applications. For example, you can run a web server, a backend database, and your application code as separate services. Each service can be scaled by adding more containers if necessary. This enables you to perform efficient development and testing in a dynamic environment, similar to production.
Before you start
Install the Node.js and Node.js Remote Interpreter plugins on the Settings/Preferences | Plugins page, tab Marketplace, as described in Installing plugins from JetBrains repository.
Make sure the Docker plugin is enabled in the settings. Press Ctrl+Alt+S to open the IDE settings and select Plugins. Click the Installed tab. In the search field, type Docker. For more details about plugins, see Managing plugins.
Download, install, and configure Docker Compose as described in Docker.
Configure a Node.js interpreter with Docker Compose
Node.js interpreters in Docker are configured in the Configure Node.js Remote Interpreter dialog. You can open this dialog from the Node.js page of the Settings/Preferences dialog or later, when you create or edit a Node.js run/debug configuration for running or debugging your application.
The recommended way is to configure a remote Node.js interpreter in the Settings/Preferences dialog. In this case you can set the interpreter and the associated package manager as default for your project. As a result, you can not only run and debug your app with configured Node.js interpreter in Docker but also manage your project dependencies, run tests, and lint your code. See npm, pnpm, and yarn with Docker, Test your application, and ESLint with Docker below.
A remote Node.js interpreter that you configure right in the Node.js run/debug configuration can be used only with this run/debug configuration.
Open the Settings/Preferences dialog (Ctrl+Alt+S) and go to Languages & Frameworks | Node.js.
Click
next to the Node interpreter field.
In the Node.js Interpreters dialog with a list of all the currently configured interpreters, click
on the toolbar and select Add Remote from the context menu .

In the Configure Node.js Remote Interpreter dialog that opens, select Docker Compose.
From the Server list, select the Docker configuration to use.

Alternatively, click New next to the field and configure a Docker server as described in Enable Docker support.
In the Configuration files field, specify the docker-compose configuration files to use. Press Browse and create a list of configuration files in the Docker Compose Configuration Files dialog, that opens.

From the Service list, select the service to use:

Click OK to return to the Node.js Interpreters dialog where the new interpreter is added to the list.

To set the newly configured interpreter as project default, select it in the list and click OK to return to the Node.js dialog.

CLion automatically uses this interpreter every time you select the
Projectalias from Node Interpreter lists, for example, when creating run/debug configurations.To use the package manager associated with the new interpreter for managing your project dependencies, set this package manager as default in your project. To do that, specify the location of the package manager in the Package manager field. Learn more from Specify the default Node.js interpreter and package manager in a project.
Specify the default Node.js interpreter and package manager in a project
CLion automatically uses the default project interpreter every time you select the Project alias from Node Interpreter lists, for example, when creating run/debug configurations.
The default project package manager is used automatically for managing dependencies, for example, when you run <package manager> install from a package.json file or install third-party tools, such as ESLint, Prettier, and so on.
Open the Settings/Preferences dialog (Ctrl+Alt+S) and go to Languages & Frameworks | Node.js.
From the Node interpreter list, select the configuration to use by default in the current project.
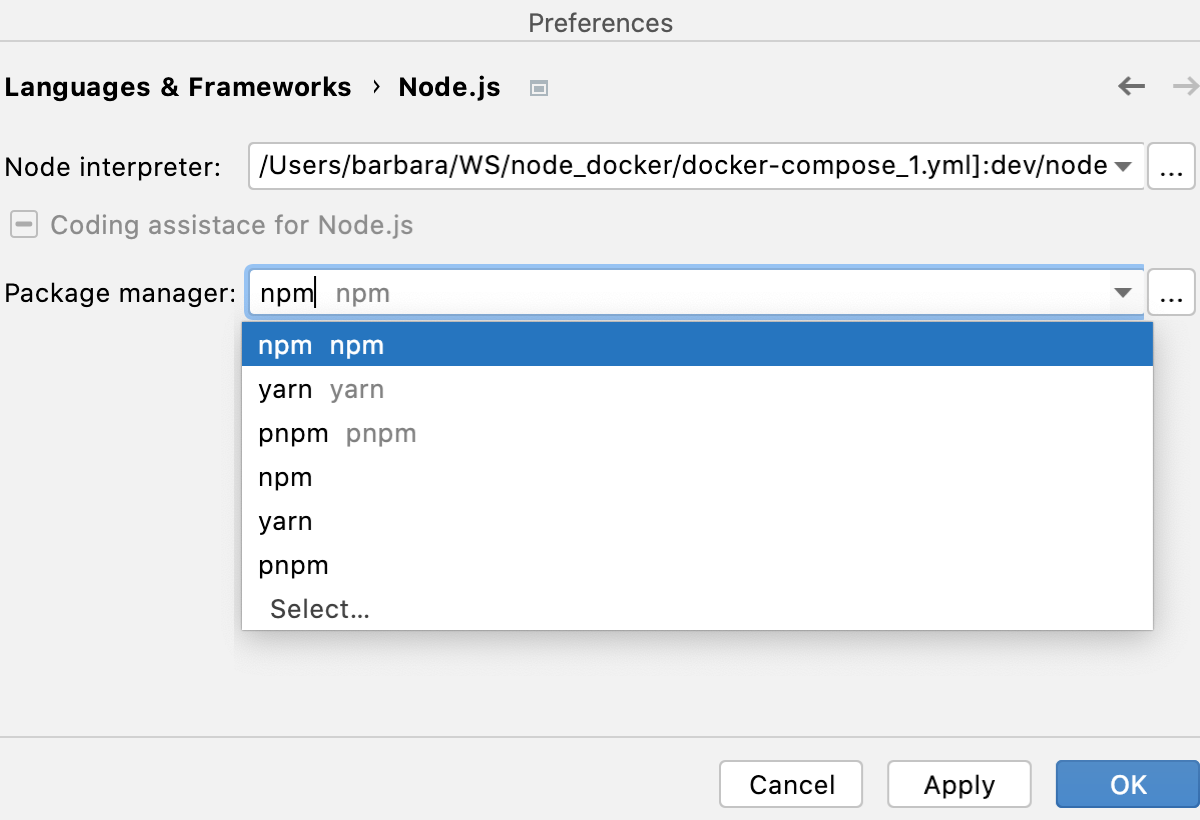
From the Package manager list, select the alias associated with the package manager to use. CLion detects its location automatically.

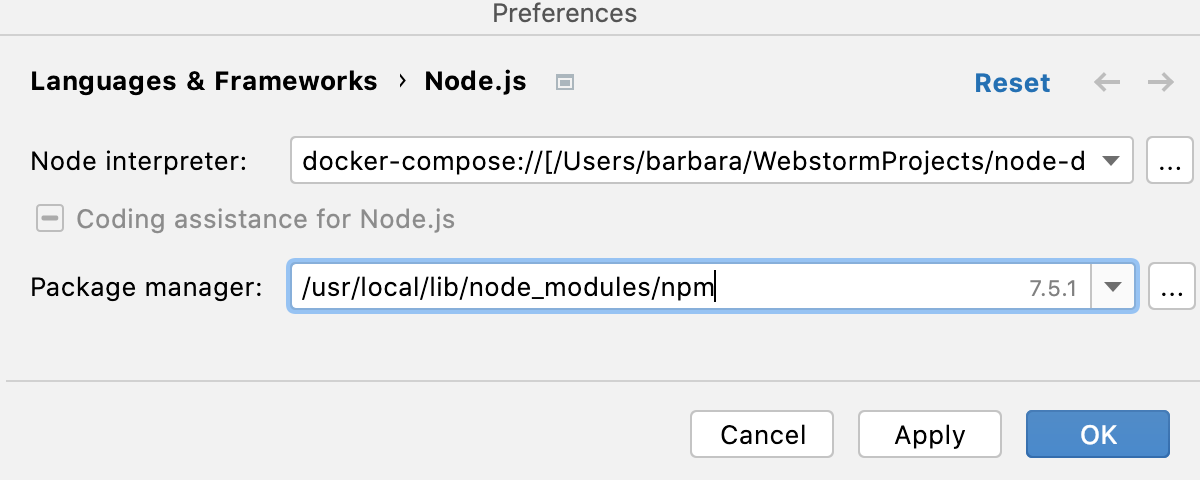
Alternatively, specify the location of the required package manager manually.
The default location for npm executable is
/usr/local/lib/node_modules/npm.The default location for pnpm depends on the installation method:
/usr for installation through npm./local /lib /node_modules /pnpm /usr for installation through curl (/local /pnpm-global /<version> /node_modules /pnpm curl -f https://get.pnpm.io/<version>.js | node - add --global pnpm).
Learn more from the pnpm official website.
The default location for yarn is
/opt , for example,/yarn-<version>5 /opt ./yarn-v1.22.5

Create a Node.js run/debug configuration
From the main menu, select Run | Edit Configurations. In the Edit Configuration dialog that opens, click
on the toolbar and select Node.js from the context menu. The Run/Debug Configuration: Node.js dialog opens.
In the JavaScript File field, specify the path to the main file of the application that starts it (for example, bin/www for Express applications).

If necessary, specify some optional settings as described in Running and debugging Node.js applications.
From the Node interpreter list, select the relevant remote Node.js interpreter via Docker Compose.

Alternatively, Click
next to the Node interpreter field and configure a remote Node.js interpreter as described above.

In the Docker Compose area, specify the commands and options to be passed to Docker Compose. Accept the default settings or click
and specify custom ones, for example, custom Docker Compose flags, like
--rmor--service-ports. Learn more from the Docker official websiteCheck the Command Preview.

Thanks for your feedback!