DDL data sources
This functionality relies on the Database Tools and SQL plugin, which is bundled and enabled in CLion by default. If the relevant features aren't available, make sure that you didn't disable the plugin.
Press CtrlAlt0S to open settings and then select Plugins.
Open the Installed tab, find the Database Tools and SQL plugin, and select the checkbox next to the plugin name.
DDL data source is a virtual view of a database structure based on SQL files that contain data definition language statements (DDL statements). You can reference all tables, columns and other objects defined in such files in the editor. Diagrams are also supported.
DDL data source lets you maintain database versioning. Keep the SQL files under a VCS system and regenerate them every time your database structure is updated.
Once created, DDL data sources are available in Database tool window ( View | Tool Windows | Database) . You can create and manage the SQL files with statements in the Project tool window ( View | Tool Windows | Project) .

In CLion, you can create a DDL data source by dumping an existing data source and by using existing SQL files:
When you dump an existing data source to a DDL data source, the folder with SQL files for this DDL data source is automatically attached in the Database tool window.
If you already have a DDL data source for the selected data source, you can choose whether to dump DDL files to the existing DDL data source or create a new one.
To create a DDL data source using existing SQL files, add the directory with the SQL files to your project and drag them from the Project tool window to the Database tool window.
Use file scopes to filter the files and folders that are used as sources for the DDL data source. When you dump DLL files to the existing DDL data source, the excluded ones will be ignored.
In the Database tool window ( View | Tool Windows | Database) , right-click a data source that you want to dump to a DDL data source and select Import/Export | Dump to DDL Data Source.
To configure code settings for the DDL data source, refer to Configuring DDL generation settings.
In the Data Sources and Drivers dialog, select the DDL data source, and click Add directories or DDL files.
In the file browser, navigate to the directory that will store DDL files of a data source and click Open.
Click OK.
Open data source properties. You can open data source properties by using one of the following options:
In the Database tool window ( View | Tool Windows | Database) , click the Data Source Properties icon
.
Press ShiftEnter.
In the Data Sources tab of the Data Sources and Drivers dialog left pane, click the Add icon (
) and select DDL Data Source.

In the Sources pane, click the Add button (
).
In the file browser, navigate to the SQL file or files with DDL statements and click Open.
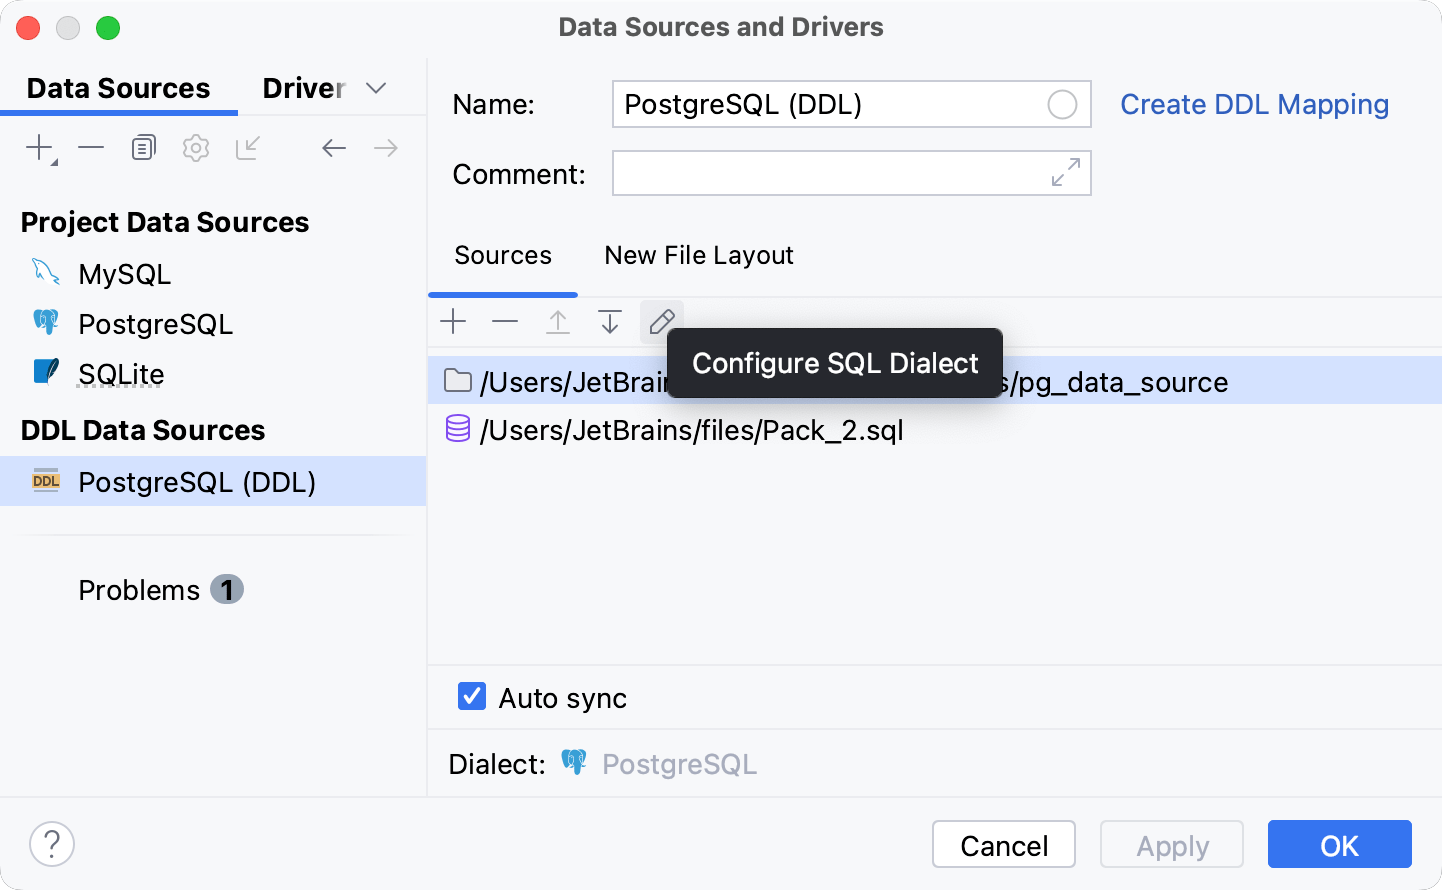
Click the Dialect link and select a dialect that you want to use for added SQL files.
Apply settings and click OK.

Open data source properties. You can open data source properties by using one of the following options:
In the Database tool window ( View | Tool Windows | Database) , click the Data Source Properties icon
.
Press ShiftEnter.
In the Sources pane, click the Add button (
).
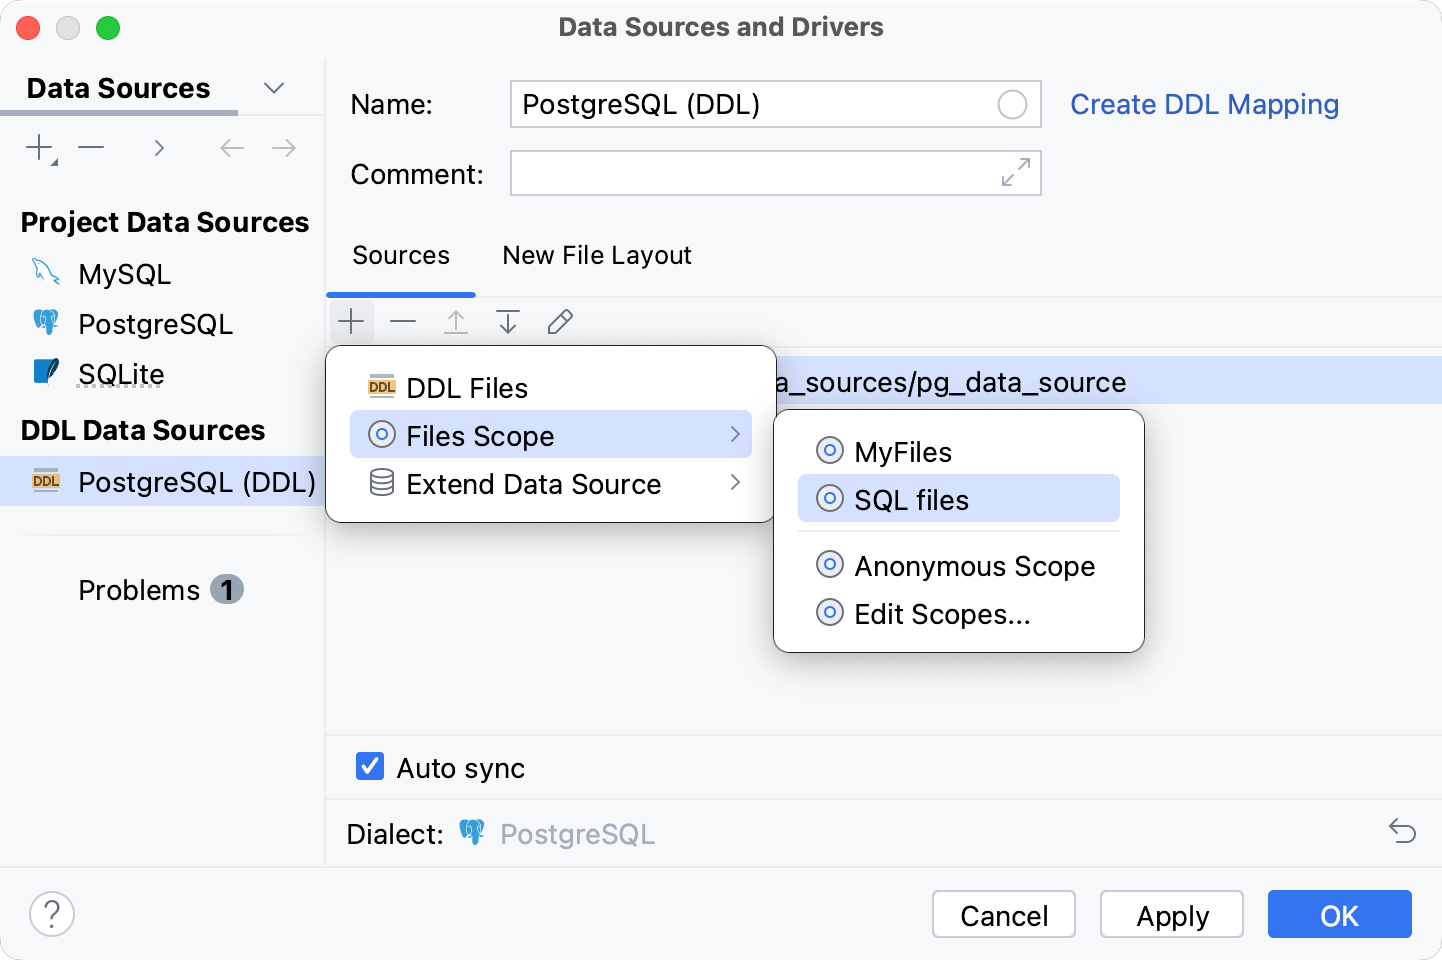
To add and filter files and folders using scopes, select one of the following options:
To use the existing scope, select it from the menu.
To create a group of files specifically for the current DDL data source, select Anonymous Scope. This scope will not be stored among others.
To edit the existing scope or create a new one, click Edit Scopes. For more information about scopes, refer to Scopes and file colors.
Apply settings and click OK.

If the Auto sync is selected, the DDL data source is automatically refreshed with changes to the corresponding files. To disable this behavior, clear the checkbox.
You can create an index in the DDL data source that references a table in a usual data source. In your code, this table will be correctly referenced and the table with the index will appear in the database tree.
Open data source properties. You can open data source properties by using one of the following options:
In the Database tool window ( View | Tool Windows | Database) , click the Data Source Properties icon
.
Press ShiftEnter.
Select a DDL data source that you want to extend.
Click the Add icon (
), select Extend Data Source and select the data source that you want to reference.

Open data source properties. You can open data source properties by using one of the following options:
In the Database tool window ( View | Tool Windows | Database) , click the Data Source Properties icon
.
Press ShiftEnter.
Click a DDL data source that you want to modify.
On the Sources tab, click the Configure SQL Dialect icon (
).

In the Database tool window ( View | Tool Windows | Database) , right-click an item under the DDL data source node and navigate to New. In the list of objects, select the object that you want to create.

You can configure code settings for files that are generated for the DDL data source.
Open data source properties. You can open data source properties by using one of the following options:
In the Database tool window ( View | Tool Windows | Database) , click the Data Source Properties icon
.
Press ShiftEnter.
On the Data Sources tab, select the DDL data source.
Click the New File Layout tab.
Option | Description |
|---|---|
Layout | Defines the way how to store and generate DDL files.
|
Root path | Defines the location directory for DDL files. |
Code style | Applies the code style to generated DDL files. |
Qualify objects with schema names | Adds a schema name to the table name. You can qualify a table when you have two and more tables with identical names in different schemes. This option has the following parameters:
|
Place constraints | Defines where to place
|
Regenerate database-provided code | Regenerate property definitions that are provided as a part of source code by the database. |
Reformat generated code | Reformat generated code with the current code style profile. This option affects generated code only and does not affect the code received directly from the server. |
Default schemas/databases | Set a default schema or database for objects in the DDL data source. DDL data sources have unnamed databases and schemas. The following table allows you to set the default schema name.  |
Thanks for your feedback!


