DDL mappings
DDL mapping functionality sets the relation between the regular data source and the DDL data source. By using mapping, you can explicitly select schemas in the real data source to synchronize objects with the DDL data source. And, alternatively, any changes in the DDL data source can be applied to a regular data source.
note
DDL mapping functionality is not supported for MongoDB databases.
For example, you can create the actor_1 table in your PostgreSQL data source, and later by using the DDL Mapping | Update from PostgreSQL action in the context menu, add the actor_1.sql file to your DDL data source folder with SQL files. Or, add actor_1.sql file to the DDL data source, select DDL Mapping | Apply to PostgreSQL in the context menu, and the actor_1 table will appear in the PostgreSQL data source.

Open data source properties. You can open data source properties by using one of the following options:
In the Database tool window (View | Tool Windows | Database) , click the Data Source Properties icon
.
Press CtrlAltShift0S.
Click the DDL Mappings tab.
Alternatively, you can get to this tab by right-clicking a data source in the Database tool window (View | Tool Windows | Database) and selecting DDL Mapping | Create DDL Mapping.
Click the <Choose Data Source> for Data Source.
Select or create a data source to map.
Click the <Choose Data Source> for DDL Data Source.
Select or create a DDL data source to map.
In the Scope tree, select the schemas or databases that will be used in mapping.
Ensure that the DDL mapping is created.
In the Database tool window (View | Tool Windows | Database) , right-click a DDL data source and select DDL Mapping | Update from data_source_name.
Ensure that the DDL mapping is created.
In the Database tool window (View | Tool Windows | Database) , right-click a DDL data source and select DDL Mapping | Apply to data_source_name.
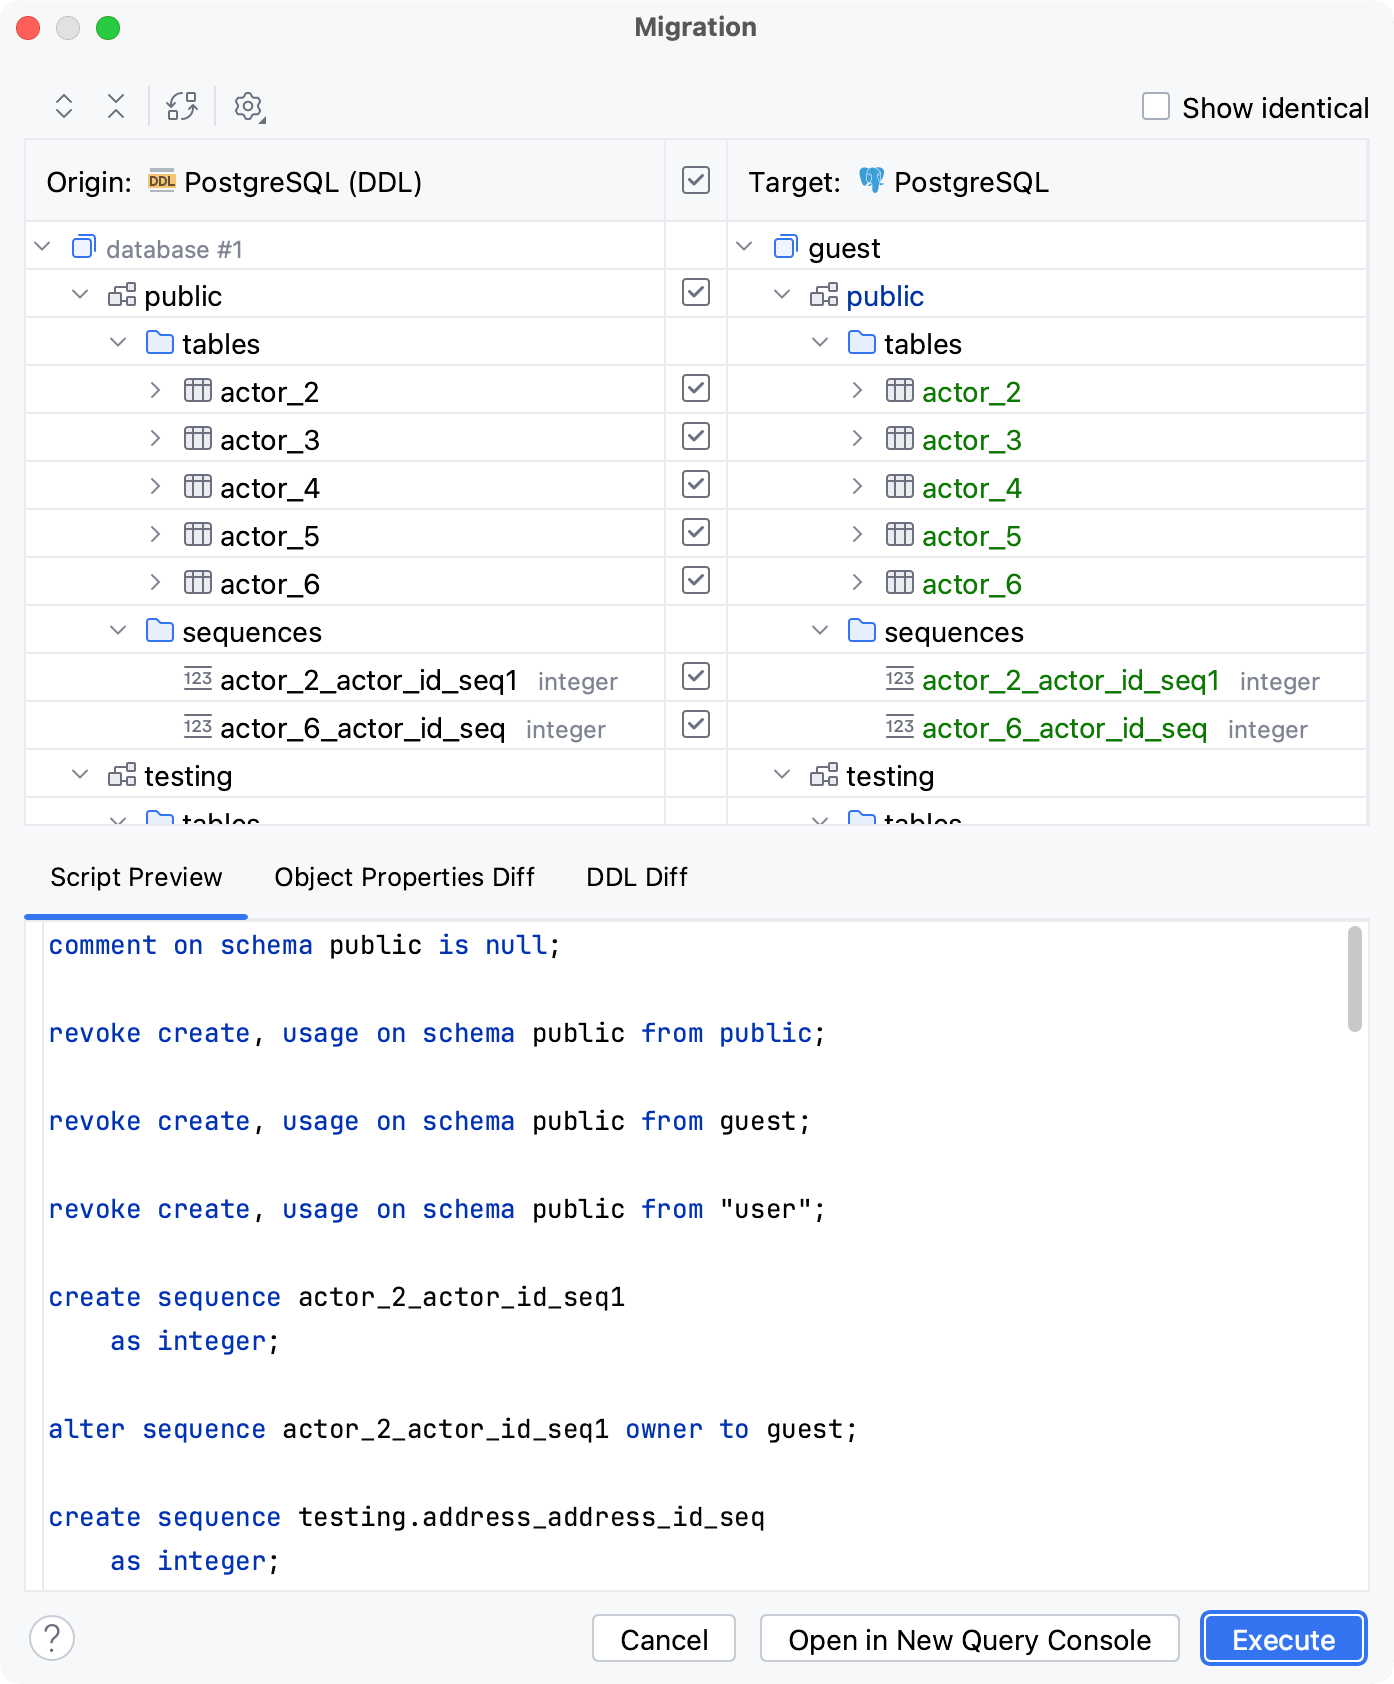
In the Migration dialog, select changes that you want to apply.
If necessary, modify scripts generated in the Script Preview tab. Leave only those scripts that you plan to execute.
For more information about migration in CLion, refer to Schema migration and Controls of the Migration dialog.
Click Execute.

Ensure that the DDL mapping is created.
In the Database tool window (View | Tool Windows | Database) , right-click a data source and select DDL Mapping | Dump to DDL_data_source_name.
If there are objects in the DDL data source that are missing in a regular data source. You will see a warning that those files will be deleted.

Name | Description |
|---|---|
Name | Name of the mapping. |
Comment | You comment for the mapping. |
Data Source | Select or create a data source that will be mapped to a DDL data source. |
DDL Data Source | Select or create a DDL data source to map to the real data source. |
Scope | Select the schemas or databases that will be used in mapping. |
Thanks for your feedback!