Schemas
DataGrip displays databases and schemas that you selected to be displayed. It can be useful if you have many databases and schemas. Also, by using this approach, you define which schemas you want to introspect. During introspection, DataGrip loads the metadata from the database and uses this data later.
Create a schema
Right-click the data source and navigate to .
In the Name field, specify a name of the schema.
Click Execute.
Select the default schema
You can select the default schema or database by using the list, which is in the upper-right part of the toolbar. When you select the default schema, you can omit the name of that schema or database in your statements.
Click the <schema> list and select the schema that you need.

Set the default schema in connection settings
Open data source properties. You can open data source properties by using one of the following options:
Navigate to .
Press Ctrl+Alt+Shift+S.
In the Database Explorer (), click the Data Source Properties icon
.
Select a data source that you want to modify. On the General tab in the Database field, type the name of a schema that you want to use as default.

Show and hide schemas
In the Database Explorer (), right-click a data source and navigate to . Select or clear checkboxes of schemas that you want to enable or disable. Press Enter.
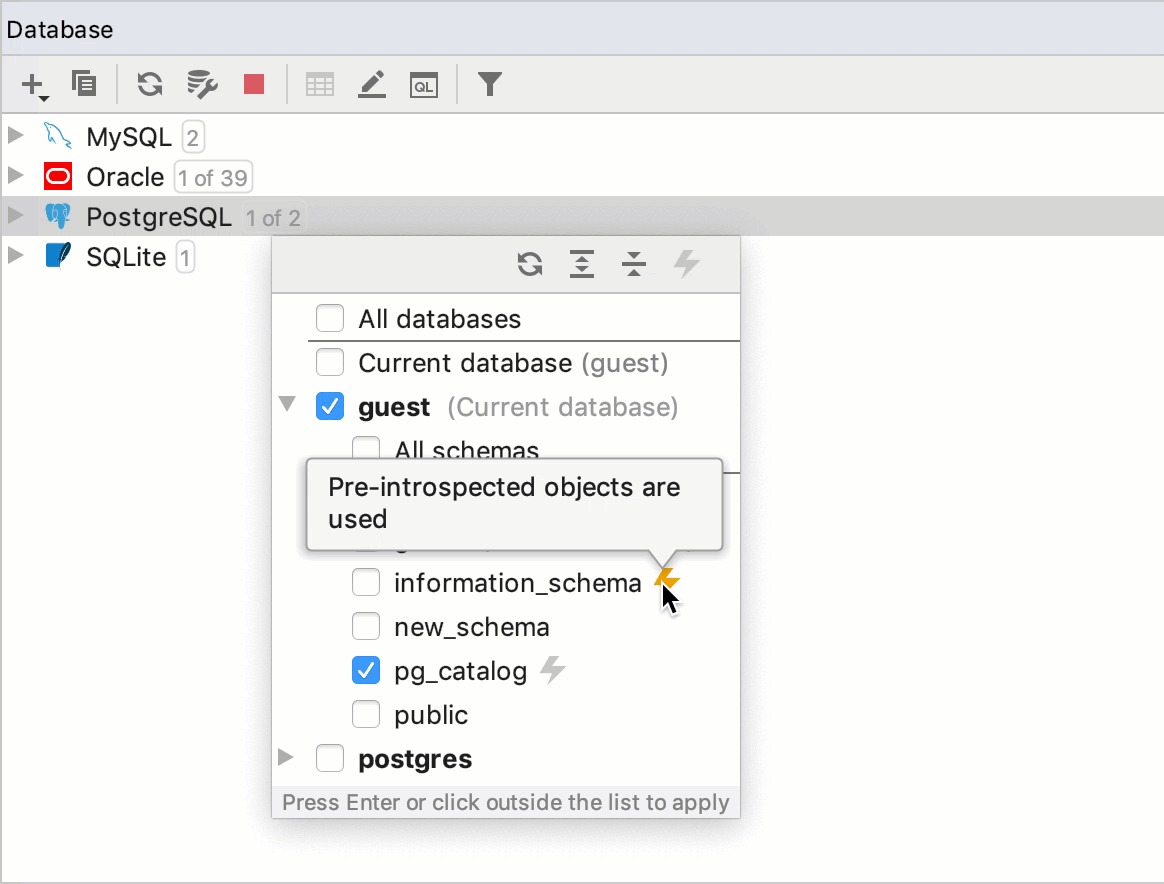
Click the N of N link near the data source name. In the schema selection window, select or clear checkboxes of schemas that you want to enable or disable. Press Enter.
To hide all schemas, navigate to .

Show all the schemas and databases
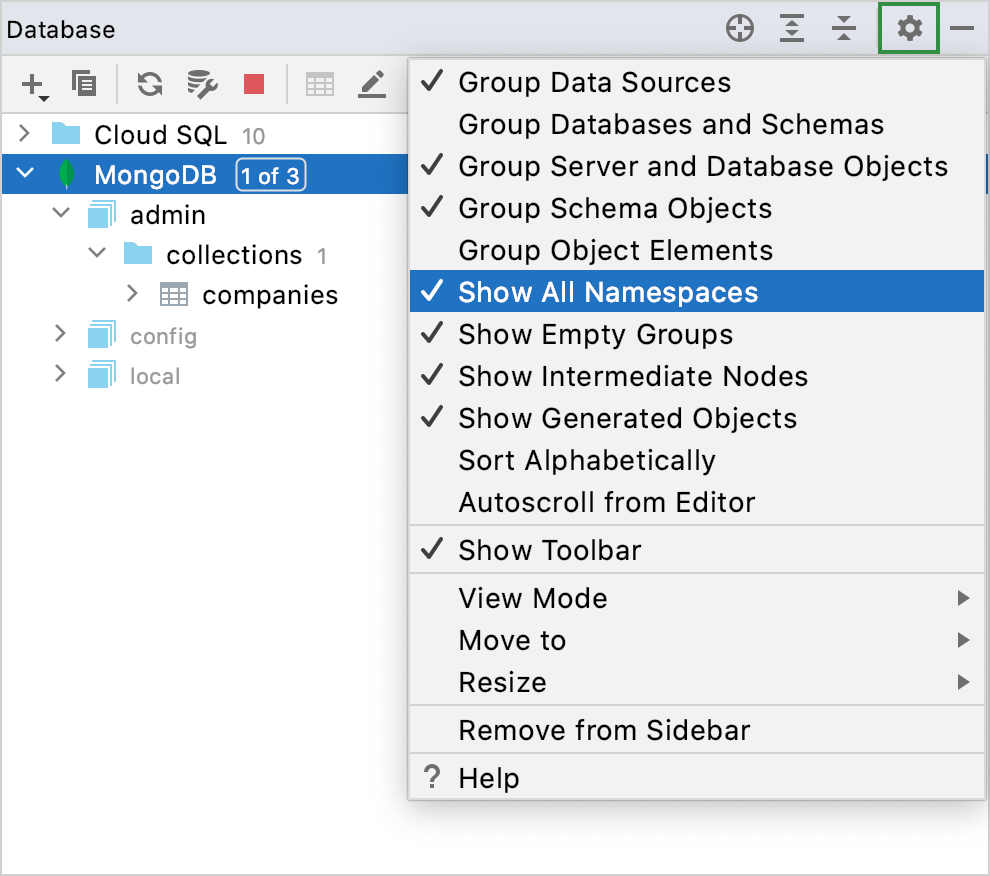
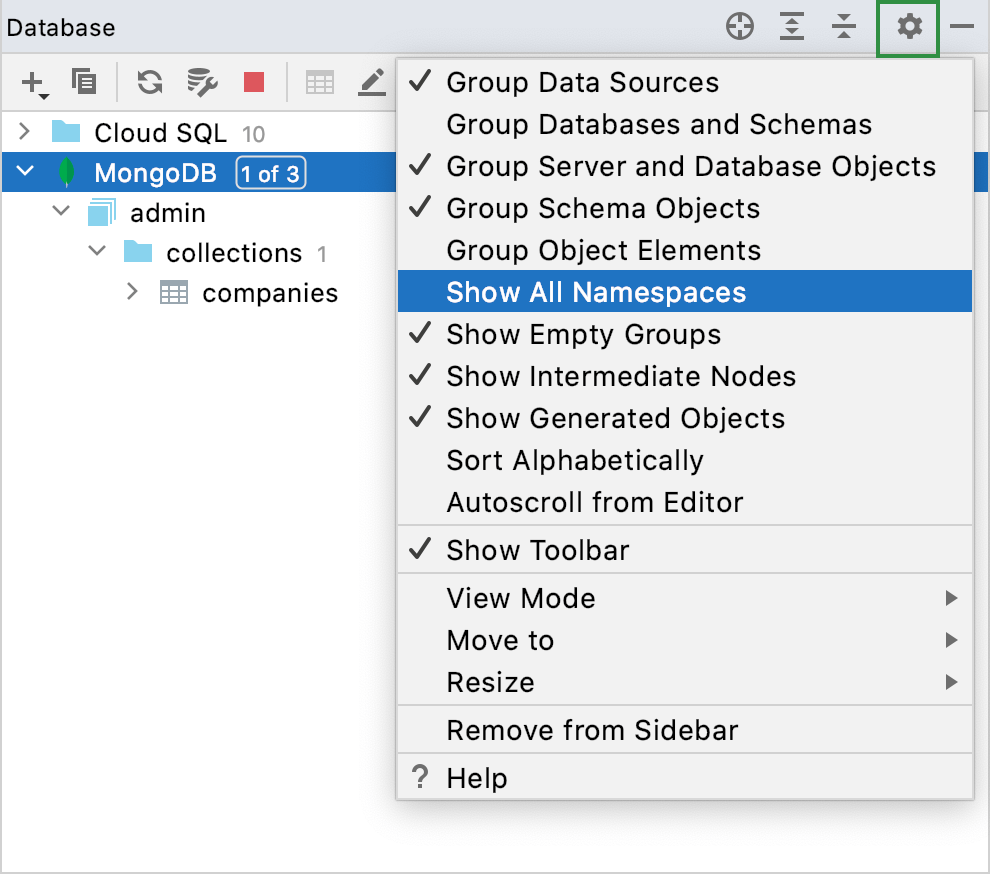
To display all the available databases and schemas in the Database Explorer (), click the Show Options Menu button and select the Show All Namespaces option.
Enabled
Disabled


Compare two schemas
For more information about dialog controls, see Differences viewer for database objects.
Select two schemas.
Right-click the selection and navigate to . Alternatively, press Ctrl+D.

Set the schema search path for PostgreSQL and Redshift
The search_path environment variable in PostgreSQL specifies the order in which schemas are searched. For example, you set the value of search_path to z,a,public, PostgreSQL will look for a value in the z schema. If nothing was not found in the z schema, PostgreSQL looks for the value in the a schema.
In PostgreSQL and Amazon Redshift, the default search path (the path that is set in a database) is used unless you specify a different search path.
Click the <session> list, navigate to the list of database schemas (use the arrow icon
or press the right arrow key).
Select the schema that you want to add to a search path.
To form a search path, you can use the following actions:
Press Space to add a highlighted schema to the search path and to remove a schema from the search path.
Press Alt+Up and Alt+Down to reorder the schemas within the search path.
To apply the changes, click OK.

Save a search path between IDE restarts
In the Database Explorer (), right-click a PostgreSQL or Amazon Redshift data source and select Properties Ctrl+Alt+Shift+S.
Click the Options tab.
From the Switch schema list, select Automatic.
Click OK.

Force refresh schema information
The Force Refresh action clears the data source information from cache and loads it again from scratch.
In the Database Explorer (), right-click a data source and select .

Pre-introspected objects from system catalogs
Introspection is a method of inspecting a data source. When you perform introspection, structural information in the data source is inspected to detect tables, columns, functions, and other elements with their attributes.
A system catalog is a place where a relational database management system (DBMS) stores information about tables and columns, built-in functions, and other schema objects. The IDE uses these objects for code completion and other coding assistance operations.
System schemas have the lightning icon in the schema selection dialog. If you do not select these schemas, DataGrip does not introspect them and does not show them in the Database Explorer. Though information about schema objects are used in coding assistance. It is possible because DataGrip uses internal data about schema objects that was introspected earlier (pre-introspected data). To enable usage of pre-introspected data in DataGrip, open data source settings by pressing Ctrl+Alt+Shift+S, click the Options tab and select Use pre-introspected objects for system catalogs that are not introspected.
Examples of system catalogs in different DBMS:
PostgreSQL: pg_catalog, information_schema
Microsoft SQL Server: INFORMATION_SCHEMA
Oracle: SYS, SYSTEM
MySQL: information_schema
IBM Db2 LUW: SYSCAT, SYSFUN, SYSIBM, SYSIBMADM, SYSPROC, SYSPUBLIC, SYSSTAT, SYSTOOLS

Introspect system catalogs for a data source
By default, DataGrip uses pre-introspected objects for system catalogs.
In the Database Explorer (), right-click a data source and select Properties Ctrl+Alt+S.
In the Data Sources and Drivers dialog, click the Options tab.
Clear the Use pre-introspected objects for system catalogs that are not introspected checkbox.
In the scheme selection window, select system catalogs that you want to introspect.

Use pre-introspected data for the selected system catalog
You can still use pre-introspected objects for a system catalog even if you disable the usage of such objects for a data source.
Clear the Use pre-introspected objects for system catalogs that are not introspected checkbox on the Options tab in data source settings.
Open the scheme selection window, clear the checkbox of a system catalog.
Click the system catalog entry.
Click the lightning icon
, which is in the upper-right corner of the window.
