Grammar
Install the Grazie Lite plugin
This functionality relies on the Grazie Lite plugin, which you need to install and enable.
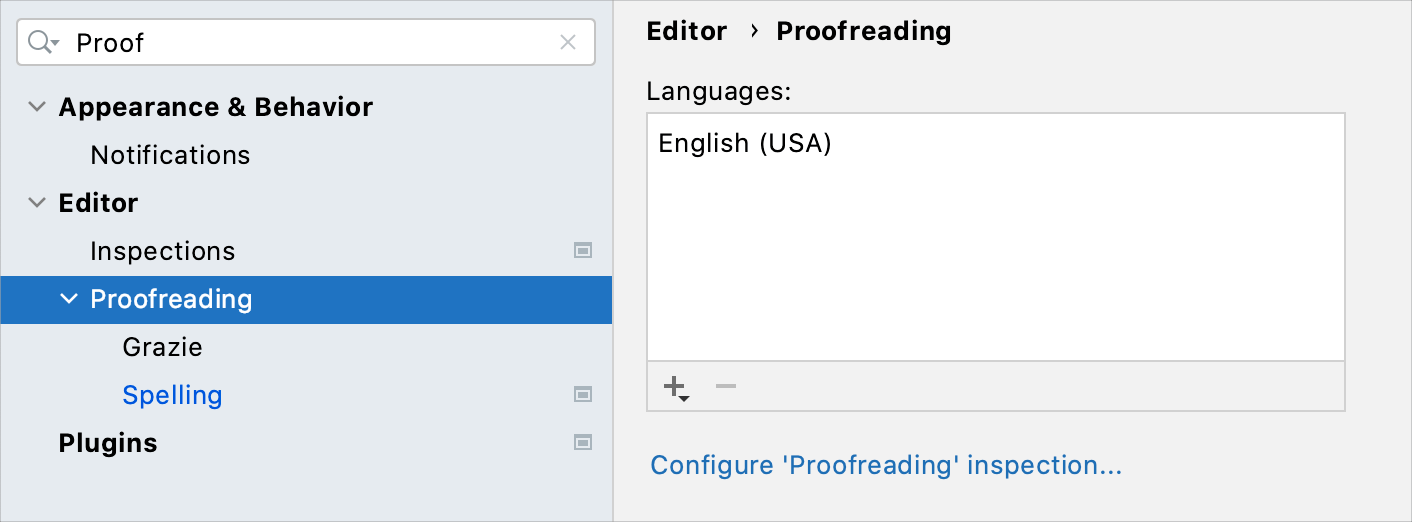
Press Control+Alt+S to open the IDE settings and select .
Open the Marketplace tab, find the Grazie Lite plugin, and click Install (restart the IDE if prompted).
DataGrip checks the grammar of text files, such as your project's README.md. You can also configure it to check various textual elements in your source code: string literals, comments, and even your commit messages. It highlights mistakes related to morphology, punctuation, the overall structure, and style.
By default, DataGrip includes English language support and suggests adding another language if it detects one. For information about supported languages and how to add them, see Natural languages.
DataGrip checks grammar using the Grammar inspection. Press Control+Alt+S to open the IDE settings and select Editor | Inspections. The Grammar inspection is under Proofreading. By default, it is set to the lowest severity level (subtle underline) and is applied in all scopes.

Fix grammar mistakes
Place the caret at a word highlighted by the Grammar inspection.
Click
or press Alt+Enter to show the available intention actions.
Select the proper fix from the list of suggestions.

Besides applying the fix, you can either disable the rule that triggered the inspection or add the detected phrase as an exception.
Scope of grammar checks
You can configure the types of files and specific code constructs where you want to check grammar. For example, you can enable grammar checks in Markdown files, in strings and comments of SQL files, and disable grammar checks for YAML and JSON.
Configure where to check grammar
Press Control+Alt+S to open the IDE settings and select .
On the Scope tab, select the code constructs where you want to check grammar and the types of files for which you want to enable grammar checks.
Option
Description
String literals
Check grammar in string literals.
Comments
Check grammar in generic line and block comments.
Documentation
Check grammar in embedded code documentation.
Commit messages
Check grammar in commit messages for the configured VCS. If you enable this, DataGrip adds the corresponding inspection tool to the .idea/vcs.xml configuration file.
Grammar rules
DataGrip checks grammar against a set of rules defined for a language. For example, in English, there are rules on how to properly use articles, commas, and past tense forms, stylistic hints for creative and plain writing, common typos and words that are commonly confused, proper collocations, and many more.
Most of these rules are enabled by default and detect definite mistakes. However, some of them are suggestions that you may not agree with or not care about. In this case, you can disable a specific rule from the intention action or in the settings.

Configure the set of rules
Press Control+Alt+S to open the IDE settings and select .
On the Rules tab, select the rules against which you want to check your text.
Use the search field to filter the list of rules with a keyword, such as article or comma.
Exceptions
Exceptions are words and phrases that you want to be always considered correct. If some rule triggers a mistake in a phrase that you do not want to highlight, you do not need to disable this rule, because then it will not be triggered in other places where the rule is valid. In this case, you can add the phrase as an exception using the intention action.

Review all added exceptions
Press Control+Alt+S to open the IDE settings and select .
On the Exceptions tab, you can see the list of words and phrases added as exceptions. Remove an exception by selecting it and clicking
.