Save and revert changes
DataGrip automatically saves changes that you make in your files. Saving is triggered by various events, such as compiling, running, debugging, performing version control operations, closing a file or a project, or quitting the IDE. Saving files can be also triggered by third-party plugins.
Most of the events that trigger auto-save are predefined and cannot be configured, but you can be sure that changes will not be lost and you can find all of them in local history.
Configure autosave behavior
In the Settings dialog (Control+Alt+S), select .
Under Autosave, configure the following options:
Save files when switching to a different application or a built-in terminal: Save all modified files when you switch from DataGrip to a different application.
Save files if the IDE is idle for N seconds: Save all modified files at regular time intervals.
Apply the changes and close the dialog.
Mark files with unsaved changes
You can mark unsaved files with an asterisk (*) on the file tab:
In the Settings dialog (Control+Alt+S), select .
Select the Mark modified (*) checkbox.
Apply the changes and close the dialog.
After that, the tab of the file in which you have unsaved changes will be marked with an asterisk.
If you use version control integration, names of all modified files will be also marked with a dedicated color on the file tab and in the Project tool window.
Save changes manually
You can always save your changes manually:
Press Control+S or select from the main menu.
Trigger actions when saving changes
In DataGrip, you can configure the actions that will be triggered every time your modified files are saved.
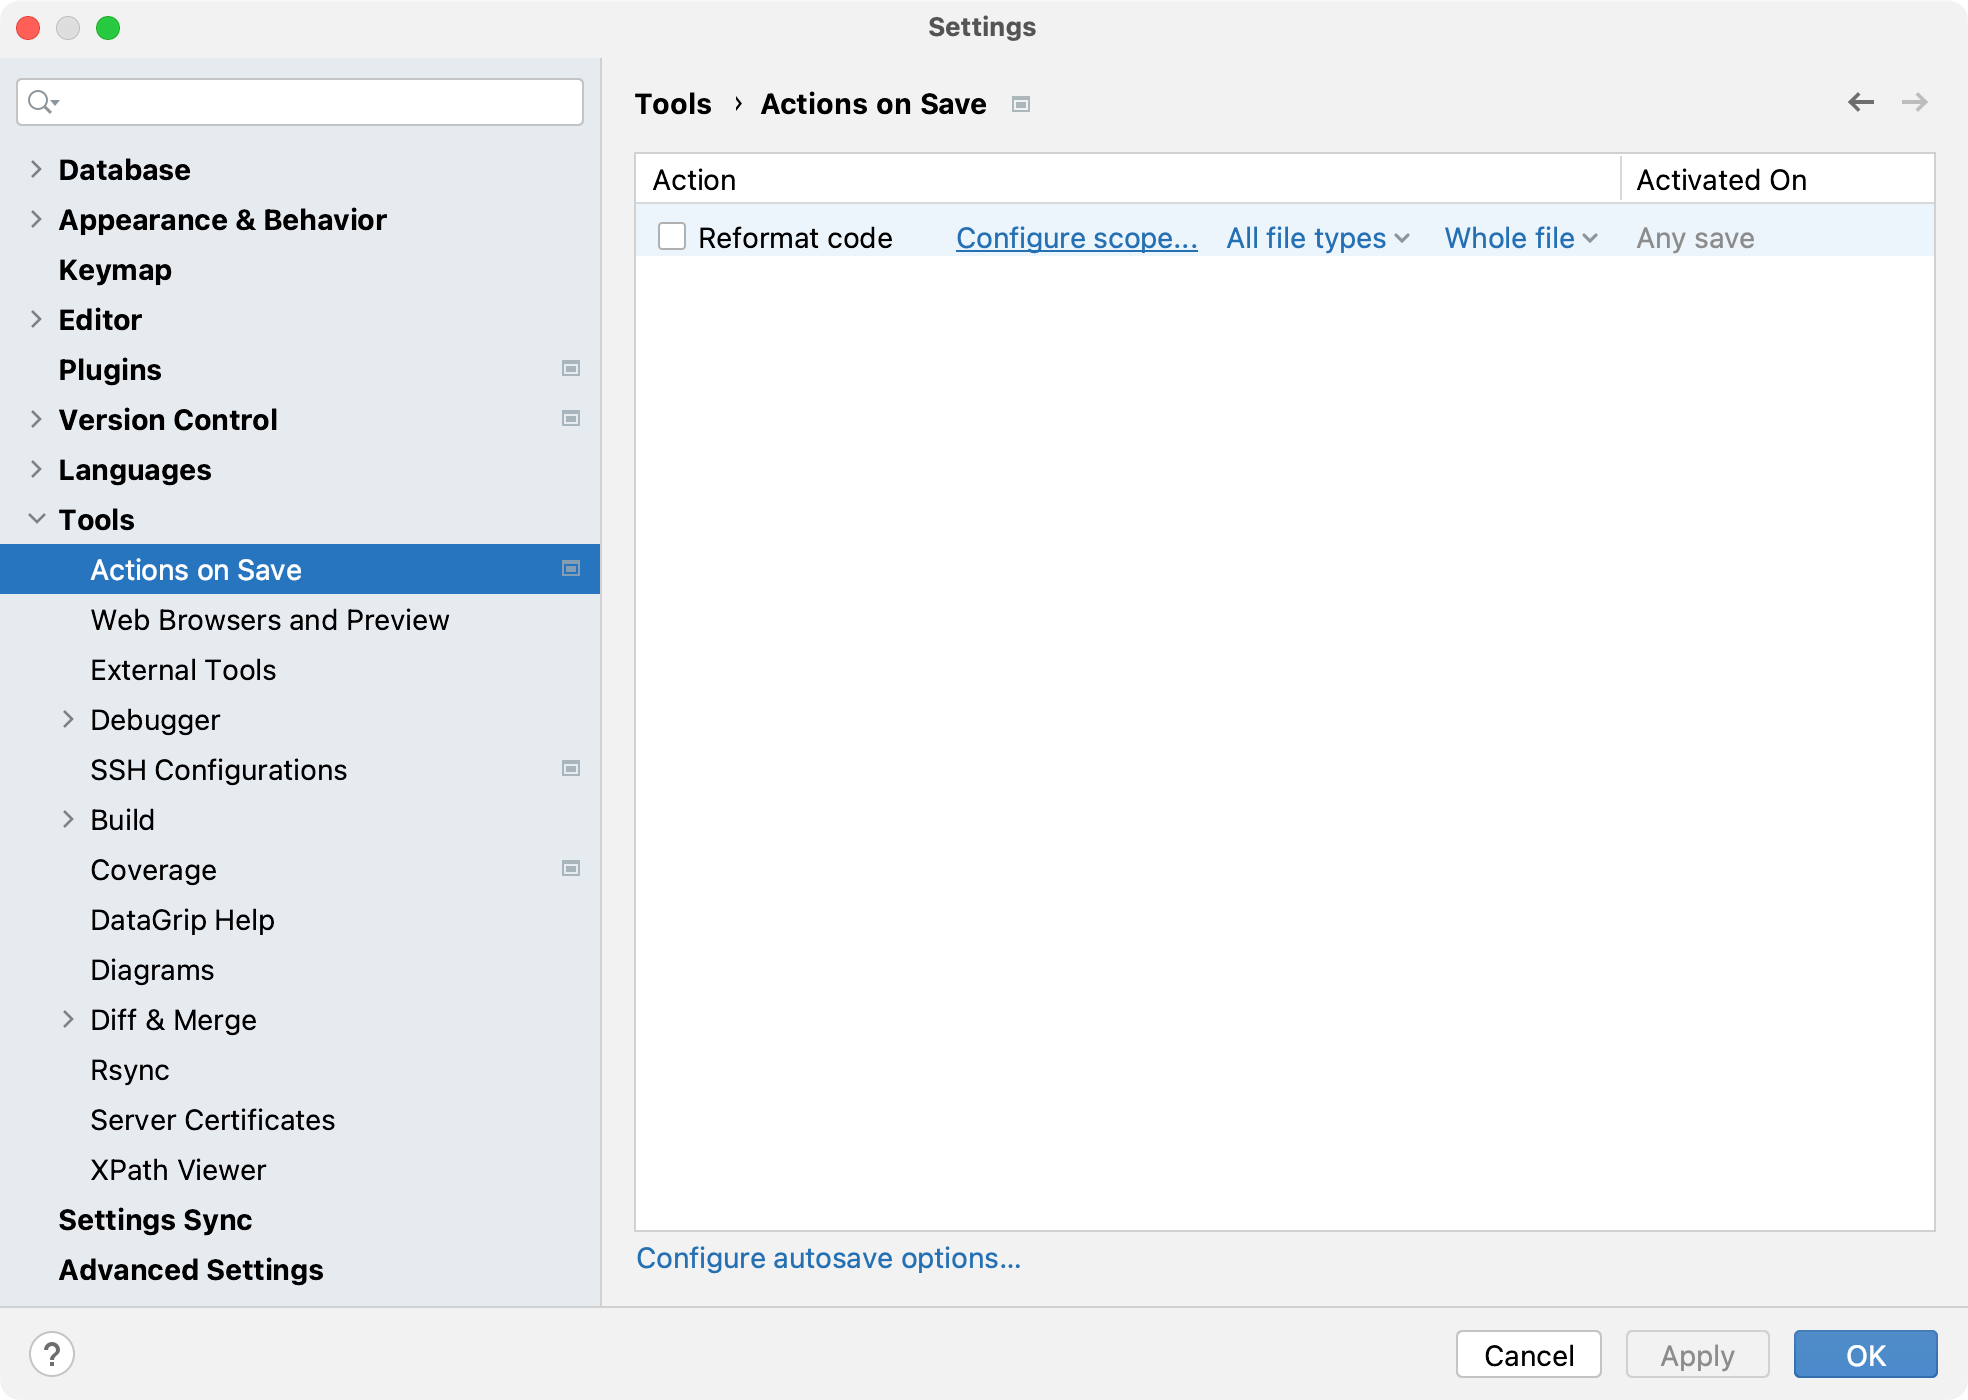
To configure autosave actions for the current project, in the Settings dialog (Control+Alt+S), open .
To configure the actions for new projects, go to .
Select the checkboxes next to the actions that you want to trigger on save:
Reformat code: reformat your code according to your current code style settings.
For some actions, you can configure the settings more precisely. To do so, hover the mouse pointer over an action and click the configuration link.
For example, for code reformatting, you can specify files and folders that you don't want to change. Hover the mouse pointer over the action and click Configure scope to exclude specific files and folders from reformatting.
You can also select whether to reformat the whole file or only modified lines.
Apply the changes and close the dialog.
Once the action is enabled, it will be automatically triggered on every save (autosave, explicit save invoked with Control+S or by selecting ) as you work with your project.

Revert changes
For most recent changes, including refactorings, press Control+Z or choose from the menu.
For a more detailed view of past changes, use Local History.
For the most robust tracking of all changes, use a version control system.