Create, open, move, and close projects
You can create empty projects or projects with attached directories. The attached directories can be the folders that are stored locally on your machine or cloned from VCS.

Launch DataGrip.
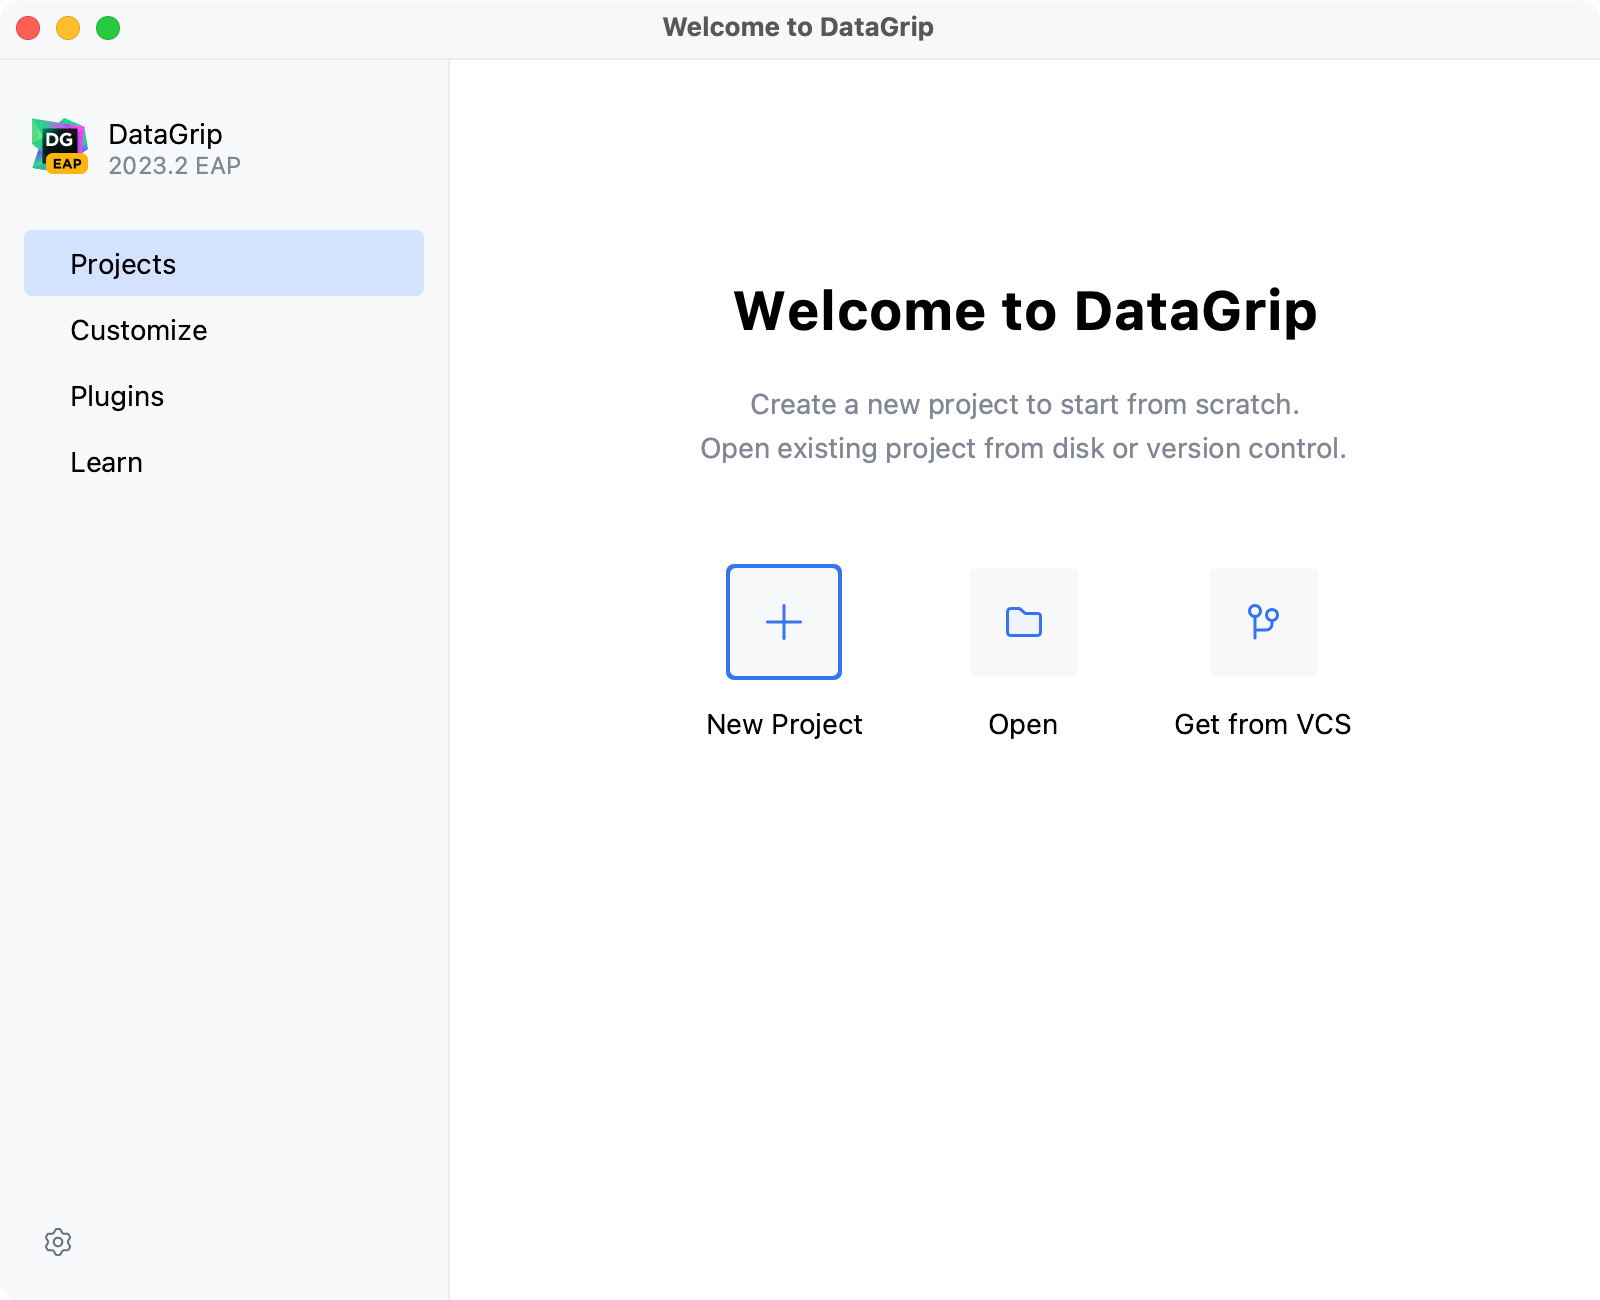
If the Welcome screen opens, click Open.
In the dialog that opens, specify the new project name or location, and click OK.
(Optional) In the opened dialog, choose the way you want to open the project.

Attach: Attaches the selected directory to the Files tool window of the current project.
New Window: Opens a new project its own window. You can switch between projects using the Window menu.
This Window: Closes the current project and uses the existing window for a newly opened project.
You can clone directories from VCS into your new project. The directories will be available in the Files tool window.
Launch DataGrip.
If the Welcome screen opens, click Get from VCS. Otherwise, create a new project first.
Go to File | New | Project to create a new project.
In the new project window, select Git | Get from Version Control.
In the dialog that opens, specify the repository URL in the URL field and directory path for the files in the Directory field.
Click Clone.
(Optional) Once the repository is cloned, select the way you want to open your new project. Find more information about trusting the projects in Project security.
In DataGrip, you can open projects as folders. If a folder does not contain an .idea subfolder with the project settings, then the subfolder will be created.
Launch DataGrip.
If the Welcome screen opens, click Open.
In the dialog that opens, select the project folder, and click OK.
Alternatively, drag the project folder from your file browser window to the Welcome screen.
tip
Drag a folder without an .idea subfolder in it to the Welcome screen to create a new project.
(Optional) In the opened dialog, choose the way you want to open the project.

Attach: Attaches the selected directory to the Files tool window of the current project.
New Window: Opens a new project its own window. You can switch between projects using the Window menu.
This Window: Closes the current project and uses the existing window for a newly opened project.
Select File | Recent Projects and then select the name of the project.
(Optional) In the opened dialog, choose the way you want to open the project.

Attach: Attaches the selected directory to the Files tool window of the current project.
New Window: Opens a new project its own window. You can switch between projects using the Window menu.
This Window: Closes the current project and uses the existing window for a newly opened project.
By default, when you launch the second or any subsequent project, the IDE asks you how you want to open it: in a new window or in the same window. You can configure the default behavior for such cases in the settings:
In the Settings dialog (CtrlAlt0S), select Appearance & Behavior | System Settings.
In the Project section, select the necessary Open project in option:
New window: open every project in a separate window.
Current window: close the current project and open a new one in the same window.
Ask: show a dialog with actions to choose from.

Apply the changes and close the dialog.
If you quit the IDE having multiple opened projects, they all will be reopened the next time you launch DataGrip. If you don't want to automatically reopen your projects, you can change this behavior in the settings:
In the Settings dialog (CtrlAlt0S), select Appearance & Behavior | System Settings.
In the Project section, clear the Reopen projects on startup checkbox.

Apply the changes and close the dialog.
In the Files tool window Alt02, right-click the project directory and select Refactor | Move directory (F6).
In the dialog that opens, specify a new location for the project and click Refactor.

In the Settings dialog (CtrlAlt0S), select Appearance & Behavior | System Settings.
In the Default project directory field, specify the path to the folder in which you want to store your projects.

Apply the changes and close the dialog.
If this was the only open project, DataGrip, as a result, will show the Welcome screen.
Select File | Close Project.
Thanks for your feedback!