Use database CLI tools
Almost every database vendor has its own Command-Line Interface (CLI) tool. The following list shows you a couple of examples.
PostgreSQL:
psqlOracle:
sqlplus(SQL Command Line for SQL*Plus)MySQL:
mysqlMicrosoft SQL Server:
sqlcmdSQLite:
sqlite3
In the majority of cases, these tools support two types of commands: standard and meta. Standard commands are SELECT, CREATE, UPDATE, and other ordinary SQL commands. Meta-commands use special syntax that is specific for every tool. For example, in SQLite, except for ordinary SQL statements, you can use dot-commands. These dot-commands are used to change the output format of queries or to execute certain prepackaged query statements. When you issue the dot-command, sqlite3 uses its own interpretation of the command and runs it on a database.
Other tools have different meta-commands. For example, sqlplus has DESCRIBE; psql has backslash directives like \dD; in sqlcmd, you can use :r Script.sql to load a script file. These commands are not standard SQL commands that your database would easily understand. They need to be translated. CLI tools do this translation.
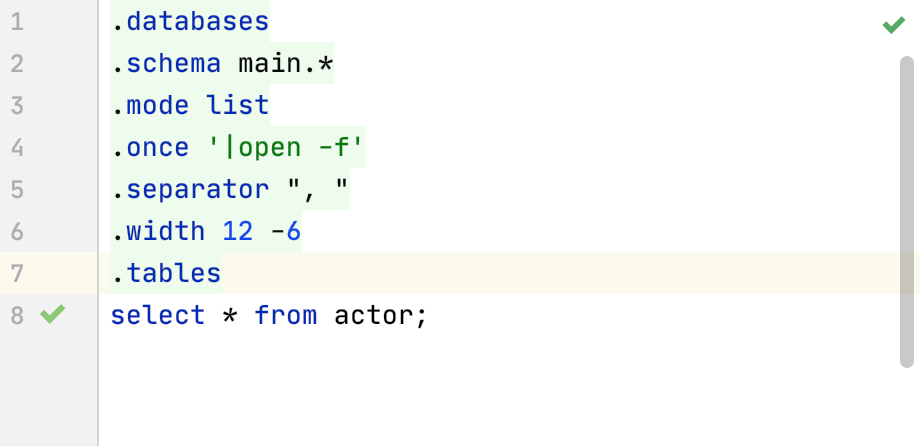
DataGrip supports syntax highlighting for meta-commands but not the translation logic. It means that you can open an SQL script with meta-commands in the editor, but you need an external tool to run the script. By default, meta-commands are highlighted in green.
Running CLI tools
In this topic, we are going to use the sqlite3 as an example. You can create similar configurations for other tools.
For this tutorial, we will create the sqlite.db database file in /Users/jetbrains/DatagripProjects/sqlite. And use the following script in the SQL file.
To run the script, you need to create a configuration for a third-party tool (in our case, sqlite3). This configuration will pass contextual information from your project to sqlite3 as command-line arguments and display the output in the Run tool window.
Step 1. Create an external tool configuration
Open settings by pressing Ctrl+Alt+S and navigate to . .
Click the Add button (
) and specify the following settings:
Name: the name of the tool that will be displayed in the DataGrip interface. For example,
sqlite3.Group: the name of the group to which the tool belongs. You can select an existing group or type the name of a new group.
Description: a meaningful description of the tool. For example,
Command-line tool for SQLite.Program: the path to the application executable file. For example, /Users/jetbrains/DatagripProjects/sqlite/sqlite3.
Arguments: the arguments passed to the executable file, as you would specify them on the command line.
Working directory: the path to the current working directory from which the tool is executed. For example, you can point this field to a folder with the database file (/Users/jetbrains/DatagripProjects/sqlite).
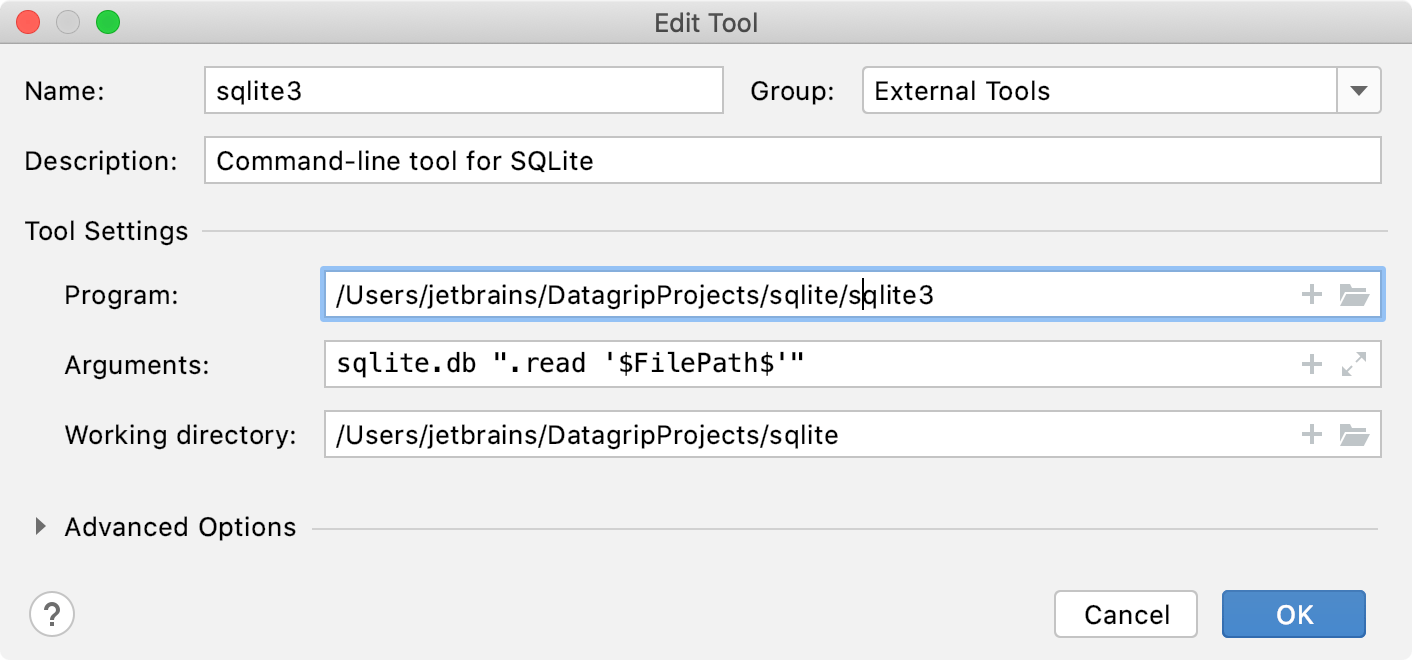
In our case,
sqlite3will be run withsqlite.db ".read '$FilePath$'"arguments. You can use macros that can refer to the project name, the current file path, and so on. Clicking the Insert Macros iconwill open the Macros dialog that lists all available macros and their values.
Click OK to add the tool and then apply the changes.
Step 2. Run the created configuration
Double-click the script file to open it in the editor. If the script is a query console, click the tab of this query console.
Go to .
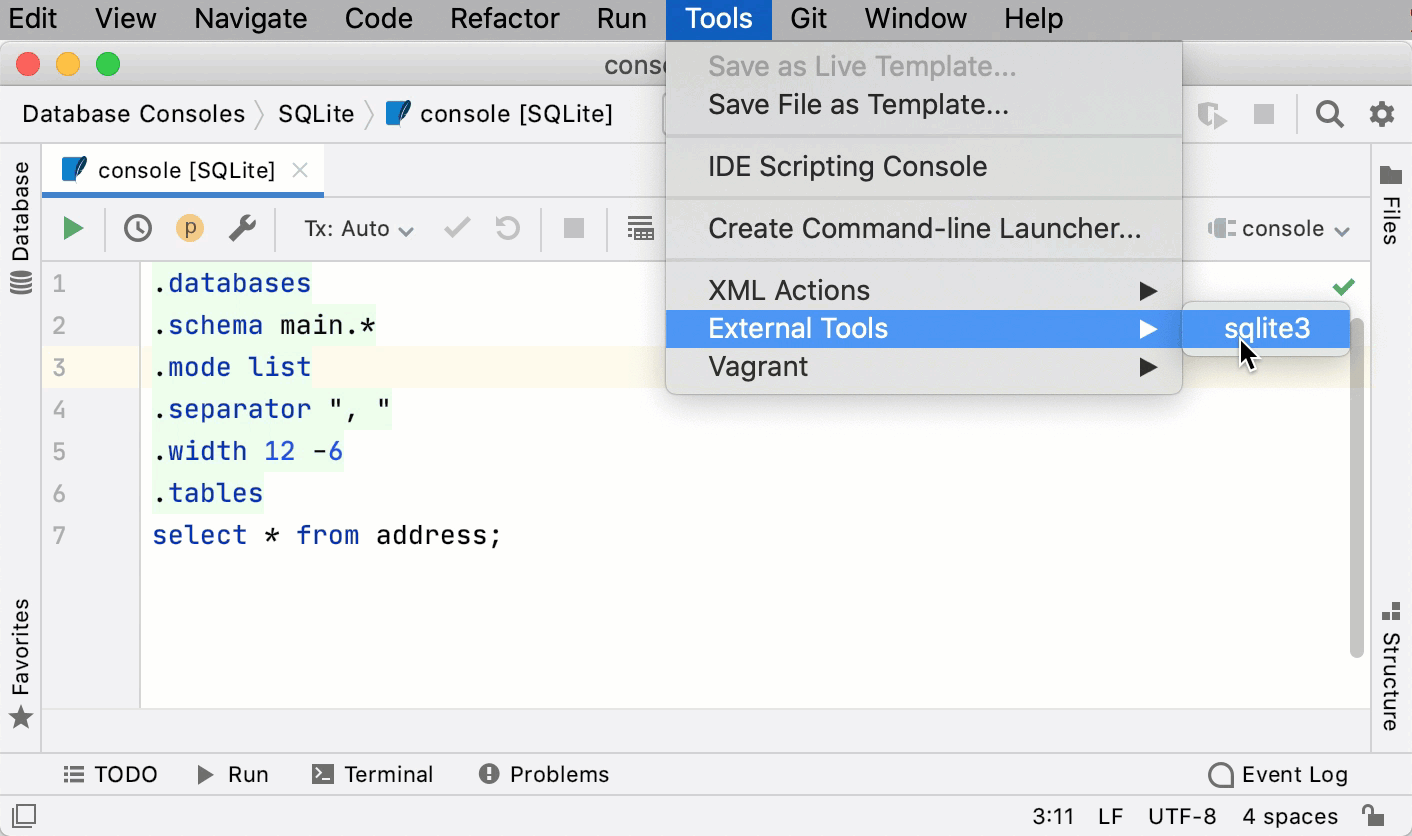
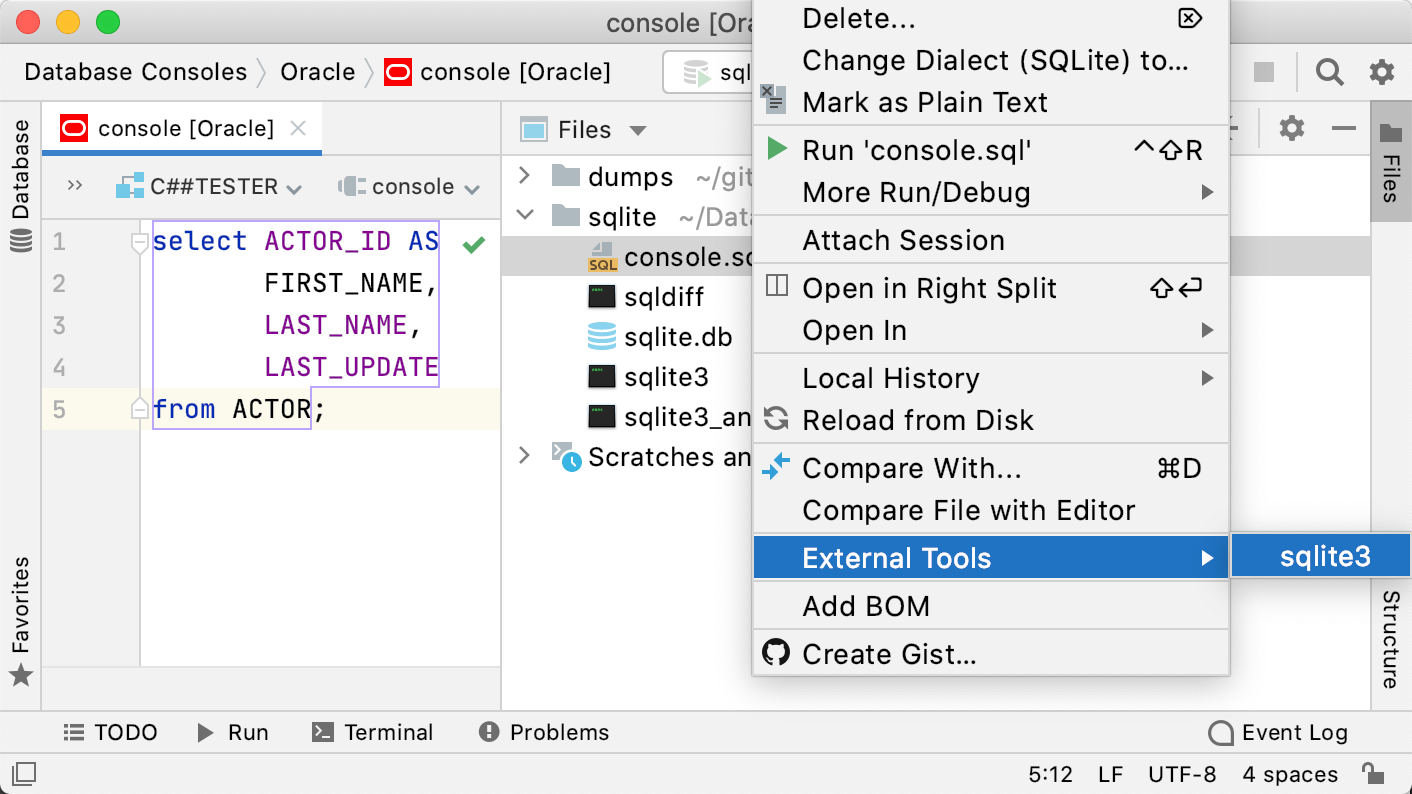
Right-click a file in the Files tool window and select from the context menu.
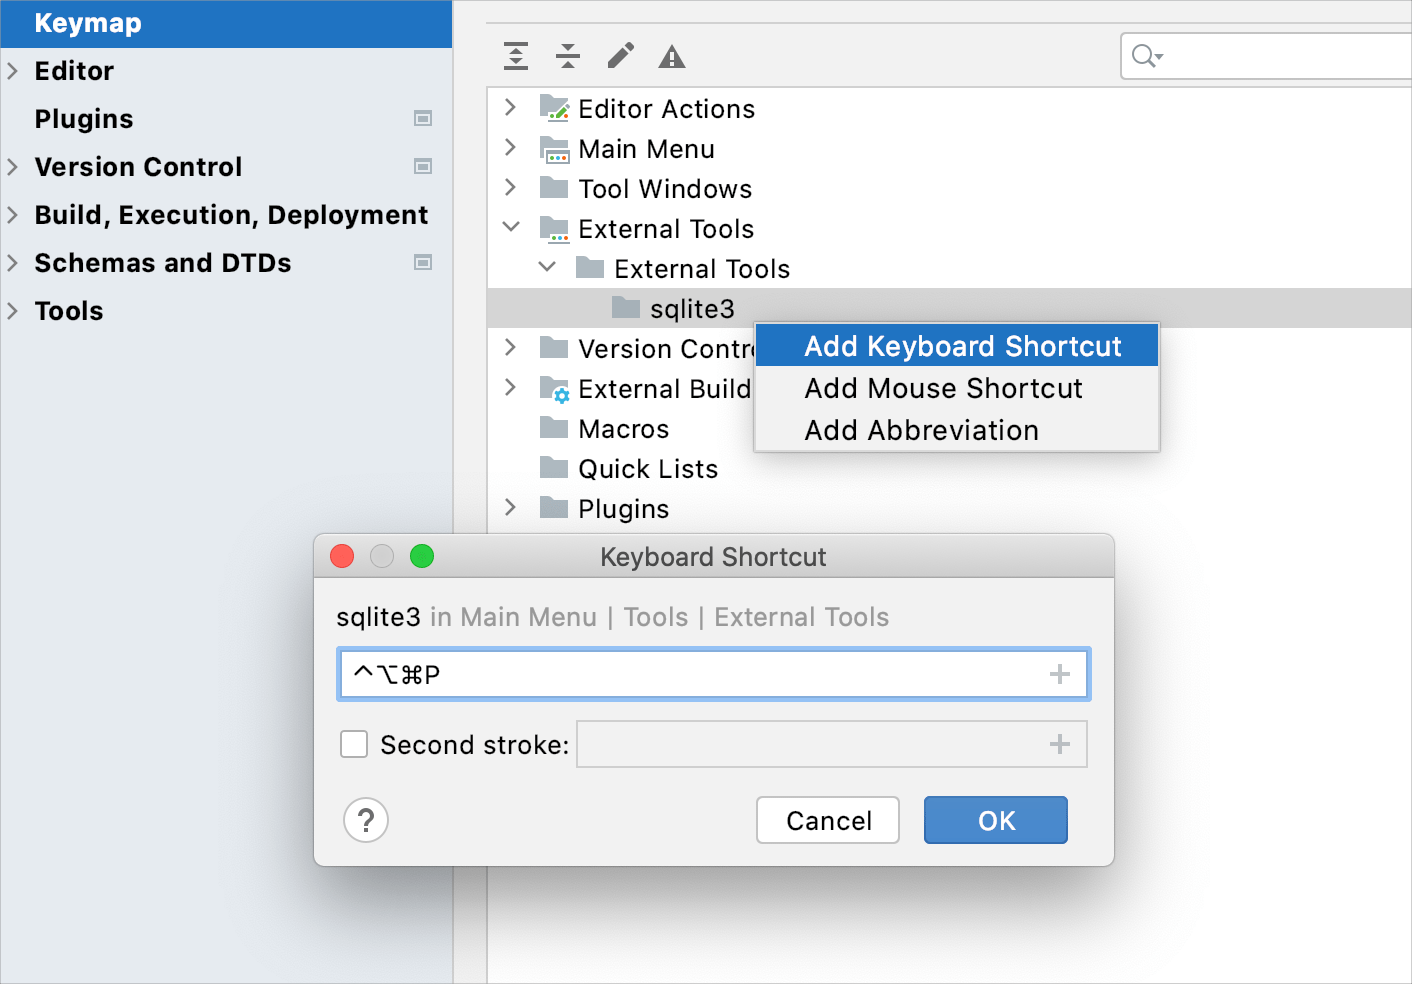
In the Settings dialog (Ctrl+Alt+S) , select Keymap, find the sqlite3 action under the External Tools node and assign a shortcut for it by selecting Add Keyboard Shortcut from the context menu. Use the shortcut to run the tool.
