Manage custom JDBC drivers
As an admin, you can attach custom JDBC drivers to connect to databases that are not natively supported in Datalore.
Add a custom JDBC driver
Click the avatar in the upper-right corner and select Admin panel from the menu.
From the Admin panel, select Data.
At the bottom of the Supply custom database driver files list, click the Add custom driver button.
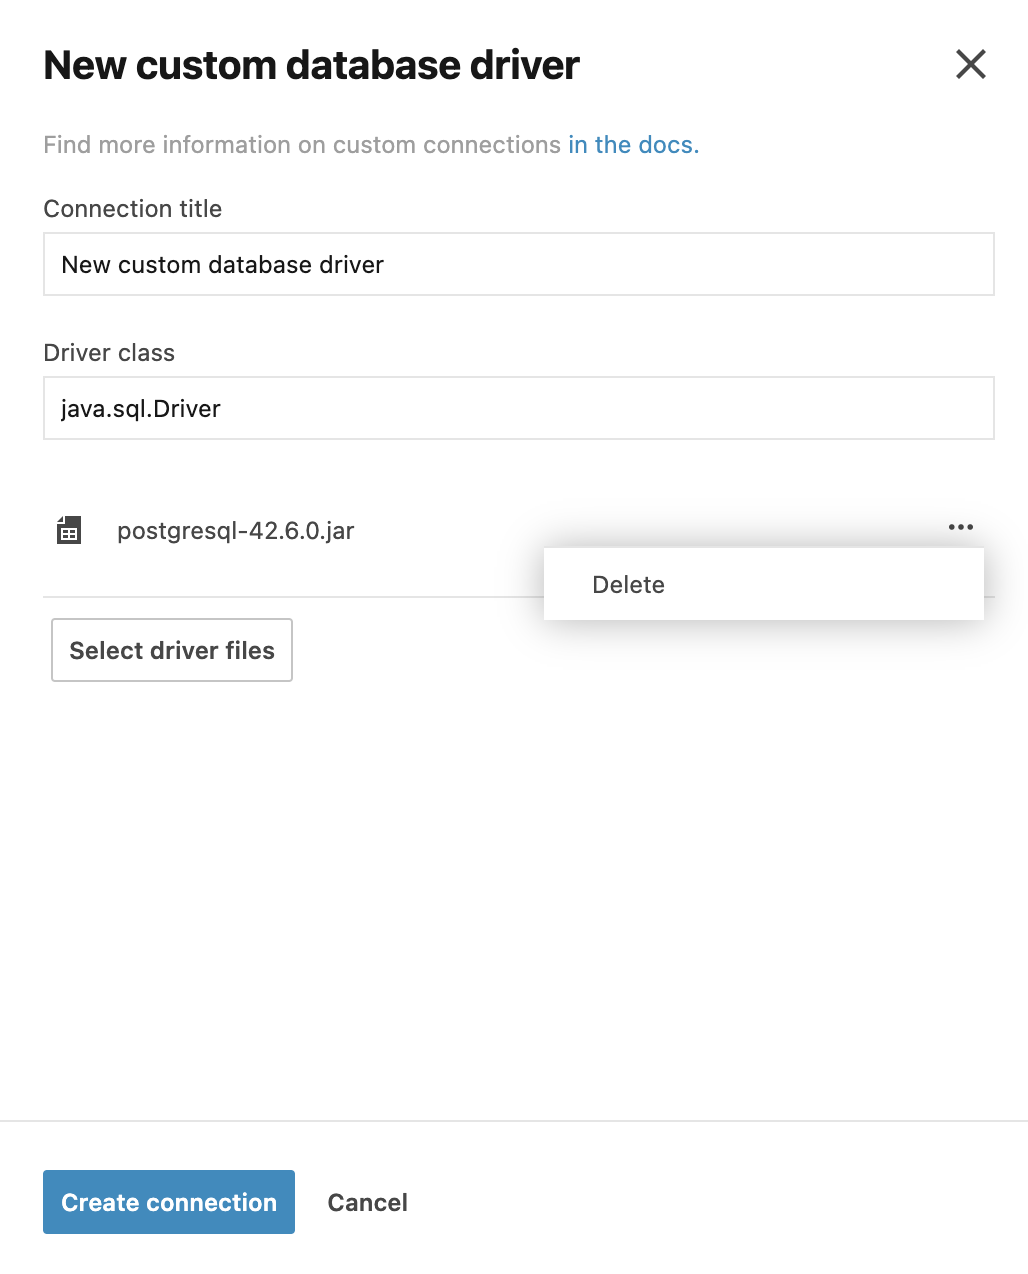
In the New custom database driver dialog, provide a connection title and a driver class in the respective fields.
Click the Select driver files button. This will open your file browser window.
Use the browser window to find and select the driver file.
(Optional) To cancel adding the selected file, do one of the following:
Click Stop while uploading the file
Click the ellipsis after the file is uploaded and select Delete

After the file browser window is closed and the file is uploaded, click the Create connection button. This will add the selected driver to the list and close the dialog.
Result
The added driver will be presented as a custom database type in the New database connection dialog.
Manage custom JDBC drivers
Go to . Under Supply custom database driver files, you can view the list of all added driver files.
Click the ellipsis for the driver you want to edit and select Edit from the dropdown menu.
In the Edit custom database driver dialog, make the required changes.
To save the changes and finish the procedure, click the Update connection button.
Delete custom JDBC drivers
Go to . Under Supply custom database driver files, you can view the list of all added driver files.
Click the ellipsis for the driver you want to delete and select Delete from the dropdown menu.
In the confirmation window, click the Delete custom driver button.