Export assembly to project
The ultimate step in exploring an assembly is exporting it to a Visual Studio project so that you can browse the source code, build and debug it.
Independently of the original programming language, which was used in the assembly, the exported project is created using C#.
Export an assembly to a Visual Studio project
Select an assembly in the Assembly Explorer window and click Export to Project
.png) on the toolbar, or choose Export to Project in the context menu.
on the toolbar, or choose Export to Project in the context menu.In the Export to Project dialog that appears, specify a destination folder where the project is exported. In this folder, the wizard will create a subfolder for your project.

If the [DestinationFolder]/[ProjectSubfolder] is not empty, dotPeek detects it and suggests overwriting the existing files, cleaning the folder before export, or choosing another folder.
Change the project name if necessary.
Tick Create *.sln file if you want a solution to be created for the project.
Visual Studio compatibility for the created solution file depends on the .NET Framework version used in the assembly. For instance, if the assembly uses .NET Framework 4.5 a Visual Studio 2012 solution is created.
Tick Create *.pdb file to create the debug information file for the project.
Tick Add project to Assembly Explorer if you want to add the decompiled project to the Assembly Explorer window and study project structure, files, and so on.
Tick Open project in Visual Studio if you want to open the project right away.
Click Export to finish.
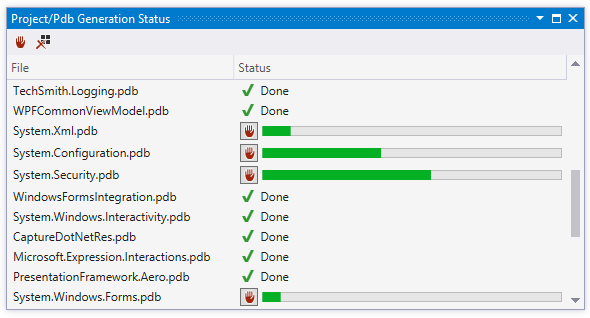
You can watch the progress of exporting the assembly in the Project/PDB Generation Status window.
