Manage extensions
Extensions add extra functionality such as additional context actions, code analyzers, support for programming languages, and so on. To simplify the process of installing, updating and uninstalling different extensions, dotCover provides a manager that does all routine operations for you automatically. You can browse all available extensions and install them with a couple of clicks.
Install an extension
From the main menu, choose .
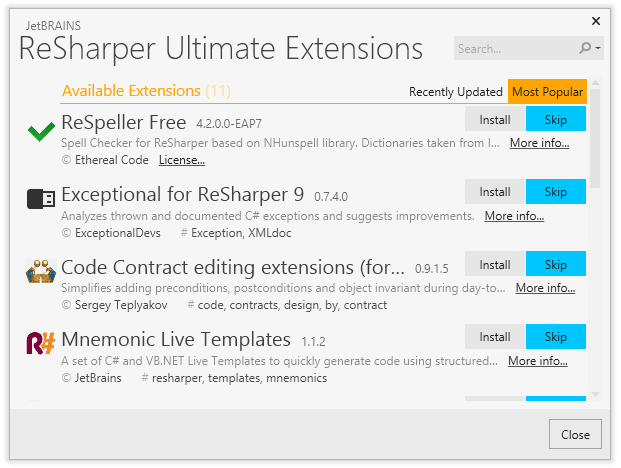
In the Extension Manager dialog that opens, check out available extensions.
Extensions listed in this dialog are taken from available extension package sources. By default, only JetBrains Marketplace is enabled as a package source, but you can add your own package sources.
Click Install next to the extension you want to add, read and accept the Third-party plugins privacy note, and then click Install at the bottom of the dialog.

You can also install personal or company-wide extensions, which can be located anywhere. As soon as you add a new extensions package source, you can install extensions from this source; there is no difference whether it is local or remote. So if you have a set of extensions developed in your company, there is a need to distribute them publicly.
dotCover extensions are distributed as NuGet packages. Consult the ReSharper DevGuide to learn how to create and pack the extensions.
Add a new source to the list of package sources
Select from the main menu , then choose on the left.
Click Add
.png) .
.In the Add Package Source dialog that appears, specify a display name for the new source and a local or remote file system path or a custom NuGet feed.
Click OK to add a new item to the list of package sources.
Click Save in the Options dialog to apply the modifications and let dotCover choose where to save them, or save the modifications to a specific settings layer by choosing this layer from the Save To selector. For more information, see manage and share dotcover settings.
Install an extension from a local .nupkg file
Select from the main menu , then choose on the left.
Click Add
.png) .
.In the Add Package Source dialog that appears, specify any display name for the new source and chose the directory where the .nupkg file with the extension is located, then click OK.
Optionally, you can clear the checkbox next to the default package source (JetBrains Marketplace) if you are only going to use your local extension.
From the main menu, choose .
Find the extension from your local .nupkg file and click Install.