Running code using a virtual environment
This article demonstrates the use of Python's venv module to create and manage isolated virtual environments. It includes setting up a virtual environment, installing dependencies, freezing dependencies to a requirements.txt file, and running a sample Python script that uses an external library.
Isolation: ensures that the project's dependencies do not interfere with other projects.
Portability: easily share and recreate the environment on different machines.
Dependency management: use
pipto install and manage project-specific dependencies.Reproducibility: share the exact environment setup using
requirements.txt.
Step 1: Set up a project
Create a project directory and open the directory in JetBrains Fleet.
Select from the main menu or press ⌃ ⇧ ` to open the Terminal view.
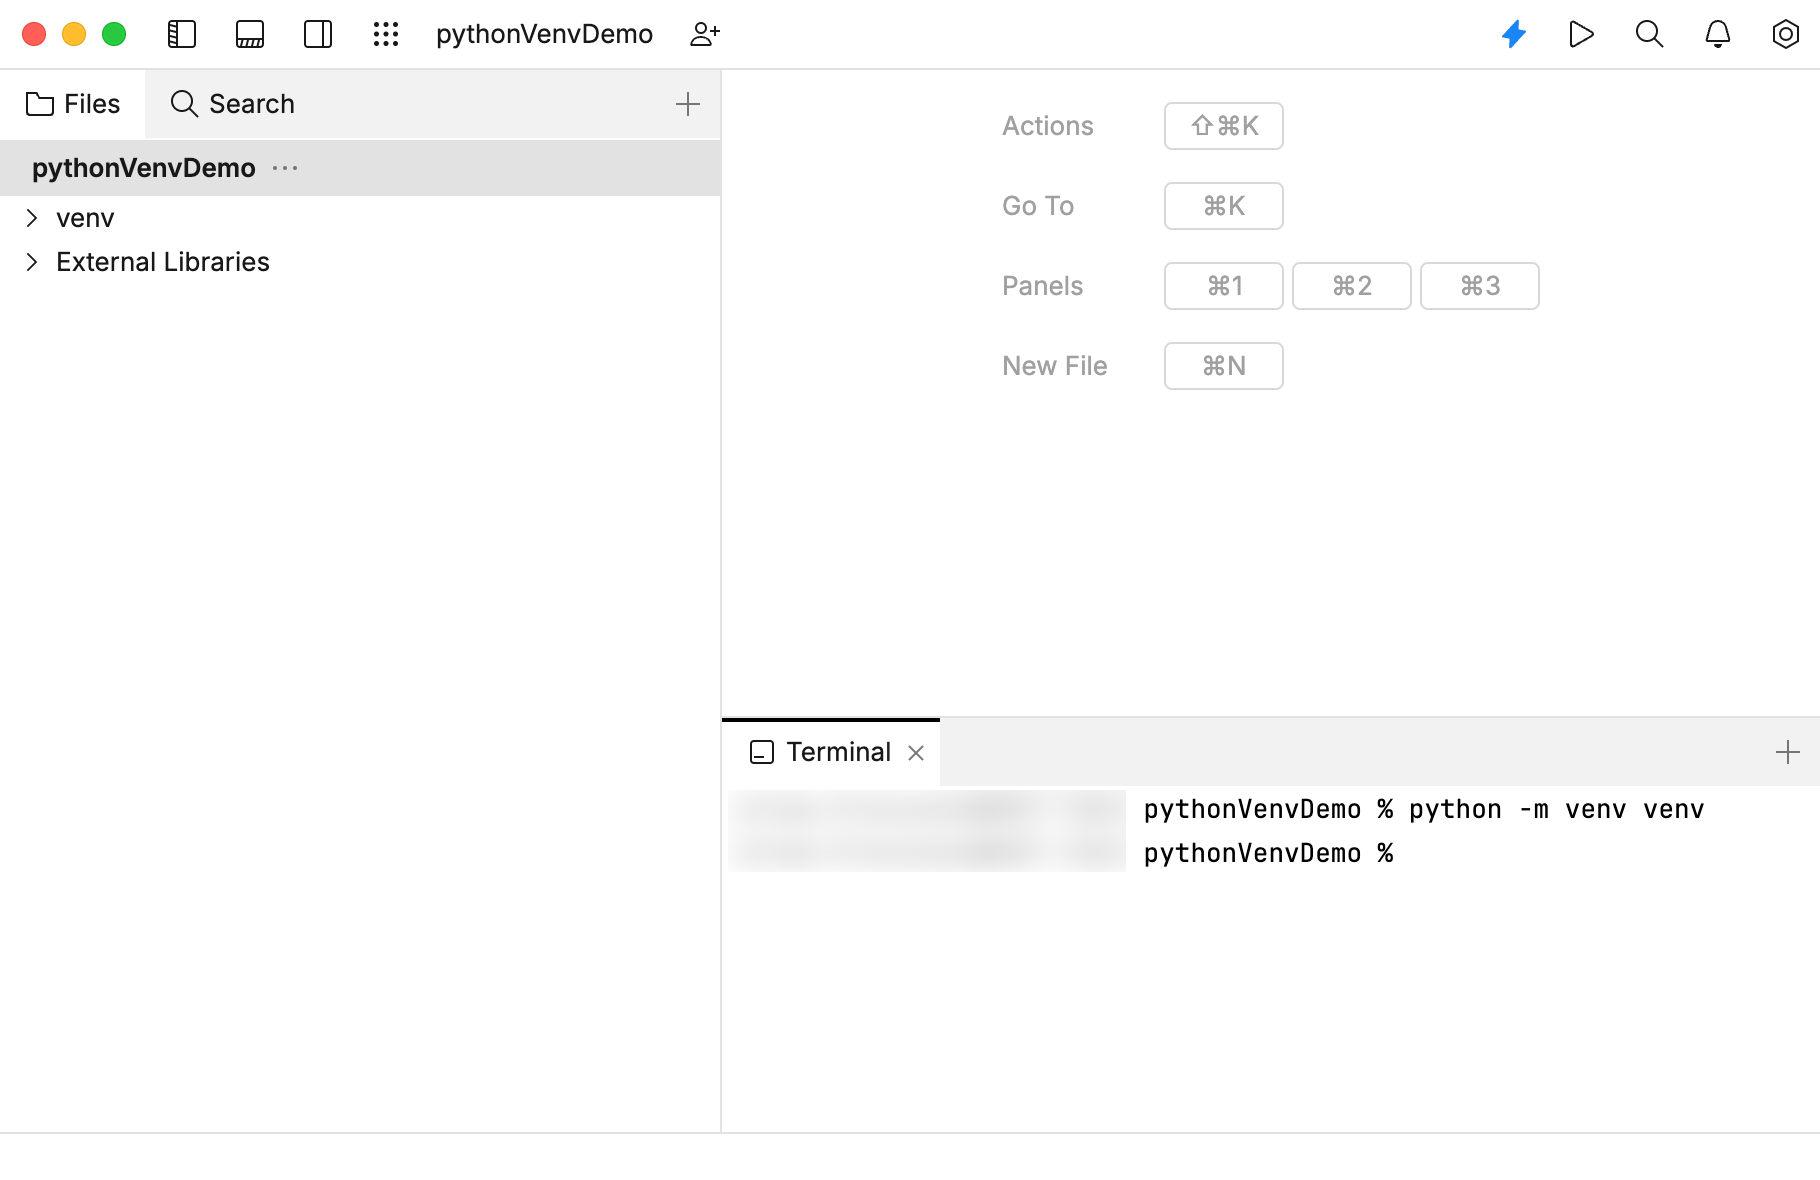
In the Terminal tool, type the following command to create a virtual environment.
python -m venv venvPress ⏎.
The venv module creates a virtual environment named venv.
Step 2: Activate the virtual environment
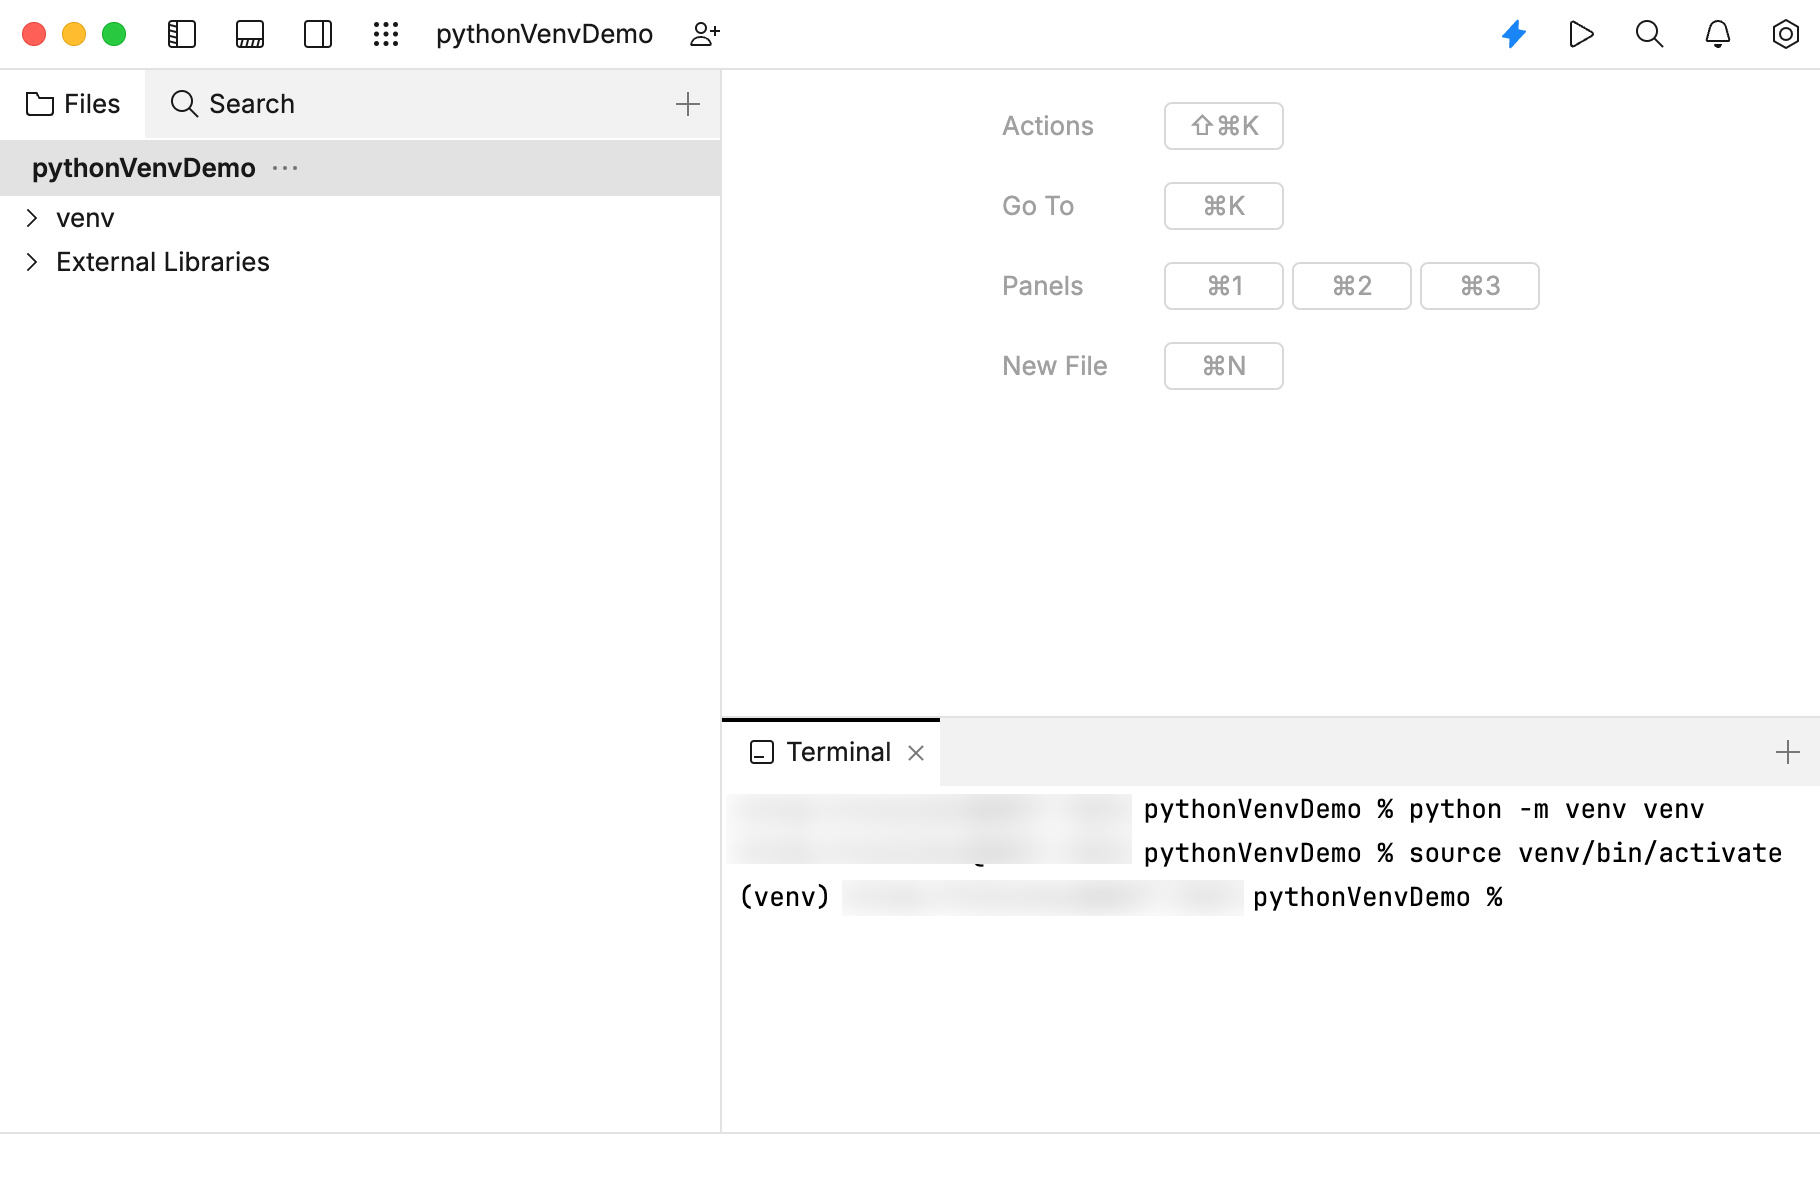
In the Terminal tool, type and run the following command to activate the virtual environment based on your operating system.
On Windows:
venv\Scripts\activateOn macOS and Linux:
source venv/bin/activate
Step 3: Install dependencies
In the Terminal tool, type and run the following command to install the
requestspackage within the virtual environment.pip install requestsTo verify the installation, you can run the following command in the Terminal tool.
pip listThe Terminal tool should display
requestsin the list of installed packages.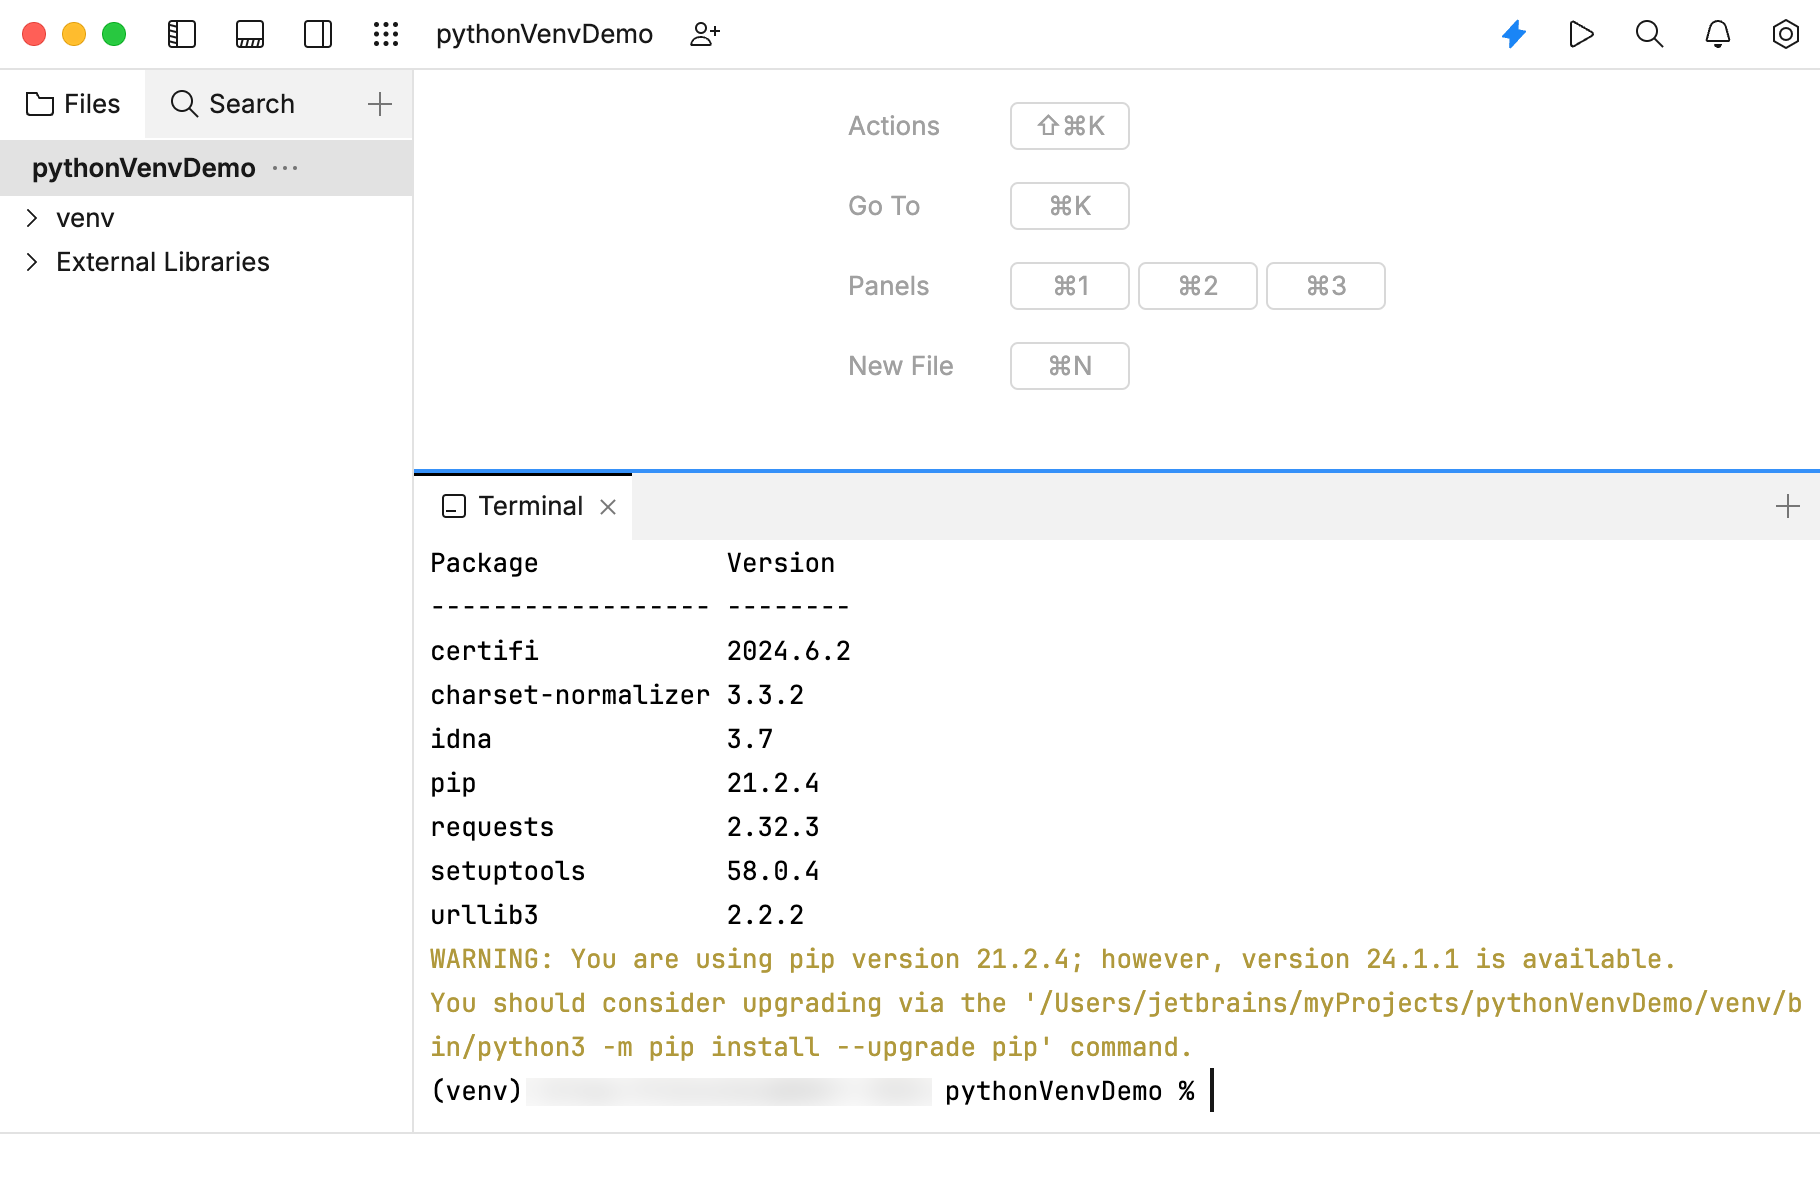
Step 4: Capture installed dependencies
In the Terminal tool, type and run the following command to create a requirements.txt file to capture the installed packages.
pip freeze > requirements.txt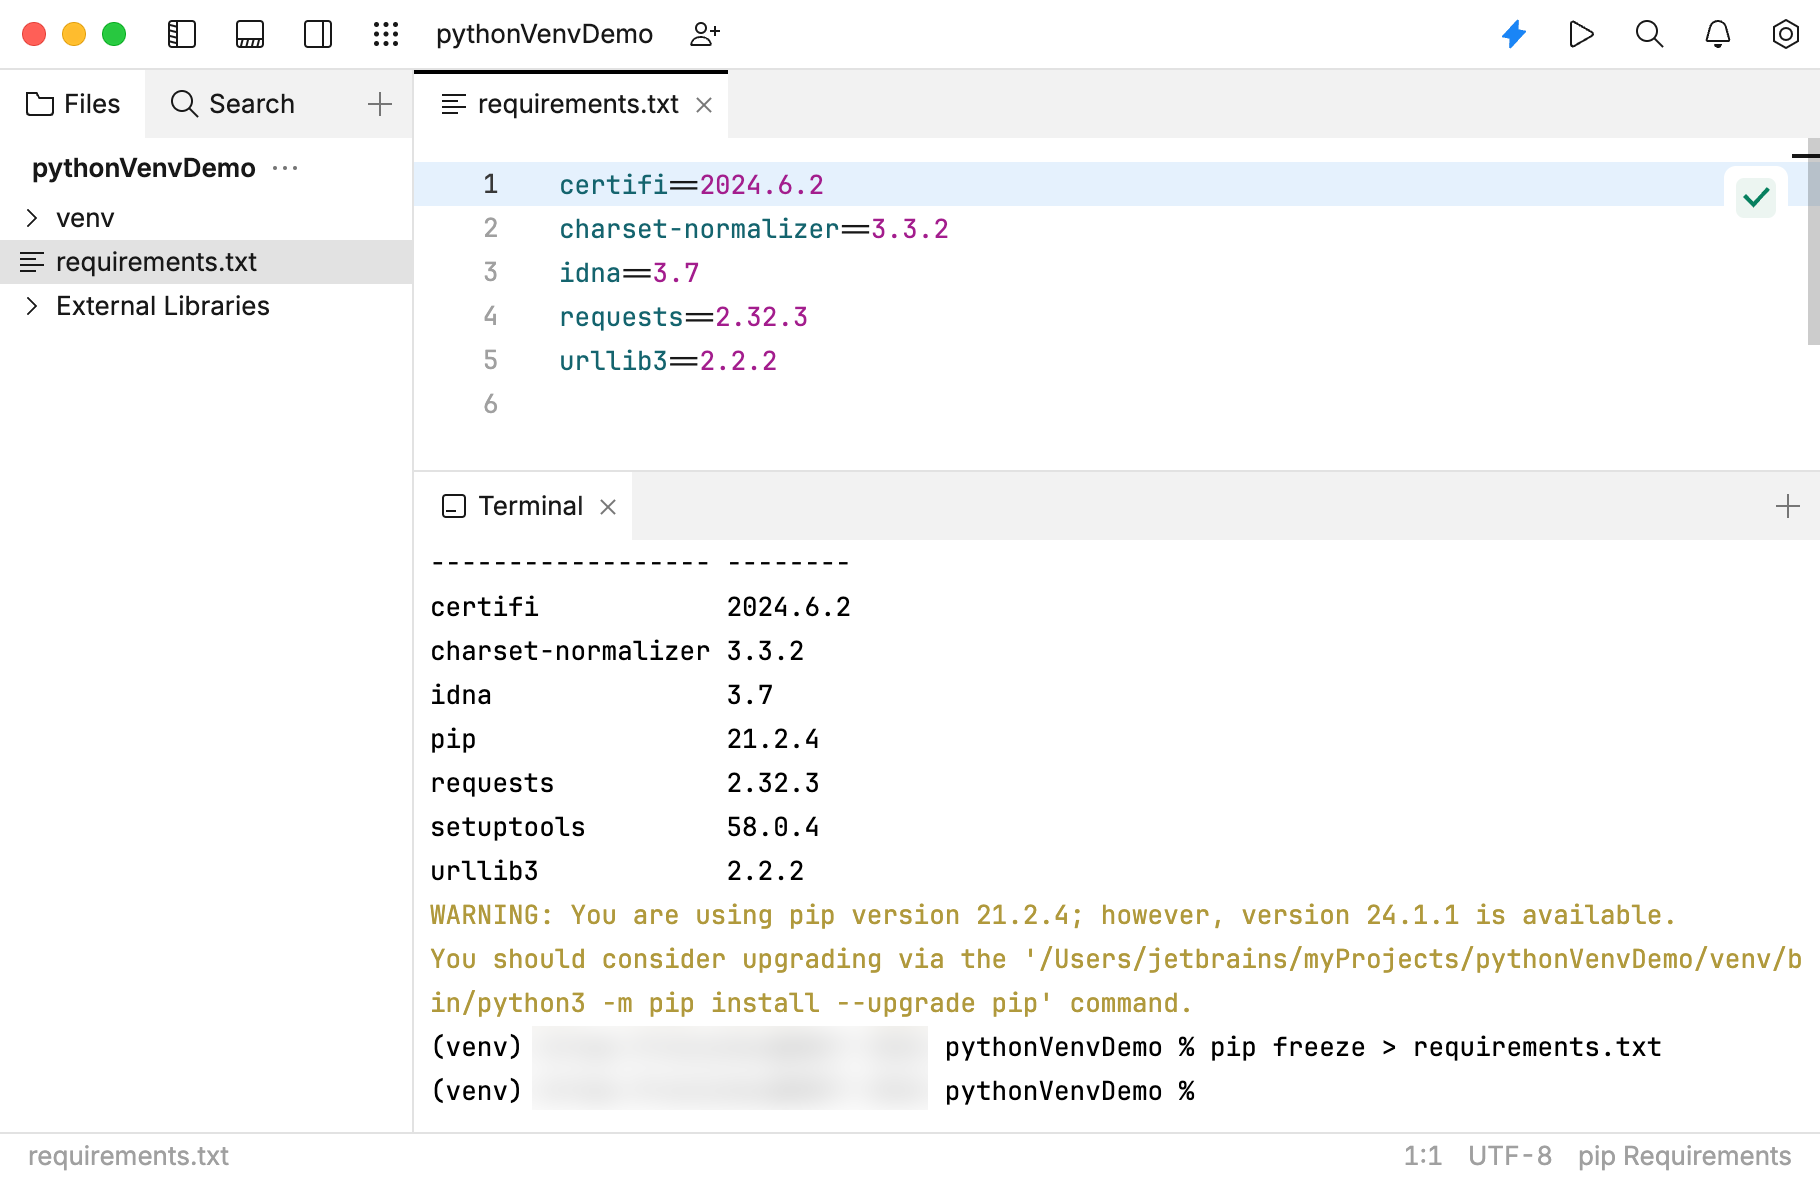
Step 5: Create a Sample Python Script
Select from the main menu to open the Files view.
Select from the main menu and name the file as main .py.
Copy and paste the following code to main.py.
import requests response = requests.get("https://api.github.com") print(response.json())
Step 6: Share your project
Share Python files from your project and requirements.txt. Consider the following example on github.com.
The project has the following structure:
The project has the following structure:
pythonVenvDemo/ ├── README.md ├── main.py └── requirements.txt
Step 6: Recreate the Environment (on a different machine)
Clone or copy the project directory.
If you use the example from this tutorial, you can run the following command in the Terminal view:
git clone https://github.com/apronichev/pythonVenvDemo.gitIn the directory pythonVenvDemo of the cloned project, run the following command in the Terminal view to create a new virtual environment:
python -m venv venvIn the Terminal tool, type and run the following command to activate the virtual environment:
On Windows:
venv\Scripts\activateOn macOS and Linux:
source venv/bin/activate
In the Terminal tool, type and run the following command to install dependencies:
pip install -r requirements.txt
Tips and tricks
Configuring the Python interpreter
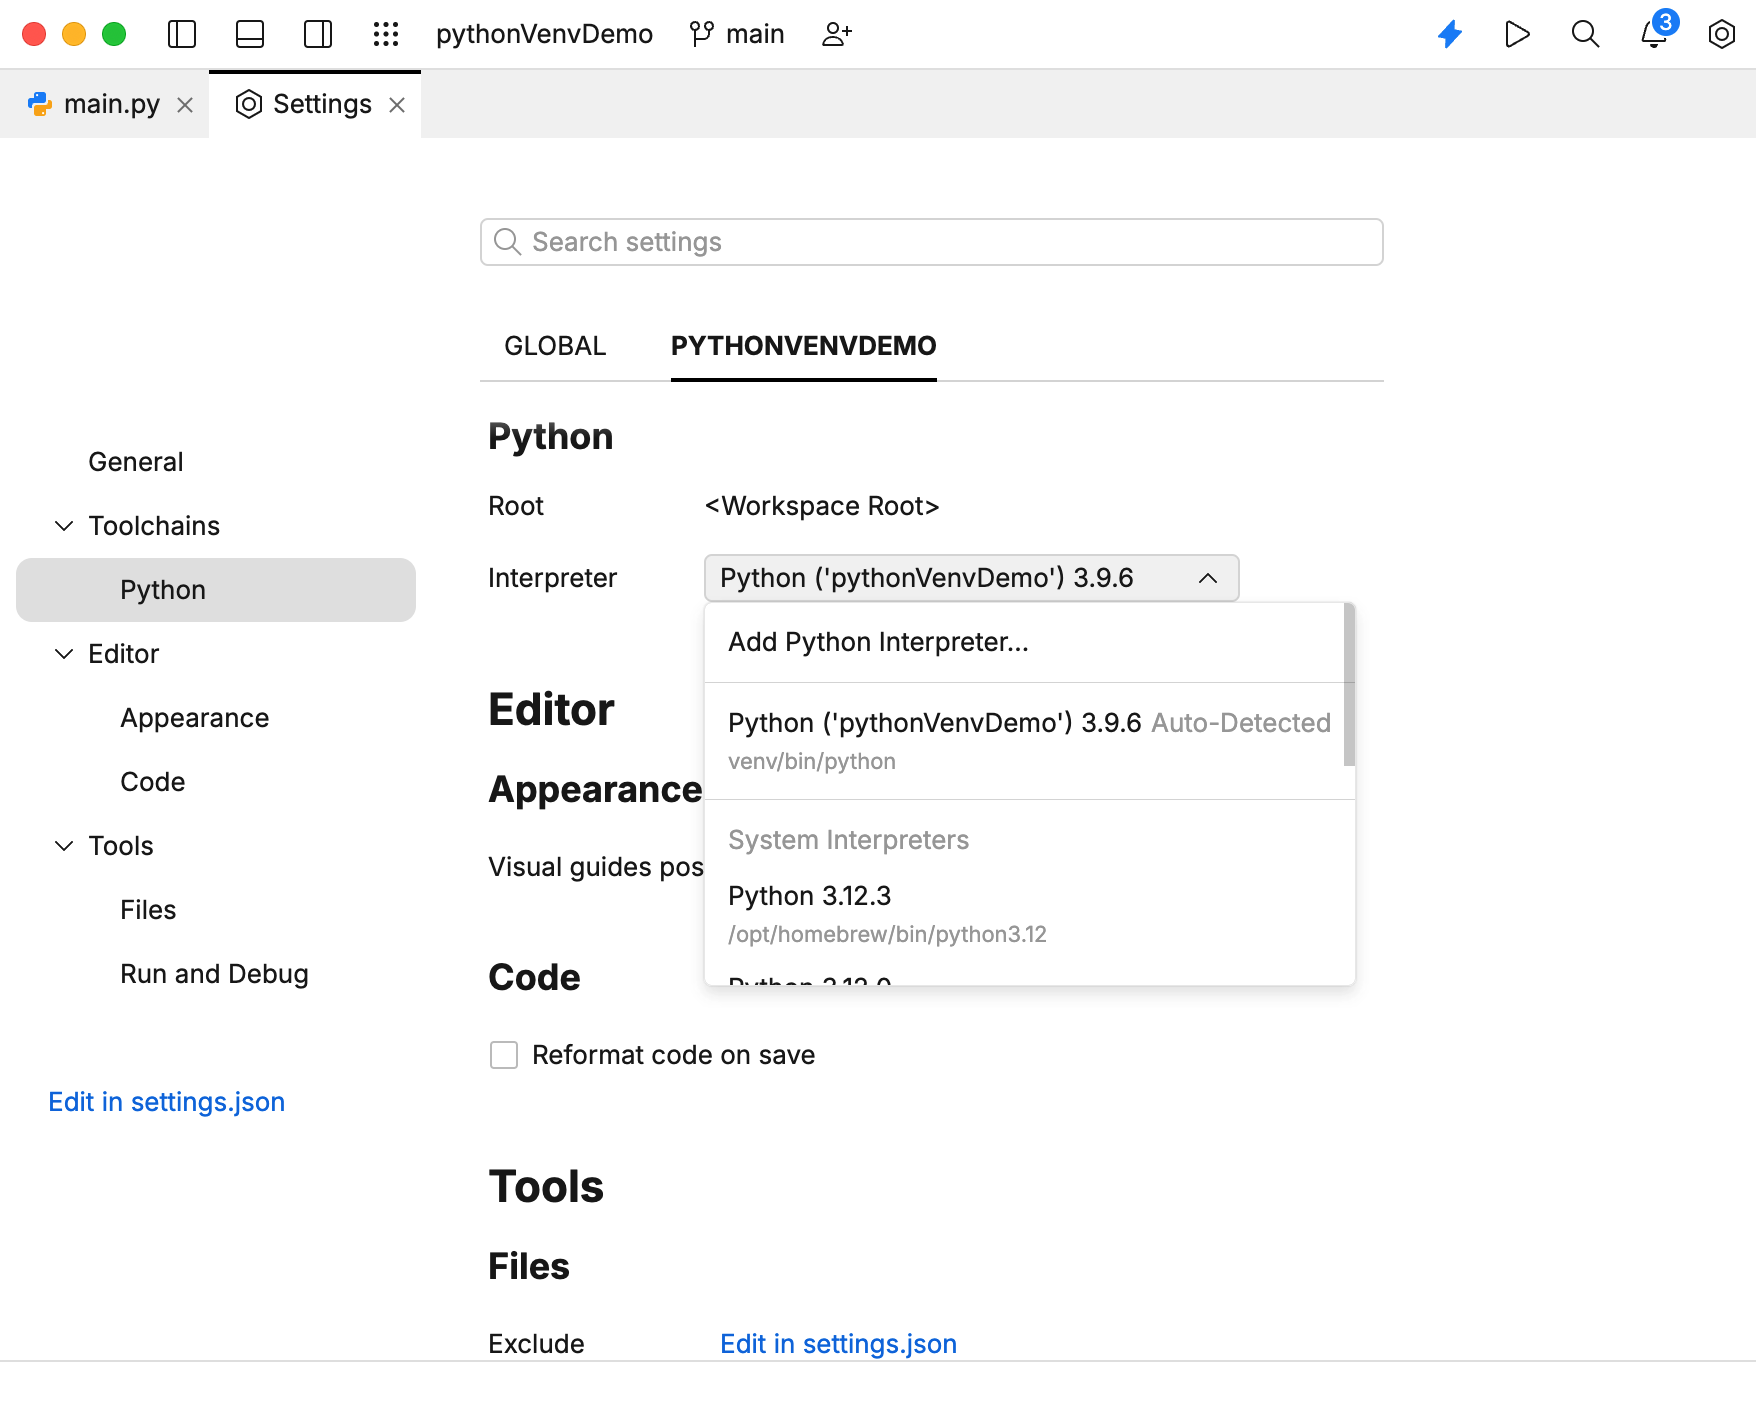
Press ⌘ , to open settings, then click the tab with the name of your workspace.
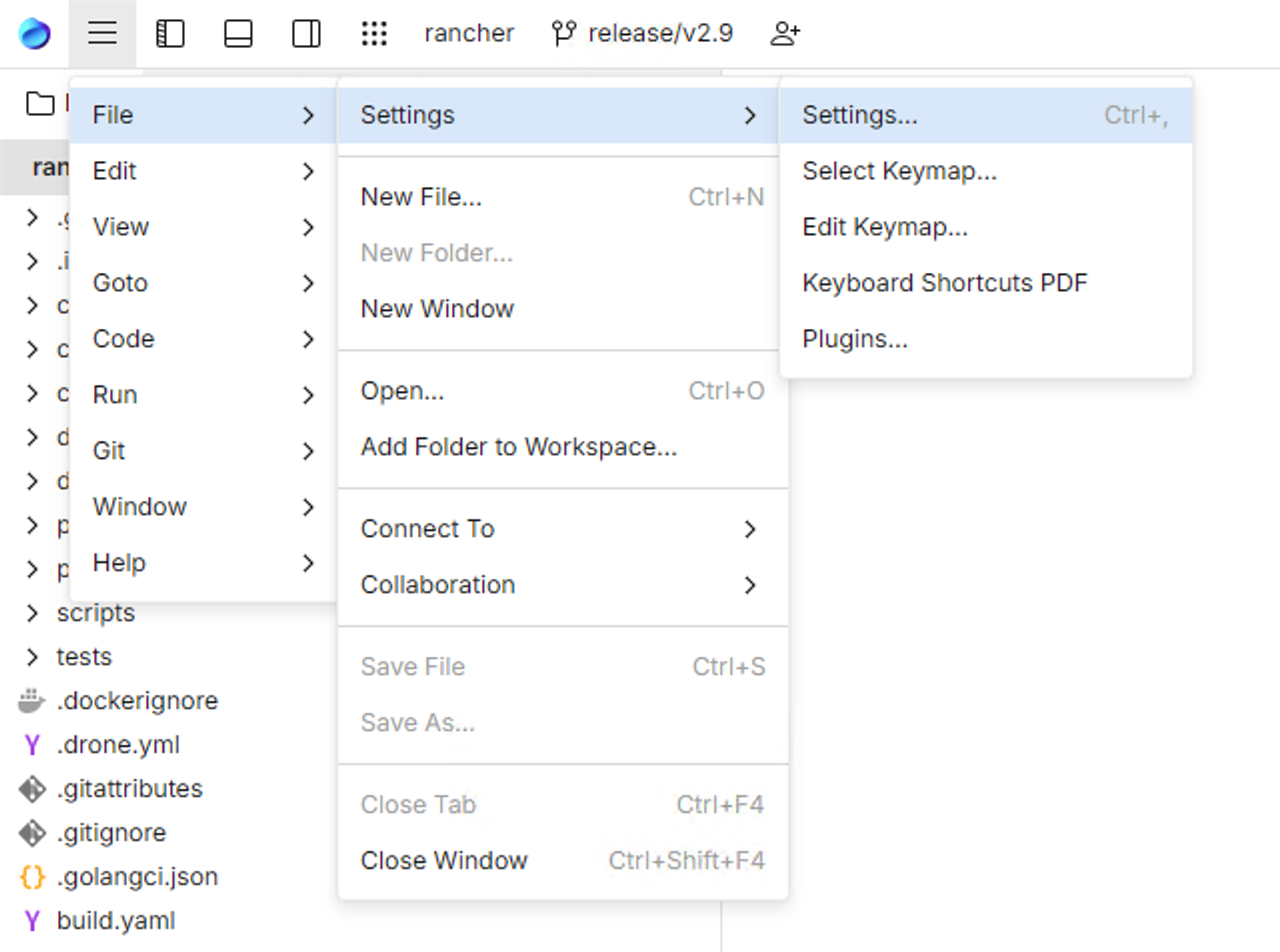
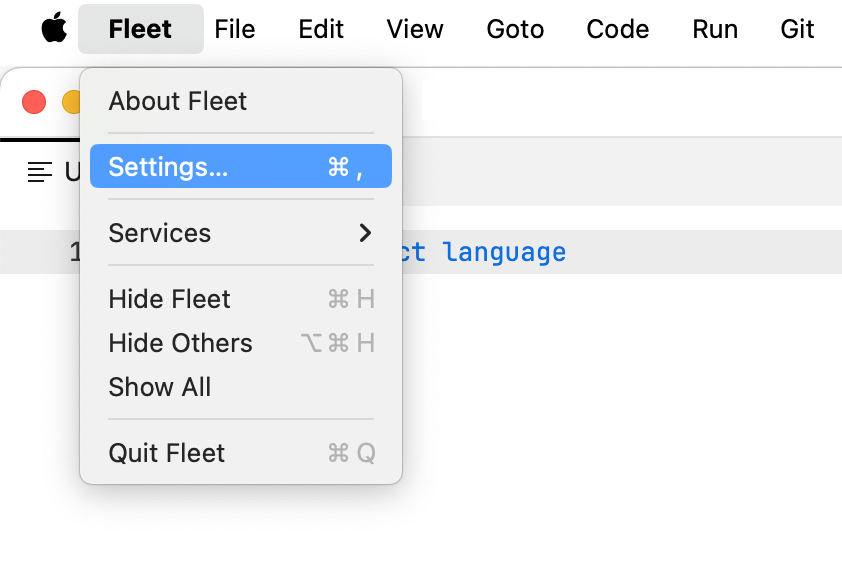
Alternatively, to open settings, you can use the main menu:
Windows and Linux: click the Menu icon and navigate to .
macOS: from the main menu, click .
Navigate to .
From the Interpreter drop-down menu, select the Python interpreter that you need.
Setting the custom path to the Conda executable
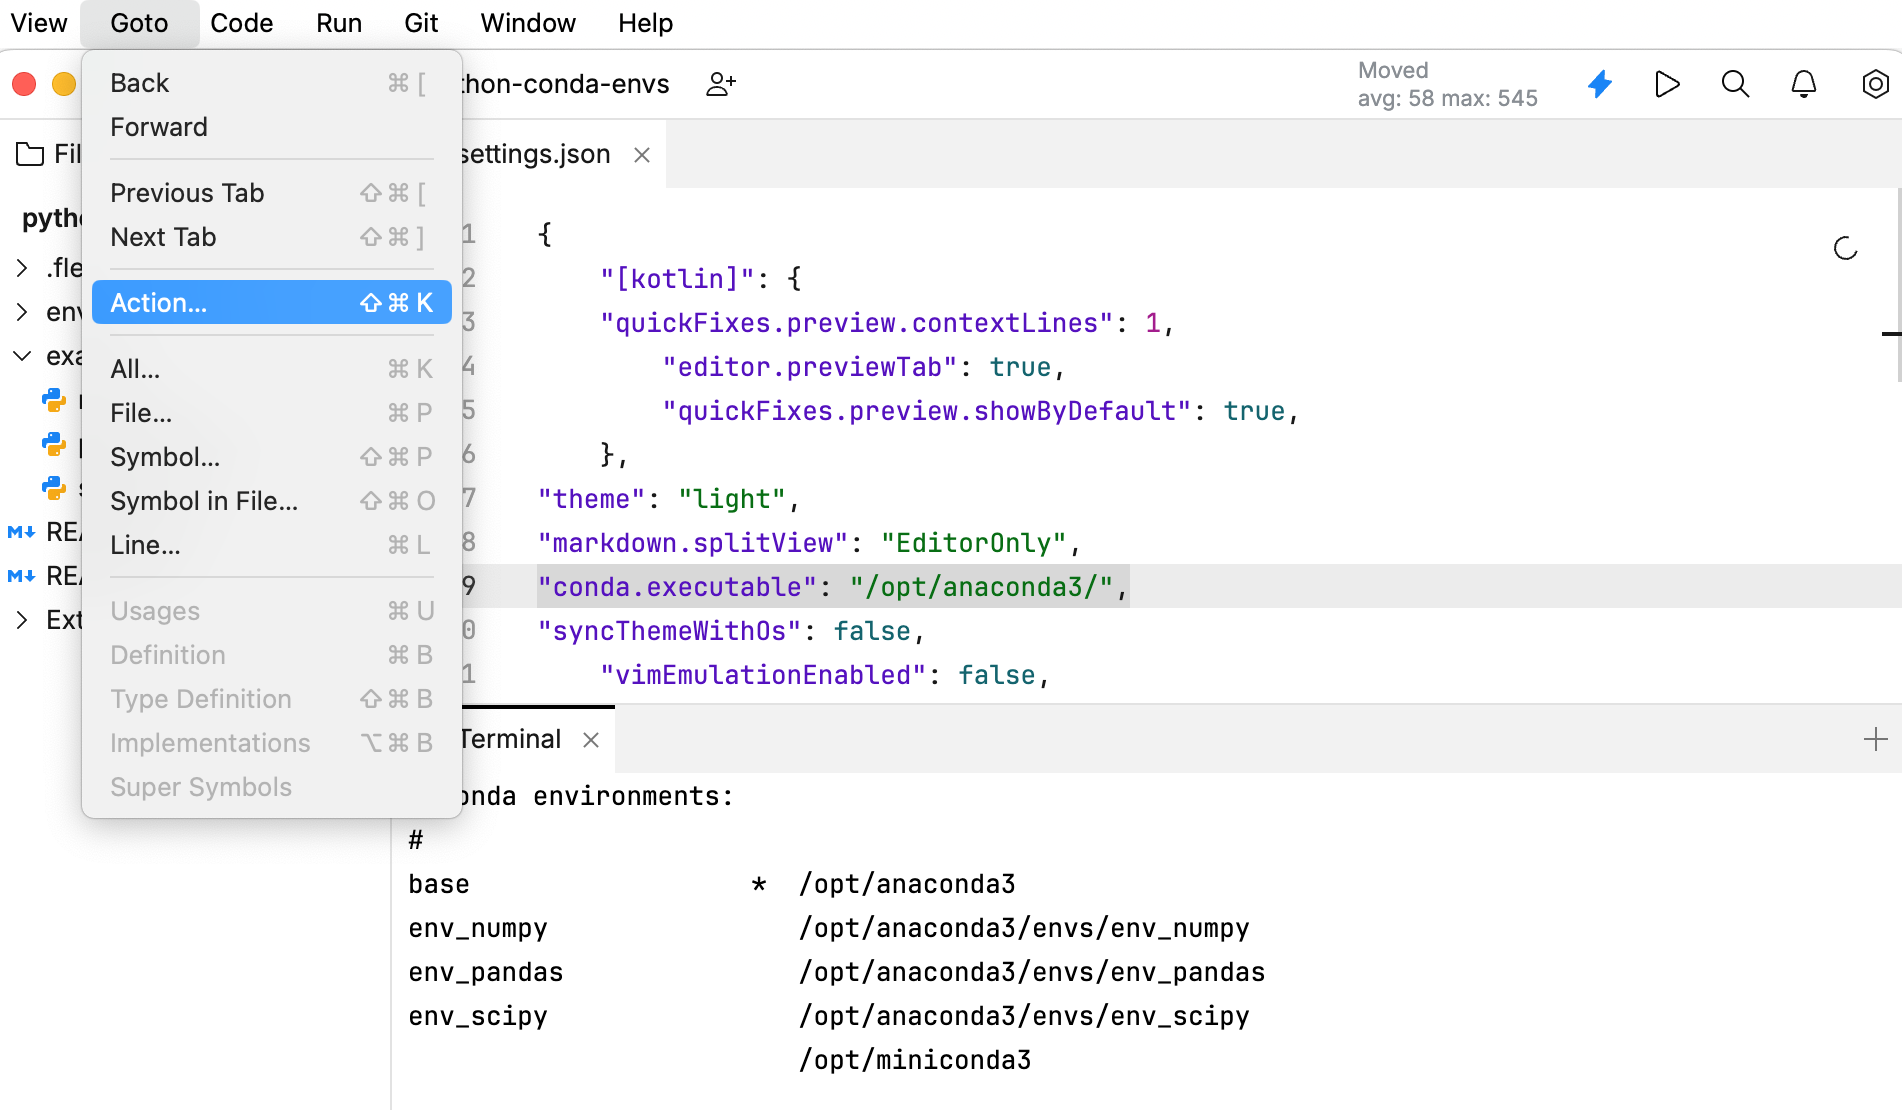
JetBrains Fleet can automatically detect all existing Conda environments. For this feature to work, Conda must be installed in a well-known directory or added to the PATH variable. If these conditions are not met, you can manually specify the Conda executable using the conda.executable settings key.
Navigate to in the main menu.
In the search field of the Actions tab, type
Edit Settings JSON File.Add the following key to settings.json, use your custom path to the Conda executable:
"conda.executable": "/opt/anaconda3/",The
conda.executablekey only works in global settings files.