SSL Keys
Hub supports uploading SSL keystores and trusted certificates. A client key is used to identify Hub as a client when connecting to a third-party server, whereas adding a server certificate as trusted means that you trust the server that possesses a respective key.

The uploaded SSL client keys and trusted certificates can be used to configure secure connection with supported authorization services.
Prerequisites
The keystore must be in
PKCS #12orJKSformat.The keystore must be password protected.
The keystore must contain a single entry.
Managing SSL Keystores
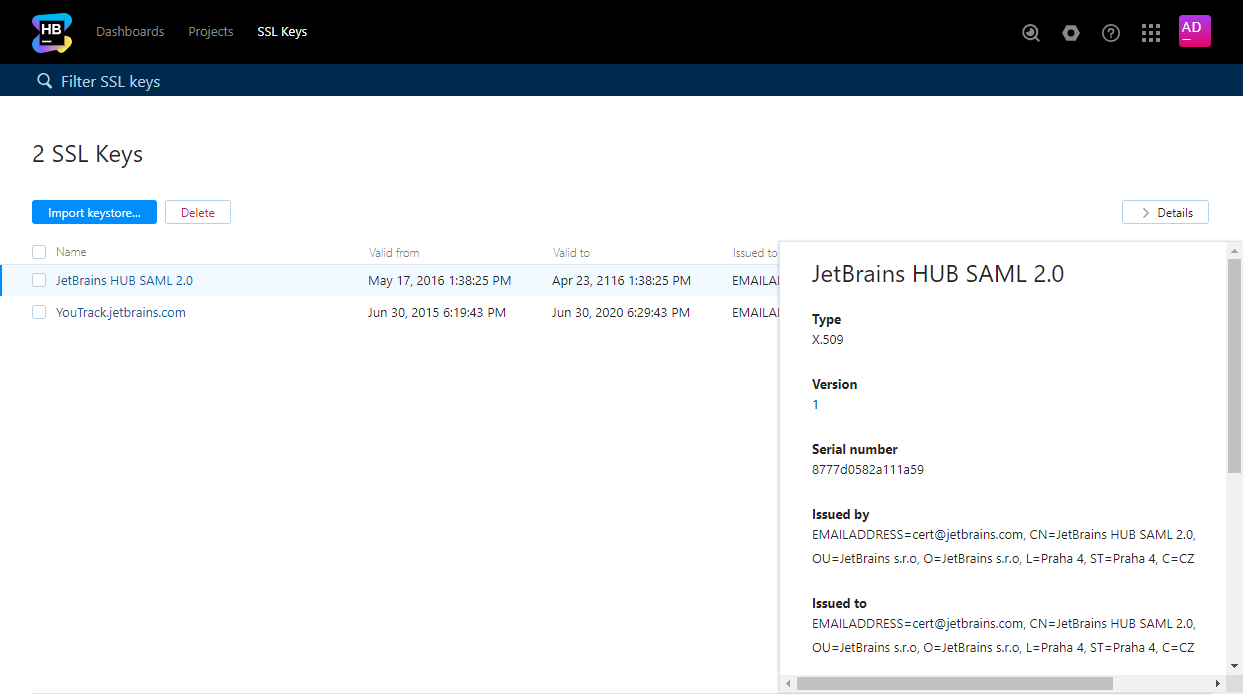
To view and manage SSL keys, open the page in Hub.
To upload a new SSL client key:
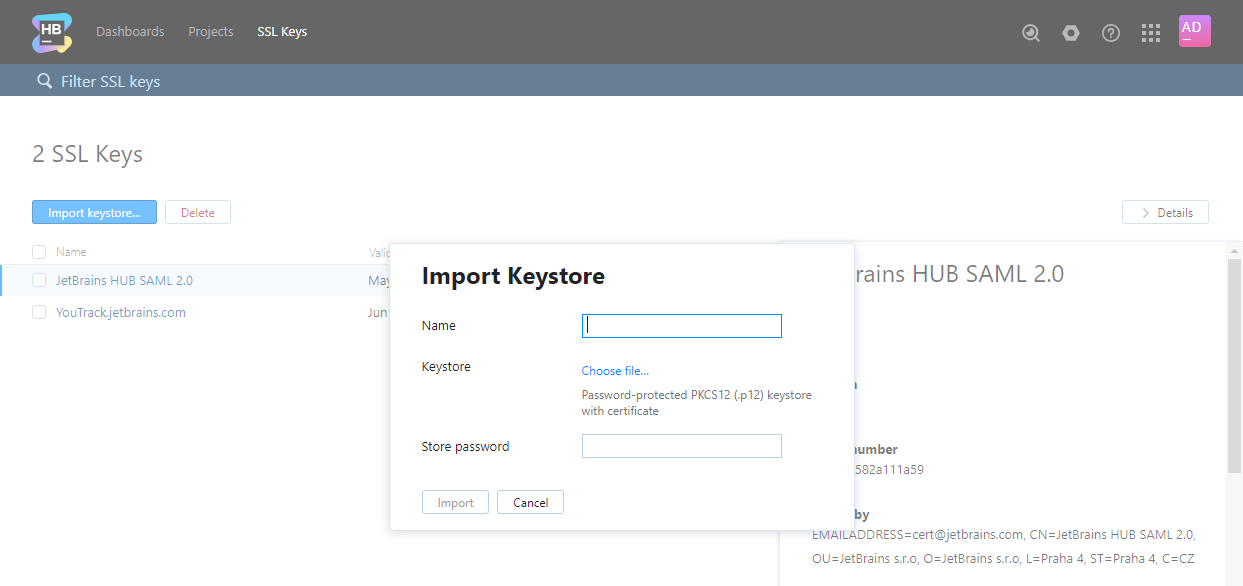
On the page, click the Import keystore button.
The Import Keystore dialog opens.

Enter a name for the new keystore and select the target keystore file on your local machine.
Enter your password for the keystore. Keystores without password protection are not supported.
Click Import to upload the keystore to Hub.
When the import is finished, the page with the keystore properties is displayed.
To quickly view the properties of an SSL key:
Select the key in the list.
Click the Details button to view properties of the selected SSL key in the sidebar.
To edit the name of an SSL key:
Click the name of the key in the list to open its properties page.
Edit the name and click Save button.
To remove an SSL key from Hub:
Select a keystore in the list.
Click the Delete keystore button in the toolbar.
Generate a Keystore File
There are several tools that let you create SSL keys and certificates in PKCS #12 format. We describe how to create an SSL key with the OpenSSL toolkit.
To create an SSL keystore with OpenSSL:
Generate a new 2048 bit RSA key with password protection:
openssl genrsa -des3 -out YouTrack_SAML.key 2048Generate a certificate request for the generated key:
openssl req -new -key YouTrack_SAML.key -out YouTrack_SAML.csrGenerate a certificate:
openssl x509 -req -days 365 -in YouTrack_SAML.csr -signkey YouTrack_SAML.key -out YouTrack_SAML.crtPackage the key and the certificate in a PKCS #12 file:
openssl pkcs12 -export -out YouTrack_SAML.p12 -inkey YouTrack_SAML.key -in YouTrack_SAML.crt -certfile YouTrack_SAML.crt -name "YouTrack SAML"You have a PKCS #12 keystore (
YouTrack_SAML.p12in the example) that is ready for upload to YouTrack.If you upload the keystore to secure connections to your YouTrack server, you can use the friendly name YouTrack SAML to refer to this certificate and private key when you set the value for the Alias in the HTTPS configuration.
To learn more, see Configure Built-in TLS in Web-based Configuration Wizard.