Manage Custom Attributes
Hub lets you enrich user profiles by adding custom attributes. These attributes can store various data points, including employee start date, employee ID, office location, job title, and much more. To store this additional information, you create custom attributes.
To access the current list of custom attributes:
Accessing Custom Attributes in User Profiles
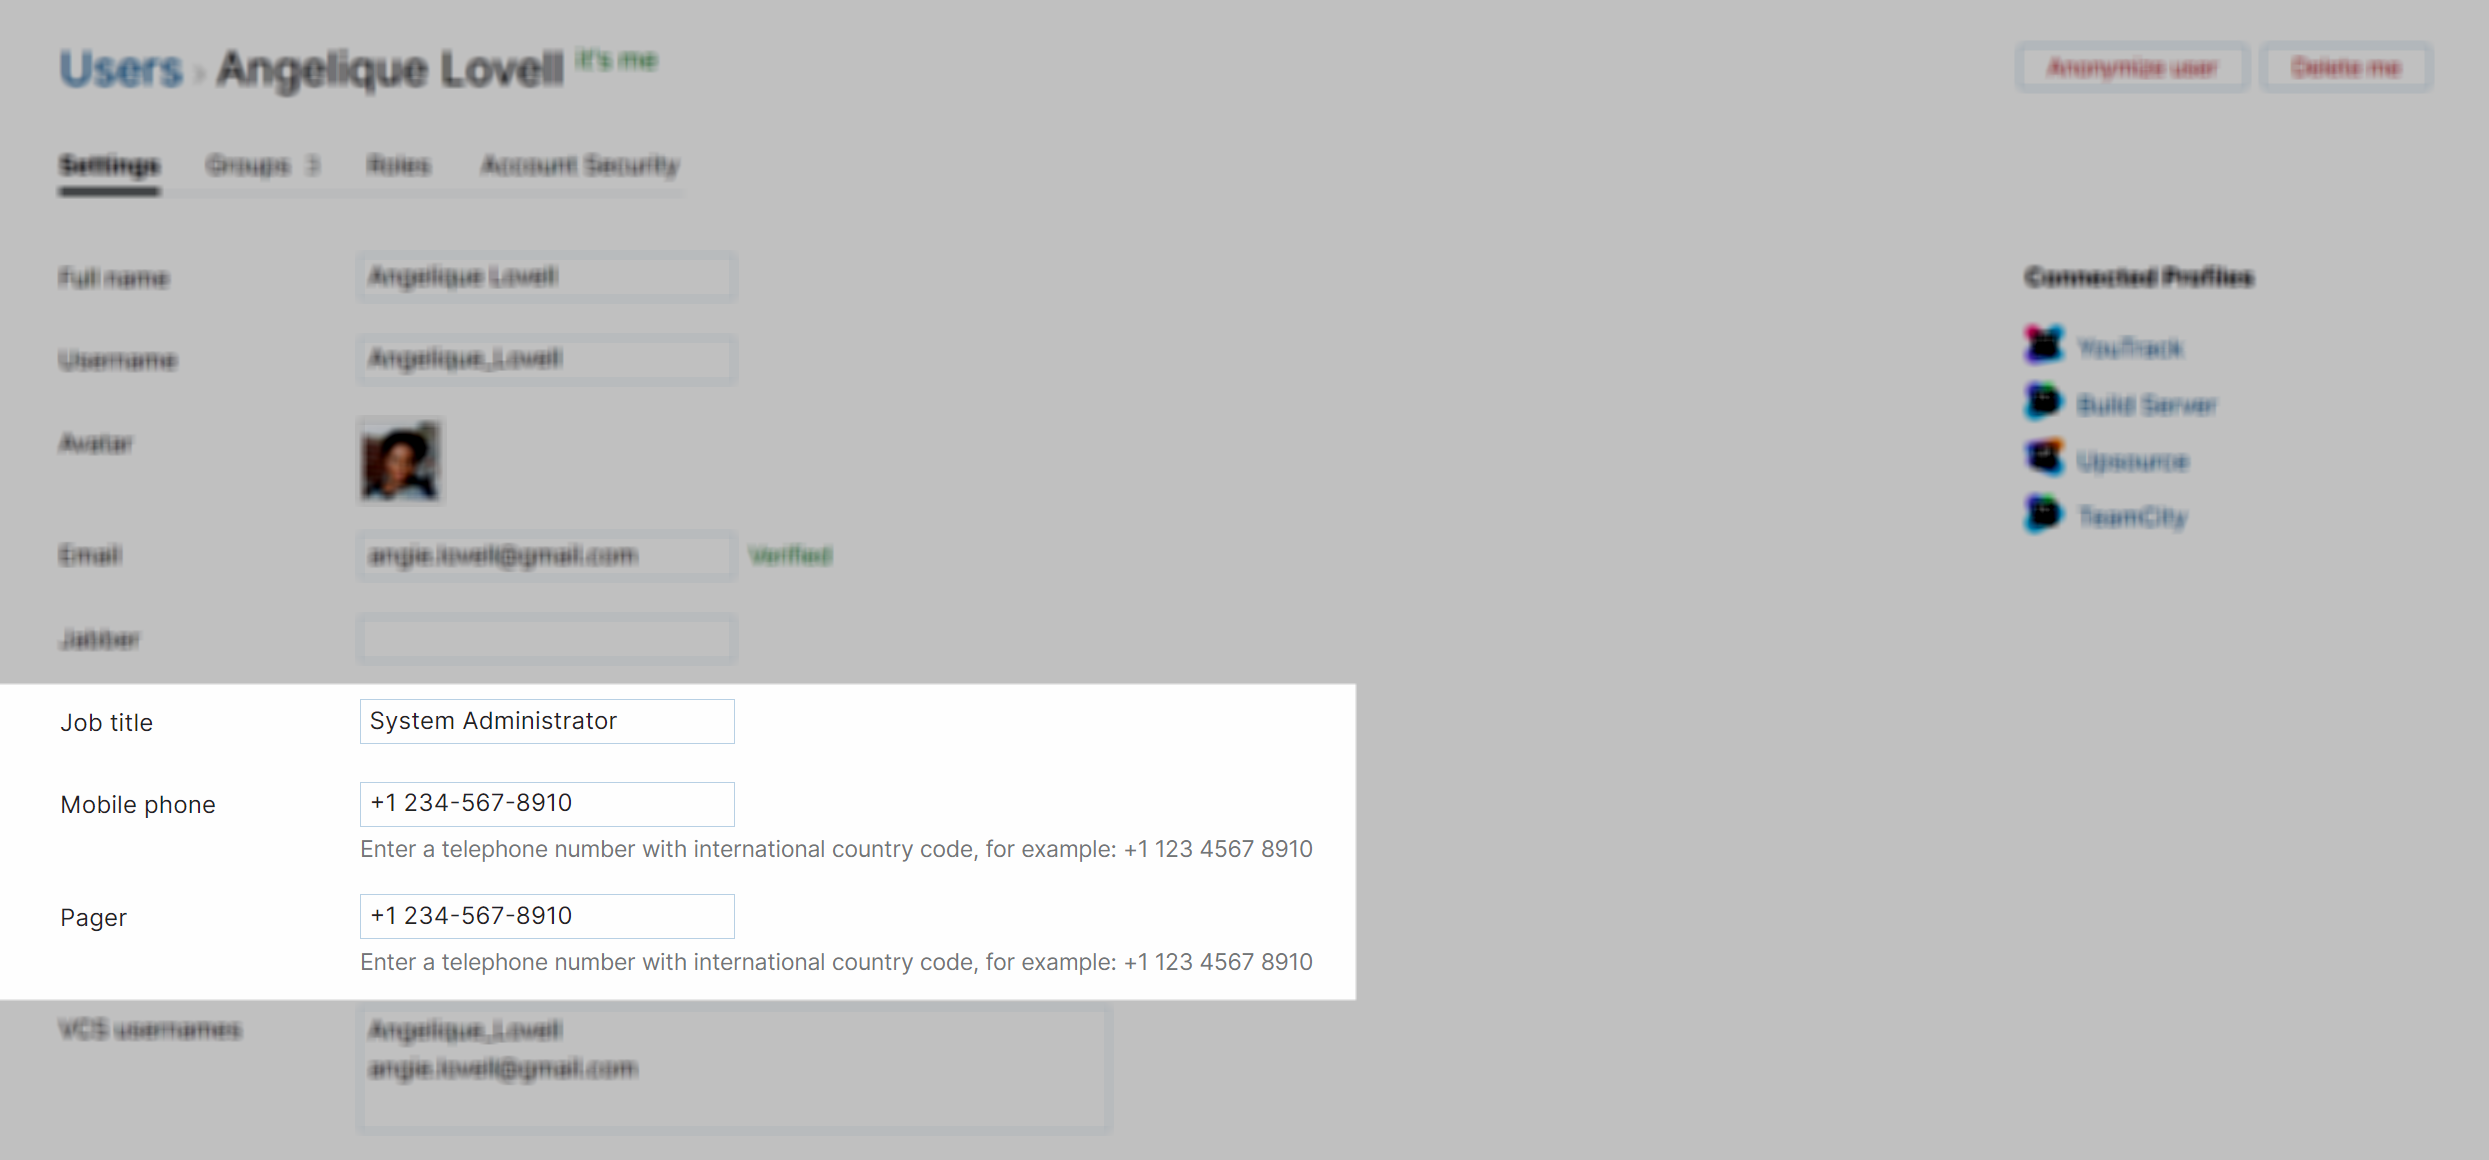
When custom attributes have been added to the system, fields for storing values for each attribute are added to user profile pages in Hub.

This information is available to the same groups of users who have permission to view and update all profile data. It is not accessible to users who only have access to read basic account information.
If you want to limit who can view and update user profile data, use the information in the following table as a guide:
Permission | Description |
|---|---|
Read Self | Grants users permission to view all profile attributes for their own accounts, including custom attributes. |
Read User Basic | Only grants permission to view the list of registered users and read the ID, username, name, and avatar for each user. This does not grant permission to view values for custom attributes. |
Read User Full | Grants permission to view all properties for all registered users, including custom attributes and authorization details. Implies Read User Basic. |
Update Self | Grants users permission to update all profile attributes for their own accounts. |
Update User | Grants users permission to update all user profile data. Implies Update Self and Read User Full. |
To learn how to customize the permission scheme in Hub, see Manage Permissions.
Add a New Custom Attribute
When you need to add an important piece of information to user profiles, add a custom attribute to Hub.
To add a new custom attribute:
In the Access Management section of the Administration menu, select .
Click the Manage custom attributes link in the header.
The Custom Attributes page opens.
Click the New custom attribute button at the top of the page.
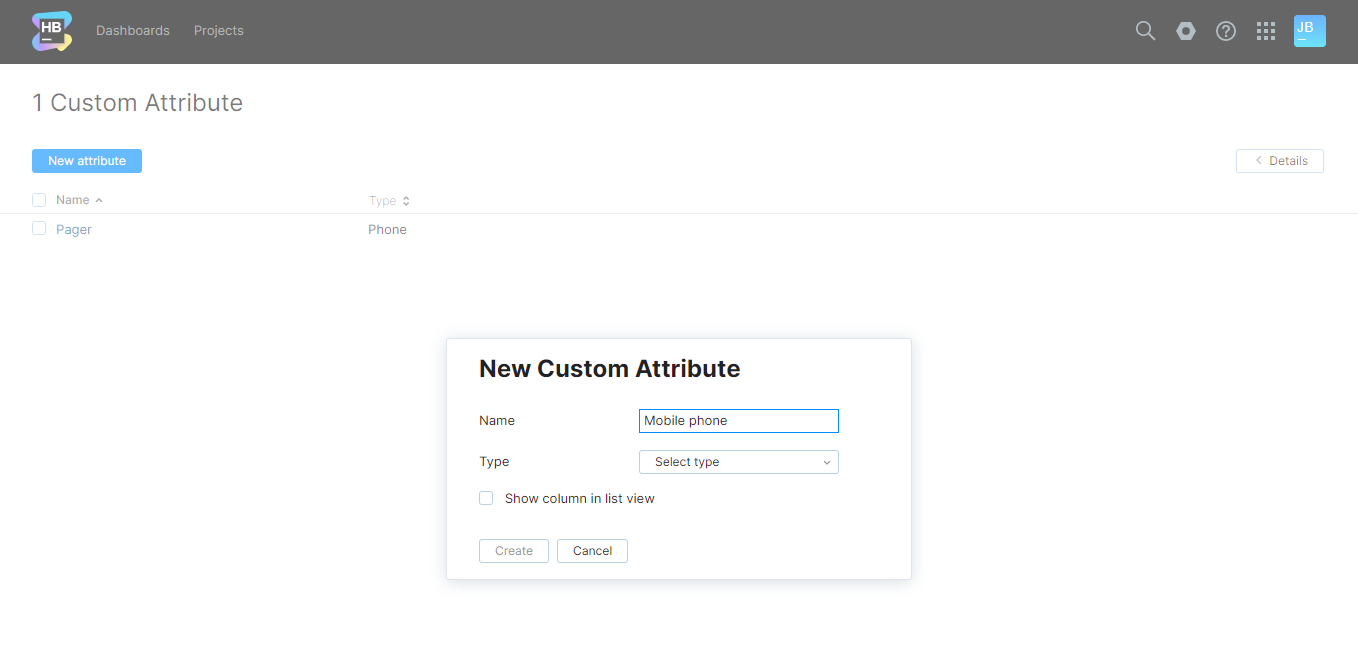
The New Custom Attribute dialog opens.

Enter values for the following settings:
Setting
Description
Name
Enter a name for the custom attribute.
Type
Select the type of information that you want to store for this attribute. You can choose to store the data as a string of text, a number, phone, email, or a password.
Once the attribute has been added to Hub, its type cannot be changed. Be sure to choose the type you want before you create it.
If you want to show values that are stored for each user account in the Users list, select the Show column in list view option.
Click the Create button.
A custom attribute with the specified name and type is added to every user profile in Hub.
Edit Custom Attributes
Once a custom attribute has been added to Hub, you can only update its name. The attribute type is only available in a read-only state.
To rename a custom attribute:
In the Access Management section of the Administration menu, select .
Click the Manage custom attributes link in the header.
The Custom Attributes page opens.
Locate the attribute in the list and click its name.
The detail page for the selected custom attribute opens.

Update the value for the Name setting.
Click the Save button.
The name of the custom attribute is updated in Hub.
Delete Custom Attributes
If you find that you are storing information in user profiles that is no longer required, you can delete this attribute from Hub. When you delete a custom attribute:
The attribute is completely removed from all user profiles.
Any values for this attribute that are currently stored in user accounts are deleted as well. These values are lost and cannot be recovered without restoring a copy of the database prior to the deletion of the attribute.
To delete a custom attribute:
In the Access Management section of the Administration menu, select .
Click the Manage custom attributes link in the header.
The Custom Attributes page opens.
Locate the attribute in the list and select it.
Click the Delete button in the header.
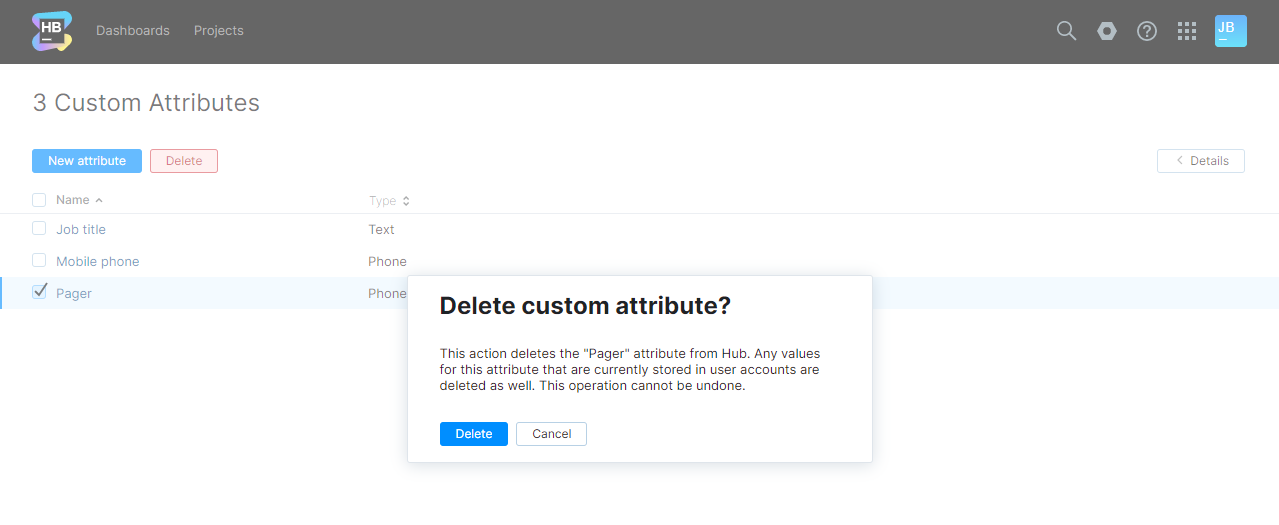
A confirmation dialog is shown.

Click the Delete button in the confirmation dialog.
The custom attribute is deleted.
