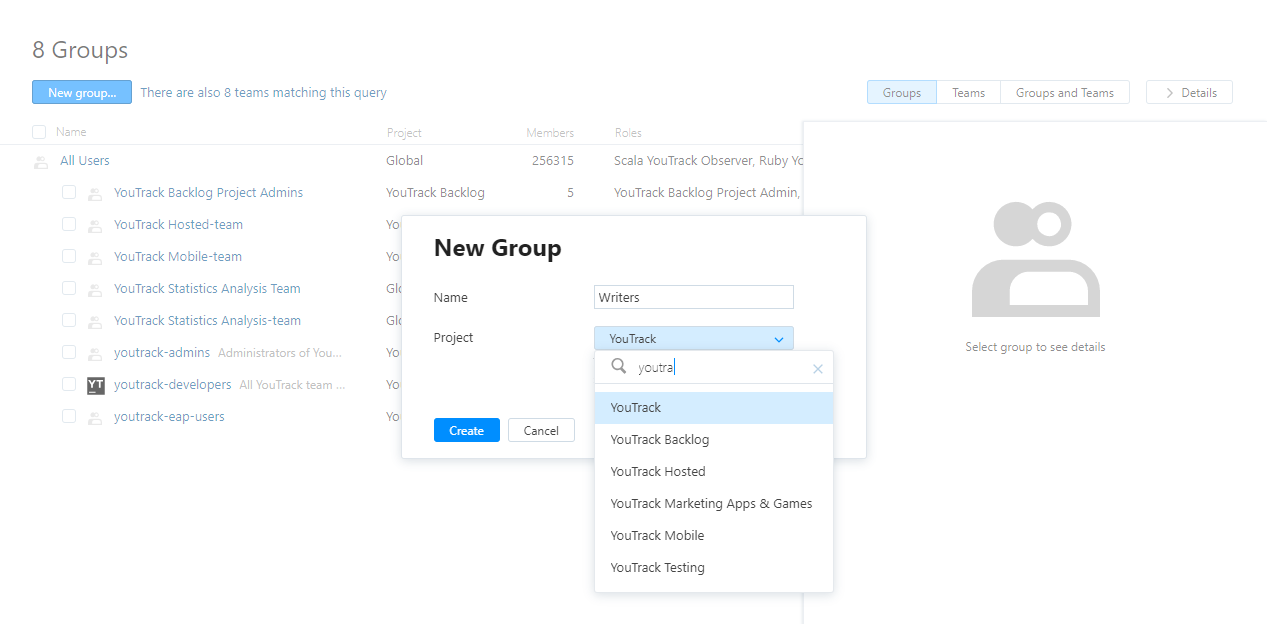
Create a Group
In Hub, a group is used as a resource in a project. The group defines how a collection of users gains access to the project. The access rights are defined by assigning one or more roles to the group.
A new group must be linked to at least one project. Once created, an existing group can be linked to multiple projects.
Use groups to provide a uniform set of permissions to a collection of users who perform similar tasks and require a non-standard level of access. To provide users with a standard level of access, simply add them to the project team. For more information, see Manage the Project Team.
In addition to the default user groups, you can create as many user groups as you need for your Hub instance.
To create a group:
In the Access Management section of the Administration menu, select .
Click the New group button.
In the New Group dialog, enter a name and select the project to which the group will belong. To narrow down the list of projects, start typing the project name.

Click the Create User Group button.
The new group is created. However it does not have any members or role assignments. Select one of the following tabs to perform the corresponding operation:
Tab
Operation
Members
Add one or more users to the group. For more information, see Add and Remove Members.
Settings
Edit the basic settings for the group. For more information, see Edit Basic Group Settings.
Access
Grant a role in one or more projects to every member of the group. For more information, see Manage Group Access.
Note that all of the groups in Hub are subgroups of the All Users group. Any new group inherits all of the roles that are assigned to the All Users group.
Why Do I Add a Group to a Project?
When you create a group, you must choose a project. However, this association between the group and the project doesn't grant the members of the group access to the project. To grant access, you must assign the group a role in the project.
The link between the group and the project determines who can manage the group. The permissions that let you manage groups are all assigned on a per-project basis. This means that you must choose a project that uses this group as a resource in order to view and update the group itself.
For example, let's say we have Project A and Project B in YouTrack.
The user 'John Johnson' is granted the default Project Admin role in project A. This role grants John the following permissions in project A (among others):
Read Project
Update Project
Read User Group
Create User Group
Update User Group
John does not have these permissions in project B. When John opens the Projects list, he only sees project A, and not project B.
John can create, read, and update the groups that he wants to use to assign roles in project A. He cannot see groups that are only linked to project B.
As an administrator, you have fewer limitations. By default, the administrator account is assigned the System Admin role in the Global project. This gives you the ability to update groups that are linked to any project in YouTrack.