Project Overviews
Each project in Hub has its own Project Overview page. To access this page, click the Projects link in the header, then select a project from the list.
The main purpose of this page is to give you and your team a more convenient way to view project-related information. It also serves as a landing page or “home base” for each project.
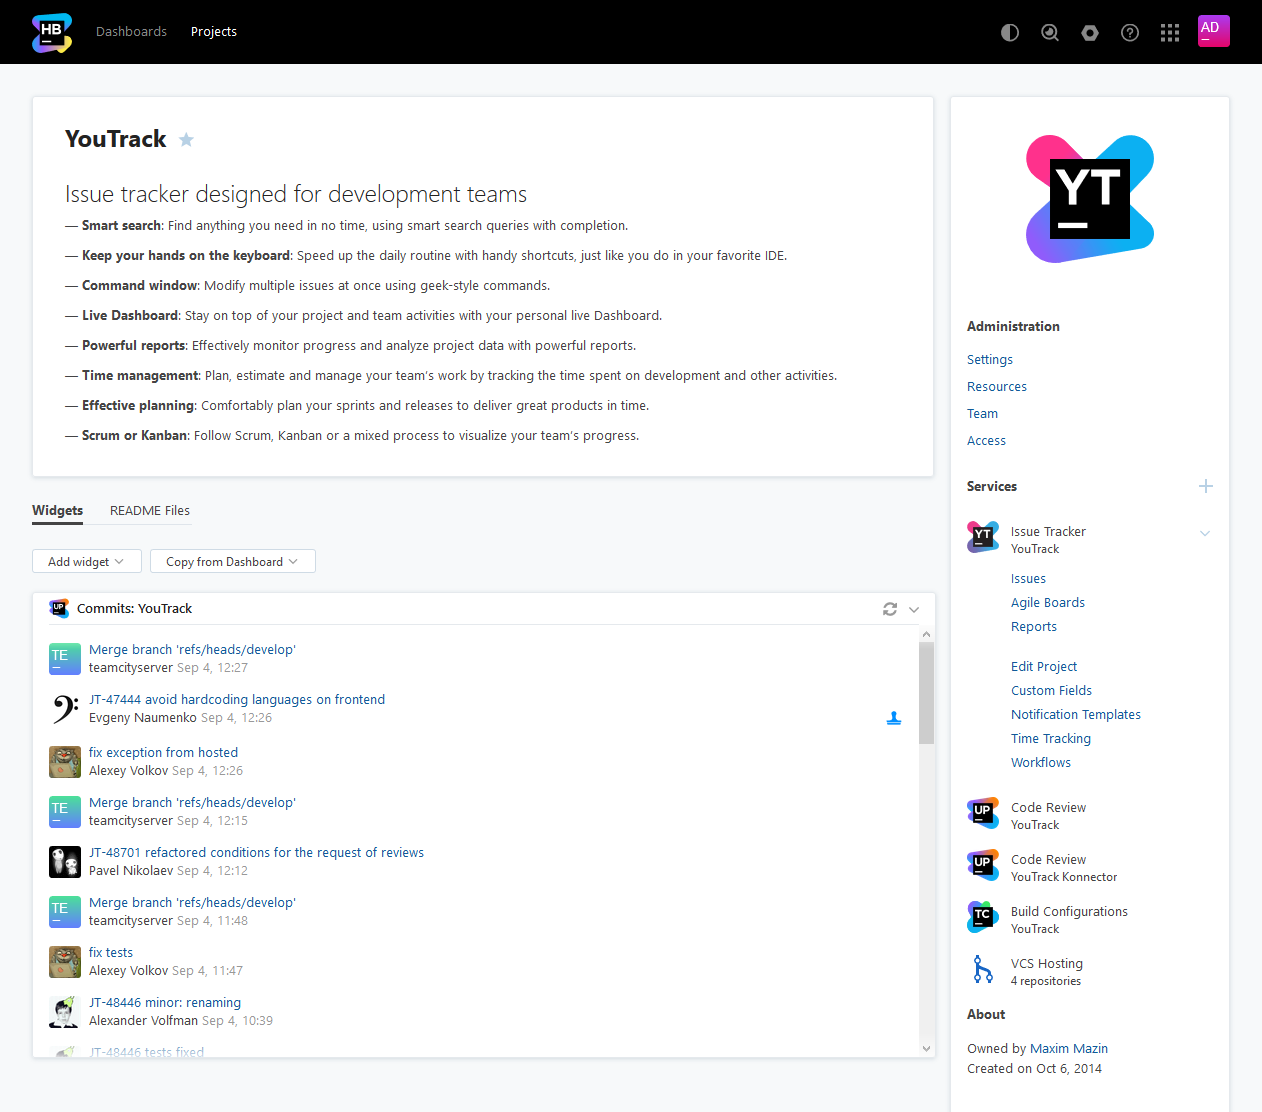
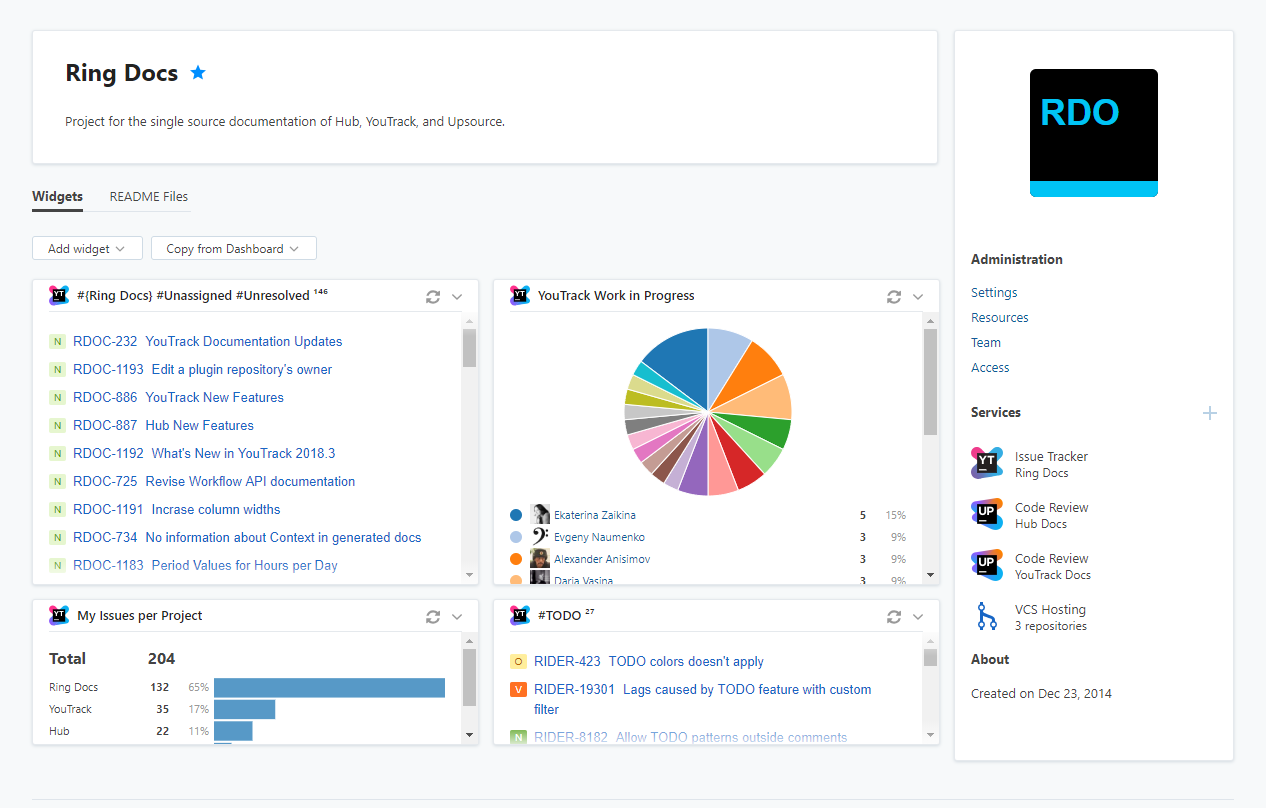
This page displays project-specific information like team members, the project description, and integrations. It also provides a dashboard-like interface where you can add widgets that let you monitor the activity in your project.

Project Name and Description
At the top of the page, you see the project name and description. This information is taken from the Settings tab of the Edit Project page. For more information, see Edit Project Settings.
To the right of the project name, you have the option to add the project to your list of favorites. This pins the project to the top of the project list. Favorite projects are marked with an orange star.
Widgets
The bottom of the project overview page contains a dashboard-like interface for displaying widgets. Here, you can install widgets that let you monitor the activity in your project.

The project overview page supports all of the widgets that are available on a dashboard, including custom widgets that have been installed in Hub.
To add a new widget to the project overview:
Click the Add widget button.
Select the type of widget you want to add to the dashboard.
Select the service to use as the data source for the widget.
Configure the widget settings.
Click the Create widget button.
The widget is added to the project overview page.
You can also copy a set of widgets from a dashboard to your project overview. If you have already set up a dashboard that is dedicated to your project, use this option to quickly configure your project overview page.
Note that the grid for displaying widgets on the project overview page is not as wide as the grid on the dashboard. After you import widgets from a dashboard, you may need to resize and rearrange the widgets to fit the display.
To import widgets from a dashboard:
In the Widgets section of the page, click the Add widget button.
Select the Import from dashboard option.
The Import widgets from another dashboard dialog opens.
Select the name of the dashboard from which you want to import. The list of dashboards is limited to the dashboards that you own or have been shared with a group where you are a member.
Click the Import widgets button.
All of the widgets that are stored in the selected dashboard are added to your project overview page.
If you have the Low-level Administration permission, the Add widget menu includes the Get more widgets option. Click this link to access the Custom Widgets page and browse for additional widgets from JetBrains Marketplace. For more information, see JetBrains Marketplace.
Project Sidebar
The project overview displays a collection of information and links in a sidebar to the right of the page. This sidebar is always visible. However, links to various settings are only visible to users who have the Read Project Full permission.
The sidebar is divided into the following sections:
Section | Description |
|---|---|
Project Logo | The project logo is displayed at the top of the sidebar. The logo is taken from the Settings tab of the Edit Project page. For more information, see Edit Project Settings. |
Administration | This section displays links to the respective tabs of the Edit Project page. Use these links to jump directly to the Settings, Resources, Team, or Access tab in your project. These links are visible to all users who have the Read Project permission. However, only users with the Update Project permission can edit project settings on the linked pages. |
Services | Here, you find a list of resources supplied by connected services that are linked to your Hub project. Each resource includes links to important pages in the connected service. Users with the Update Project permission also see direct links to settings in the connected project. |
About | This section displays the name of the project owner and date when the project was created. |