Configure settings and VM options
Toolbox Enterprise allows you to configure IDE settings and Java Virtual Machine options in the Web UI, deliver them to developer machines, and apply using the Toolbox Enterprise Plugin. The settings are fetched from the Toolbox Enterprise Server, applied during the IDE start, and checked every hour afterwards.
Add VM options
On the Profiles page, click the name of the profile you want to edit.
In the Settings section, click
and select VM Option.
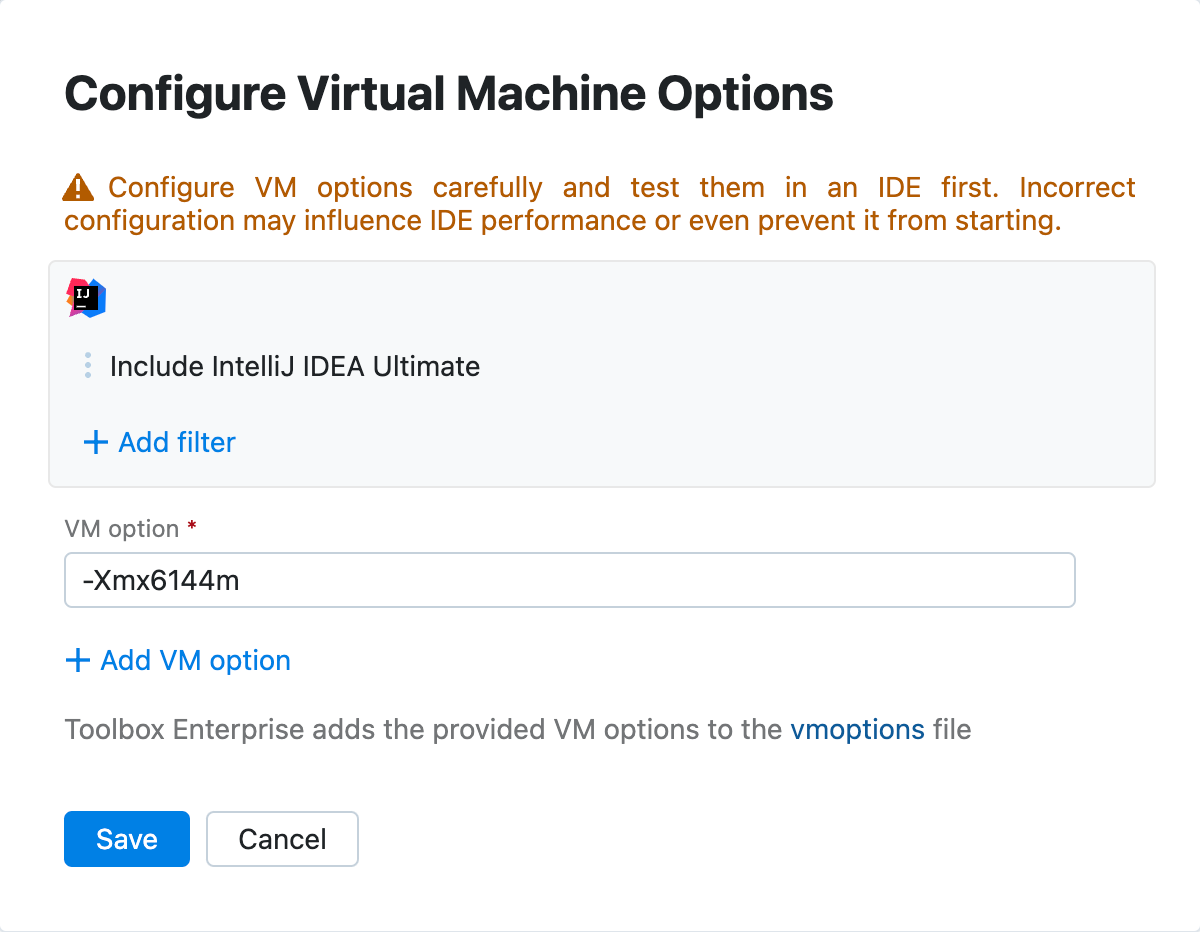
In the Configure Virtual Machine options dialog, use filters to configure what JetBrains applications will receive VM options.

Click Add filter and fill in the following details in the Add Filter dialog:
Type: select one of the filter types. Select the Include type if you want to configure plugins only for the applications specified in the filter. To configure plugins for all applications except for the ones specified, use the Exclude type.
IDE: select one or multiple names of the IDEs to use in your filter. Click the field to see the dropdown with available options.
Build: select one or multiple IDE build versions to use in the filter.
OS: if necessary, select the operating systems to use in the filter.
Architecture: if necessary, select the architectures to use in the filter.
Click OK to save the filter.
In the VM Option field, specify the VM options you want to set up. Toolbox Enterprise will add these options to the .vmoptions file of the selected IDEs after you update the profile.
Click Save.
Add Toolbox settings
Toolbox Enterprise provides you with an option to pre-configure Toolbox App settings related to tool updates and user statistics.
On the Profiles page, click the name of the profile you want to edit.
In the Settings section, click
and select Toolbox settings.
In the Configure Toolbox Settings dialog, configure Toolbox App settings:
Update Toolbox app automatically: use the dropdown list to select whether a developer can change the value of this setting.
Update tools automatically:
Send anonymous user statistics:
Add IDE settings
Toolbox Enterprise enables you to choose the necessary settings from a list of predefined templates, modify them to fit your specific use cases, and distribute them to developers' IDEs.
You can customize any predefined setting to meet your company-specific requirements or use one of the blank templates to configure an IDE setting from scratch.
Add settings via templates
On the Profiles page, click the name of the profile you want to edit.
In the Settings section, click
and select IDE Setting.
In the Add IDE settings dialog, use filters to configure what IDEs will receive settings from the Toolbox Enterprise Server.
Click Add filter and fill in the following details in the Add Filter dialog:
Type: select one of the filter types. Select the Include type if you want to apply settings only to the applications specified in the filter. If you want to apply settings to all applications except for the ones specified, use the Exclude type.
IDE: select one or multiple names of the IDEs to use in your filter. Click the field to see the dropdown with available options.
Build: select one or multiple IDE build versions to use in the filter.
OS: if necessary, select the operating systems to use in the filter.
Architecture: if necessary, select the architectures to use in the filter.
Click OK to save the filter.
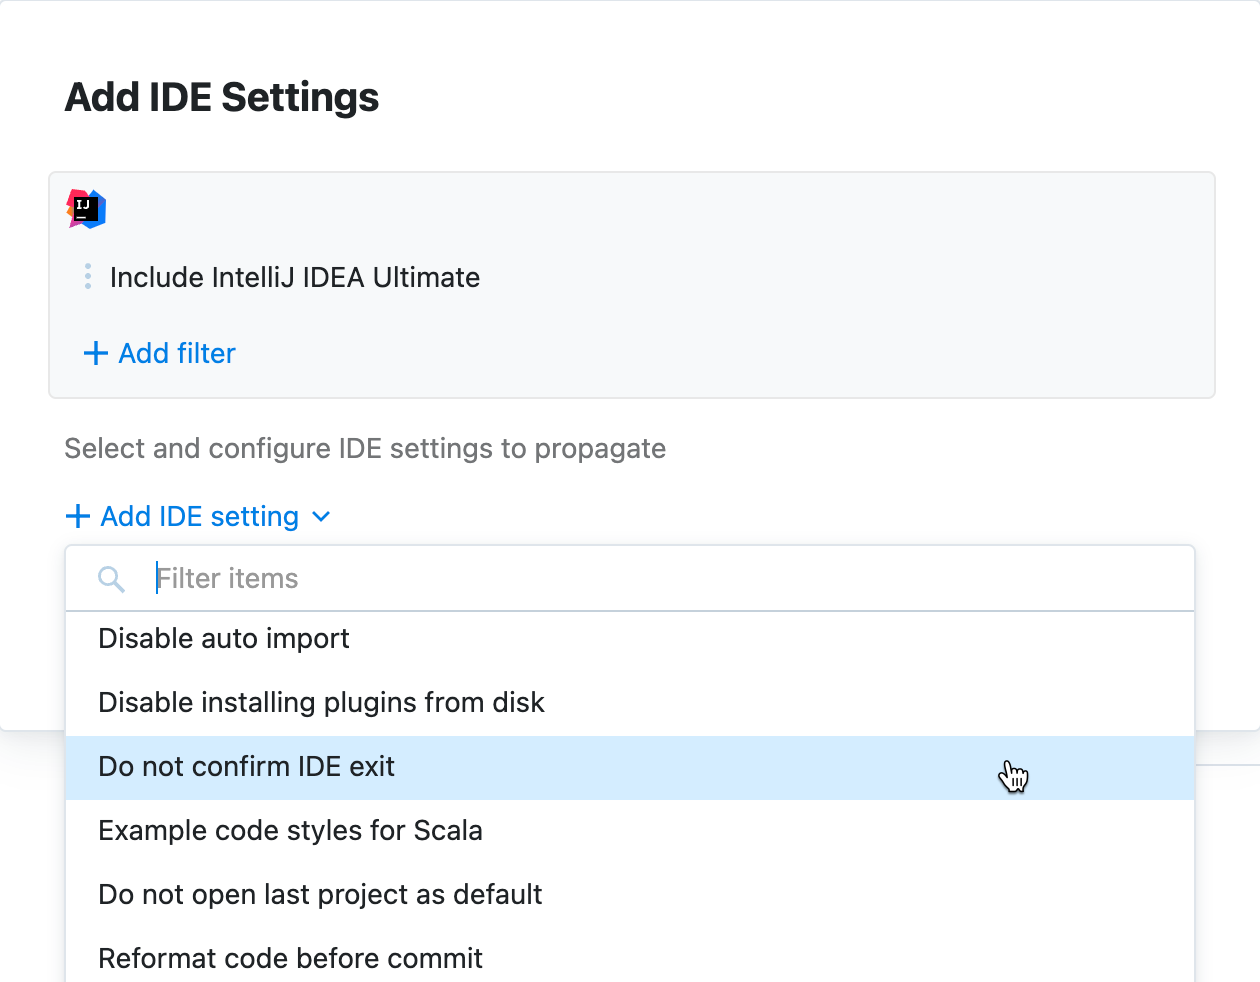
Click Add setting and select the template you want to use from the list of predefined options.

Toolbox Enterprise will automatically fill in the setting details.
Click Save to submit the changes.
Fine-tune IDE settings
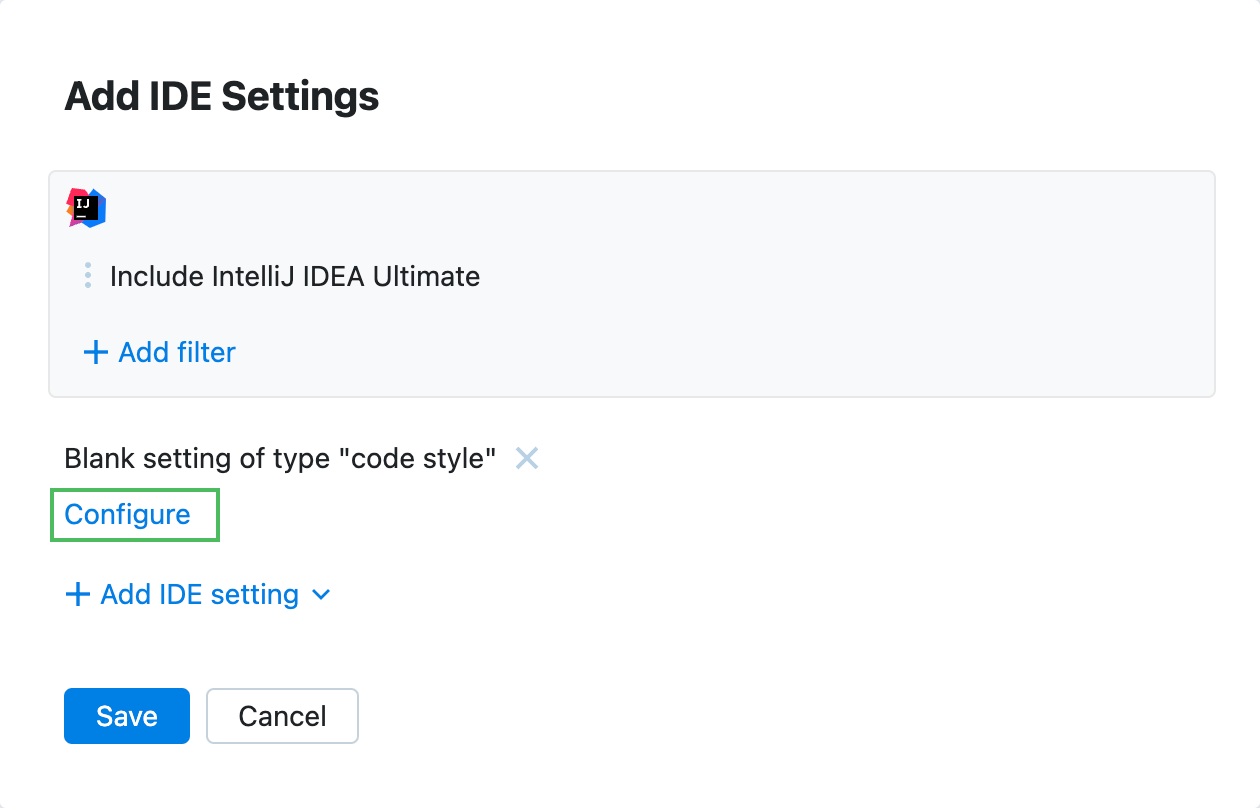
Add a new setting from the list of predefined templates, as described in Add settings via templates.
Click Configure below the setting name.

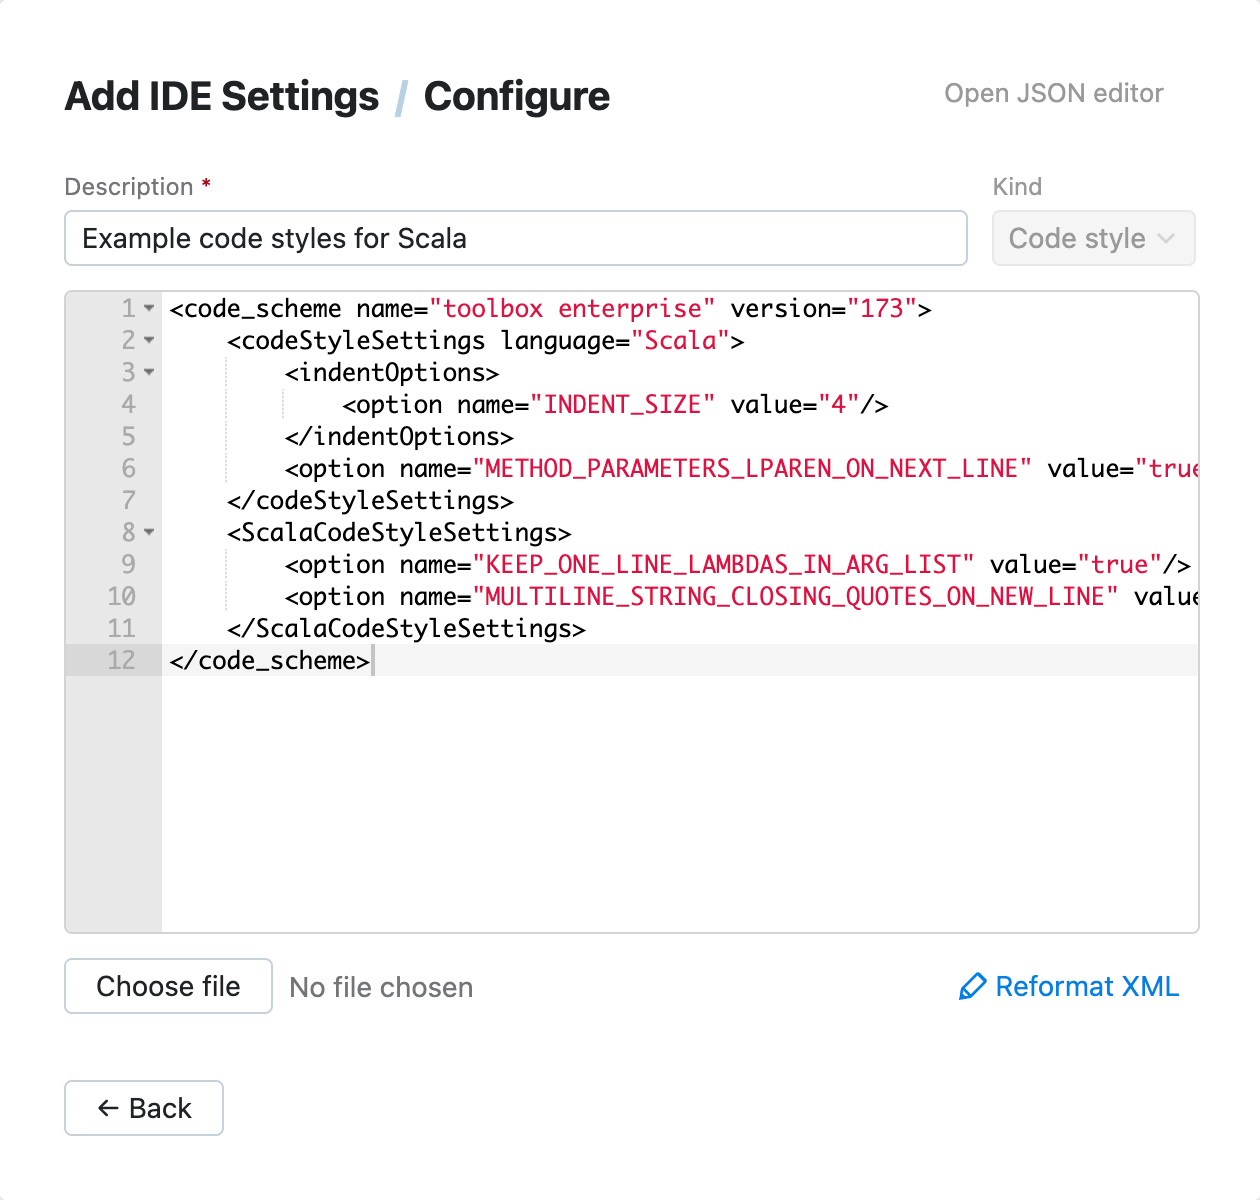
Provide setting details by filling in the fields in the Configure dialog or editing a JSON.

(Optional) Click Open JSON editor to configure the setting in the JSON format.
Once you've configured the setting, click Back. Then, click Save to submit the changes.
Reference: Configure Dialog
Description | Provide a short description for the setting. This text will be used to distinguish a particular setting in the Web UI. | |
Forced | Select this option if you want to prohibit changing the value of the setting in the IDE. If selected, Toolbox Enterprise will overwrite any local changes in the setting value every seven minutes. If not selected, the setting value from the Toolbox Enterprise Server will be propagated to IDEs once. Toolbox Enterprise will not overwrite consecutive local changes introduced via the IDE settings or Version Control. | |
Kind | Shows the setting type. When selecting a template to add a blank setting, you can choose one of the following kinds:
| |
Scope | Select one of the options that will define the level for applying the setting: project or application (global). | |
Key | Specify the key of the key-value pair. | Available for: Properties component, Registry |
Value | Specify the value of the key-value pair. | Available for: Properties component, Registry |
Fully qualified name | Provide a fully qualified name of the setting. For example, | Available for: Persistent state |
Plugin ID | If a setting comes as part of a particular plugin, provide its identifier. For example, | Available for: Persistent state |