Client machine configuration
To connect to the Toolbox Enterprise Server, developers need to have the Toolbox App (version 2.1 or later) installed and enable Enterprise mode by joining the organization there.
In order to enable Enterprise mode in the Toolbox App, developers need to have a client machine configuration file on their machines. There are two ways to distribute the client machine configuration file:
Set up the client machine configuration
Once you've started the Toolbox Enterprise Server, open the Web UI and log in using the credentials as configured in application.yaml.
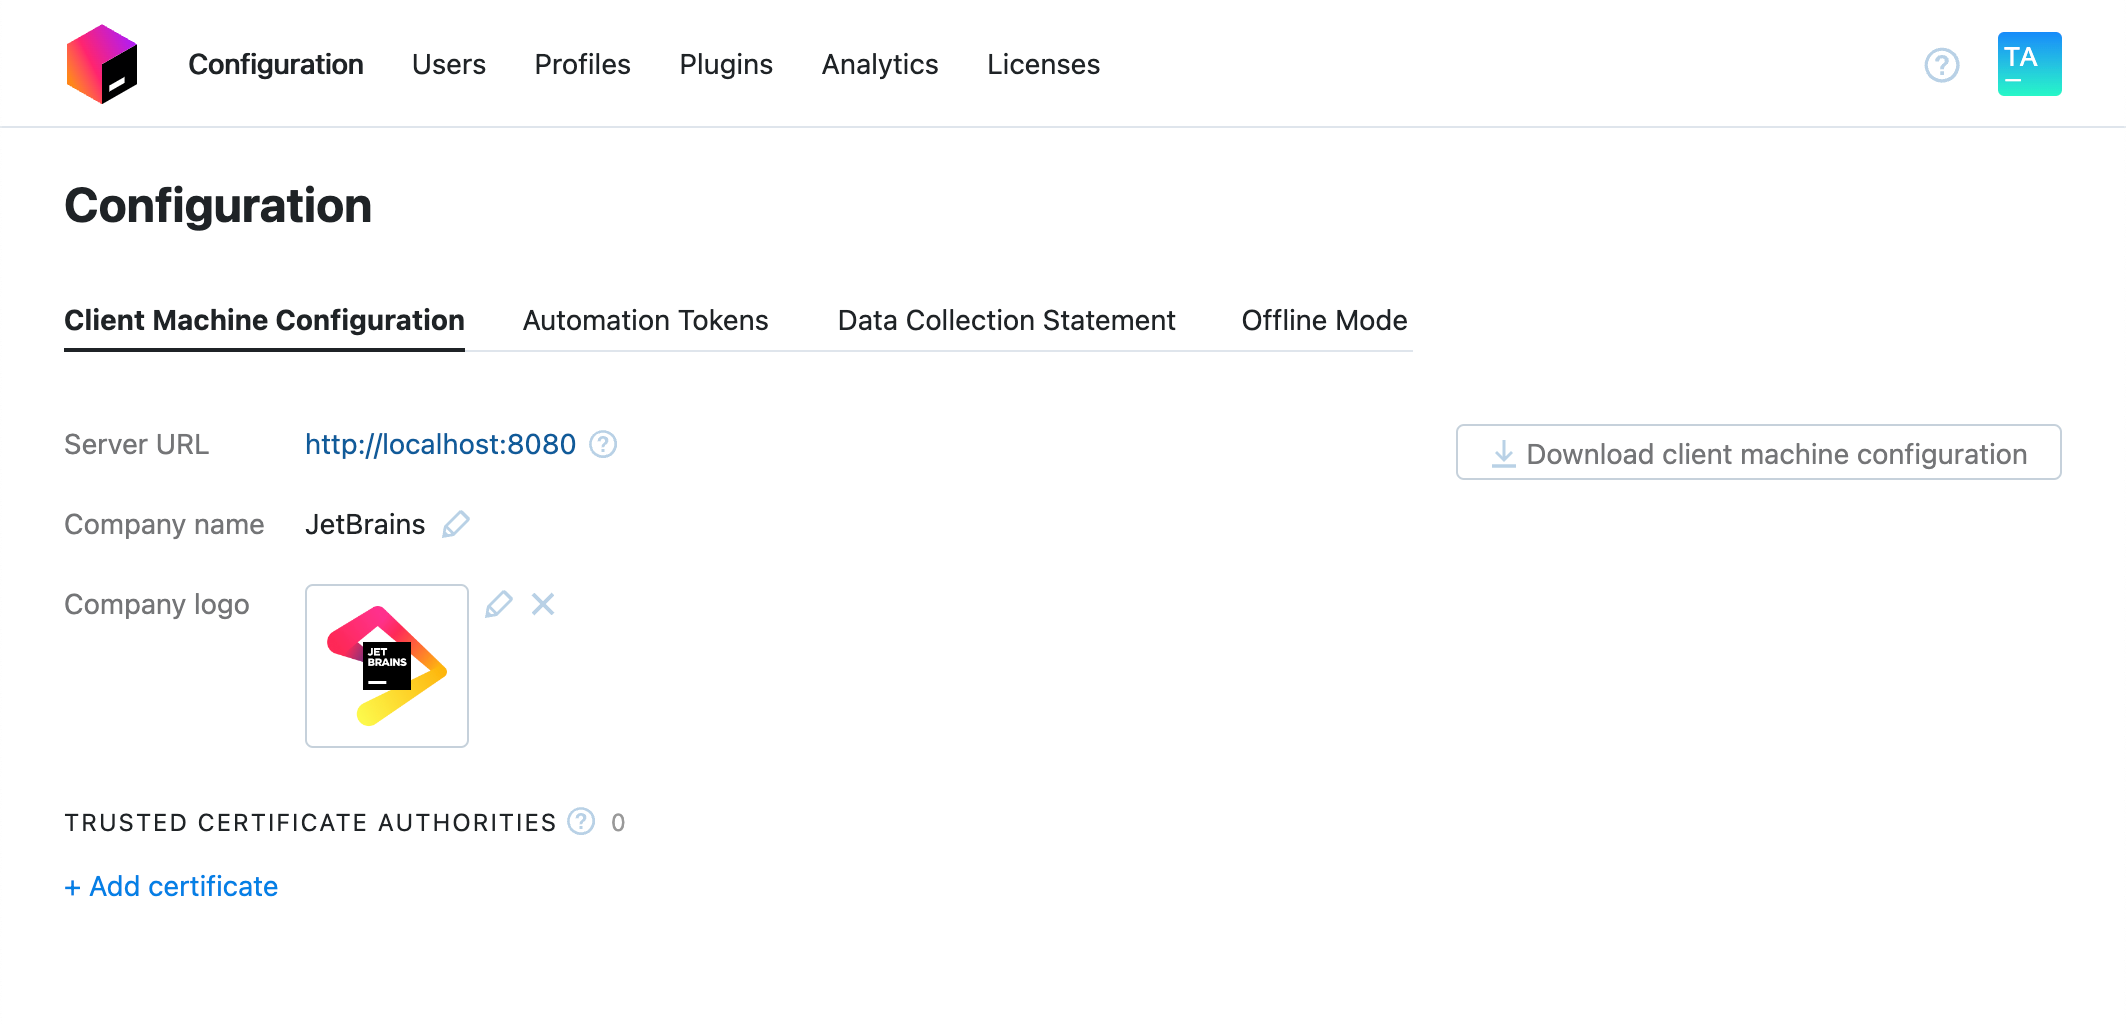
Specify the organization's name and logo
In the Web UI, go to the Configuration page.

Open the Client Machine Configuration tab, then specify your organization's name and upload the logo.
After setting up the client machine configuration, you can either roll out the configuration file to the developer machines or share an invitation link to add new users.
Trusted certificates
Some configurations might require additional HTTPS certificates to access the Toolbox Enterprise Server from a developer machine, IDE or the Toolbox App. This can include the implementation of self-signed certificates, such as those required for proxy connections.
The Toolbox App and IntelliJ-based IDE accept certificates added to your operating system's trust store out of the box.
Add a trusted certificate
In the Web UI, go to the Configuration page and open the Client Configuration tab.
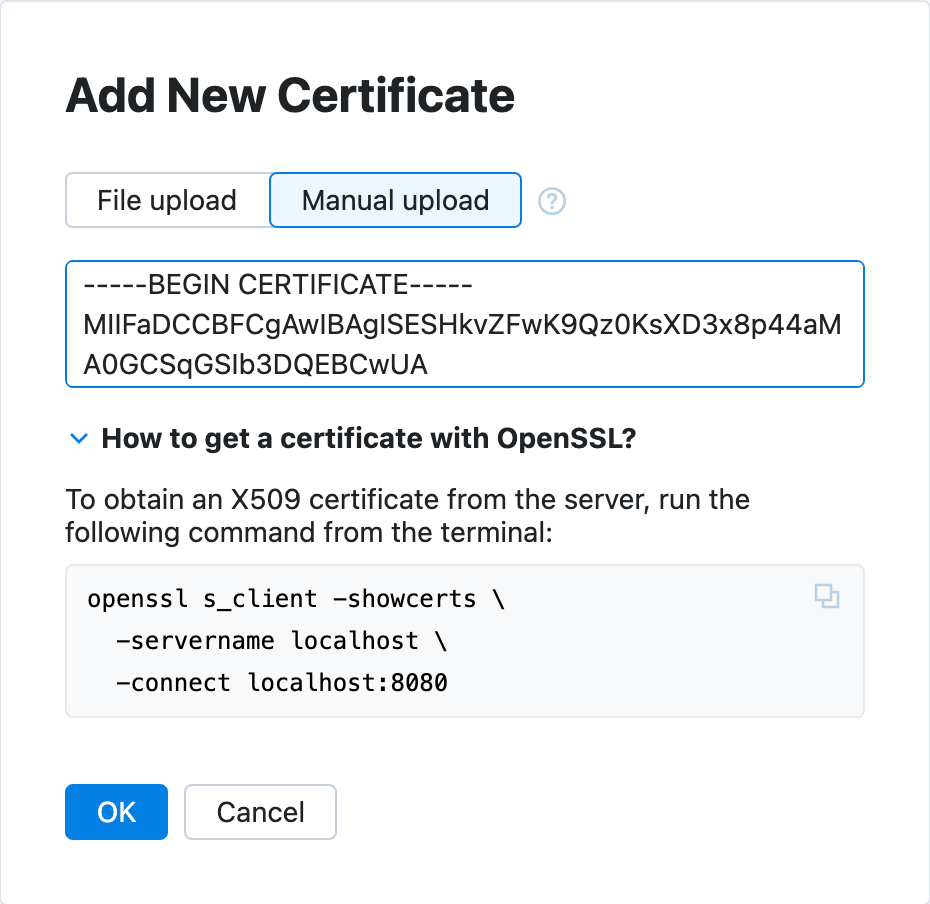
Click Add in the Trusted certificates section.
In the Add New Certificate dialog, either upload a file with the PEM-encoded X509 certificate or enter the certificate manually.

Data collection statement
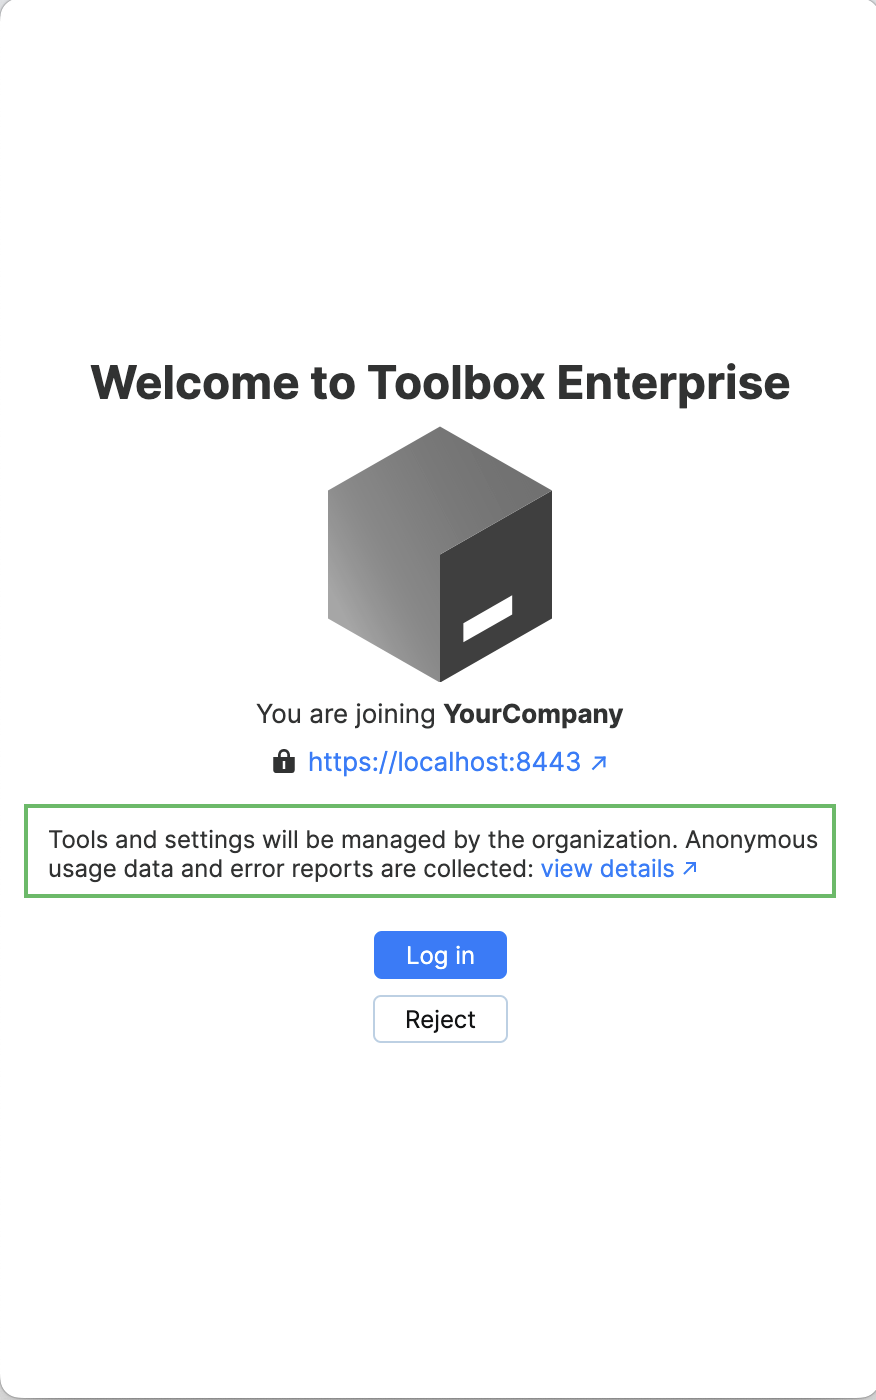
When a developer connects to the organization's Toolbox Enterprise Server, the Toolbox App displays a message stating that tools and settings will be managed by the organization's Toolbox Enterprise Server and that it collects analytics, error and freeze reports automatically from developer machines.

You can customize the data collection statement text to suit your organization's needs.
Customize the data collection notice
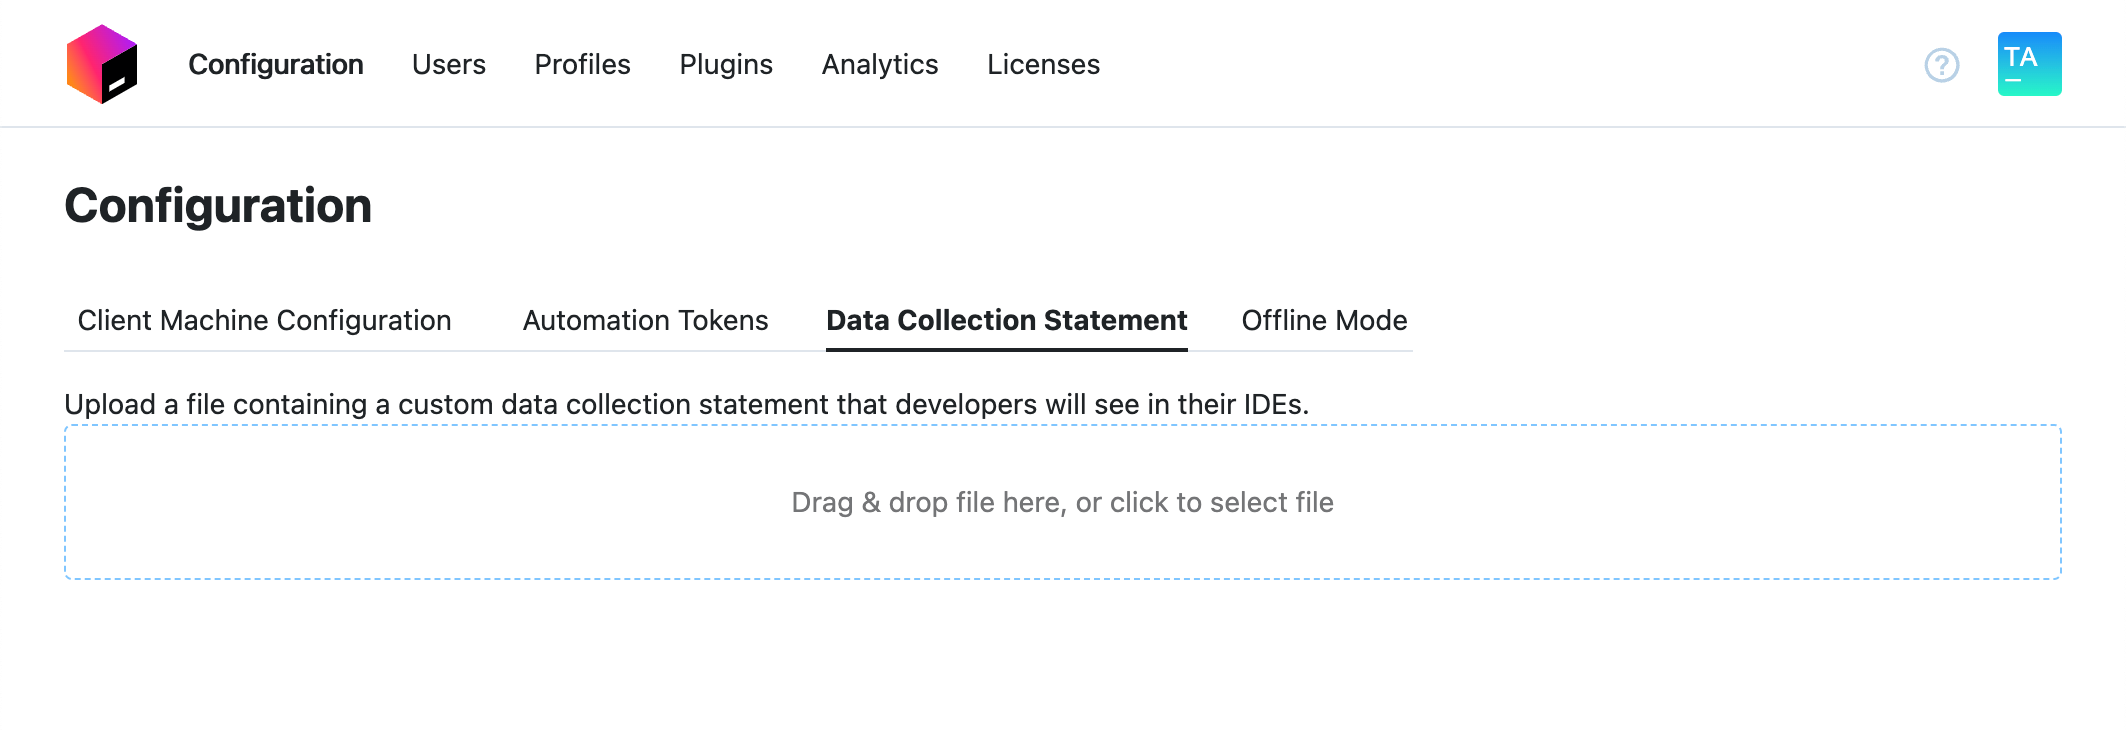
In the Web UI, go to the Configuration page and open the Agreement Text tab.
Drag your text file to the drag and drop area. Supported formats: TXT, MD.
