Configuring the IDE
IntelliJ IDEA allows you to configure the settings on several levels: the module level, the project level, and globally.

Global settings apply to all projects that you open with a specific installation or version of IntelliJ IDEA. Such settings include IDE appearance (themes, color schemes, menus and toolbars), notification settings, the set of the installed and enabled plugins, debugger settings, code completion, and so on. Global settings are stored in the configuration directory.
Project settings apply to the current project only, unless you configure them as default settings for new projects. Such settings include VCS configuration, code style options, the list of language inspections, and so on.
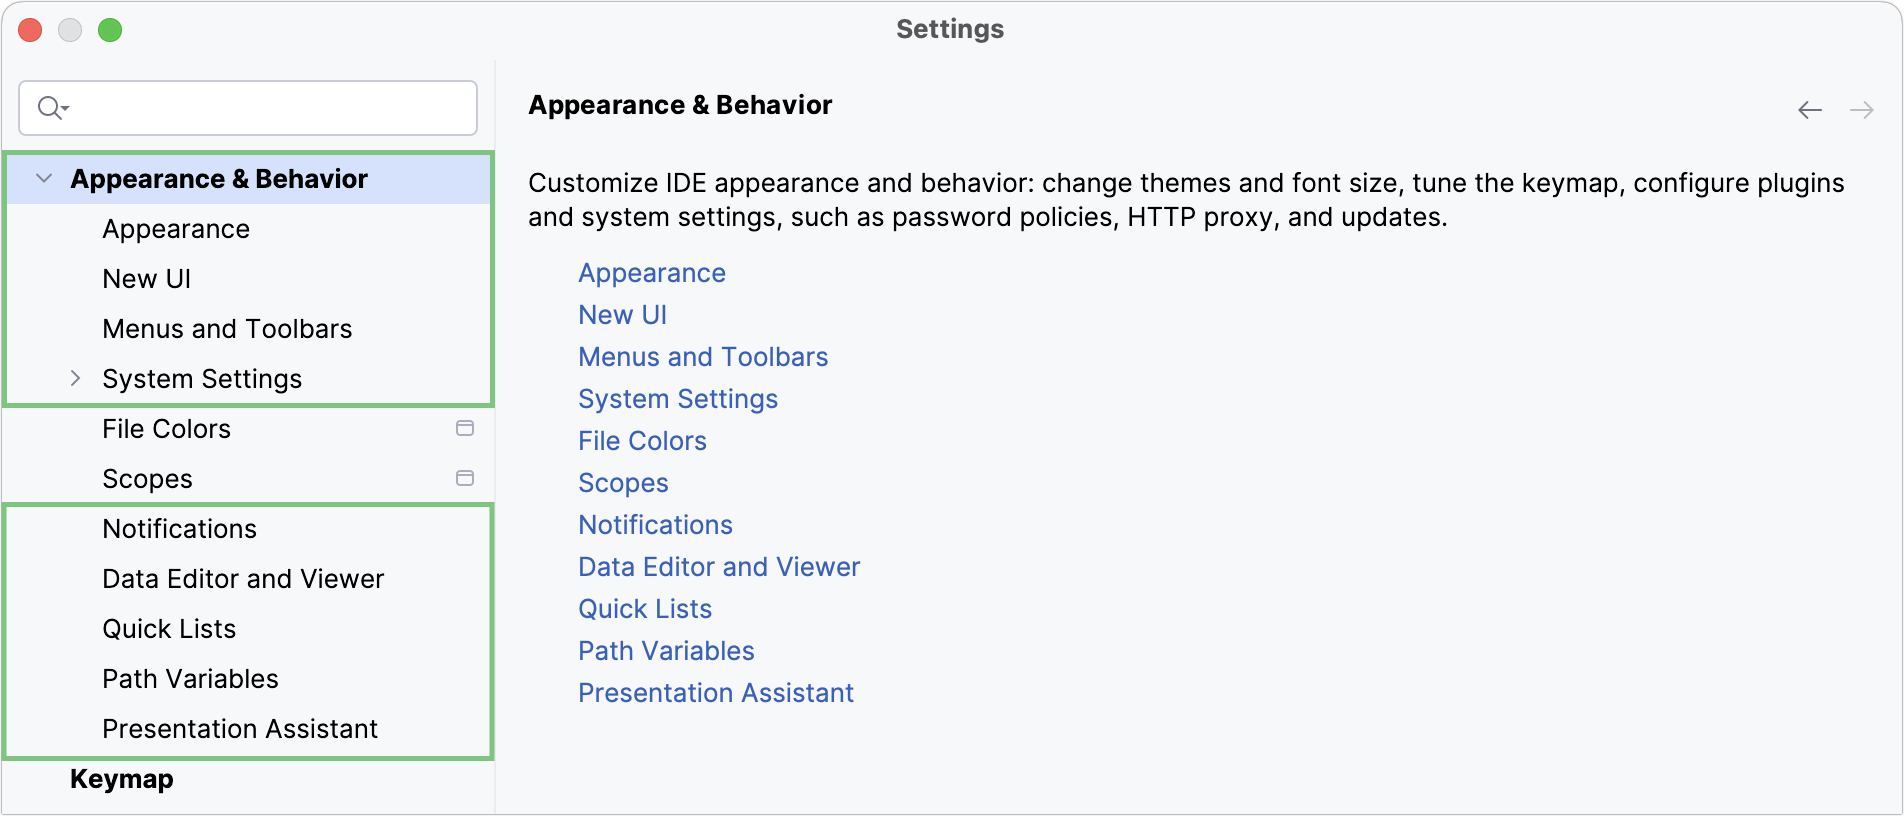
To configure your IDE, select IntelliJ IDEA | Settings for macOS or File | Settings for Windows and Linux. Alternatively, press CtrlAlt0S or click on the toolbar.
Settings that are NOT marked with the icon in the Settings dialog are global and apply to all existing projects of the current IntelliJ IDEA version.

In IntelliJ IDEA 2020.1, the configuration paths have been changed. That is why the information in this section is valid for IntelliJ IDEA of version 2020.1 and later. If you use a previous version of IntelliJ IDEA, add the version number to the page URL in order to access the corresponding documentation. For example, if you use IntelliJ IDEA 2019.3, type www.jetbrains.com/help/idea/2019.3/configuring-project-and-ide-settings.html.
When you restore the default IDE settings, IntelliJ IDEA backs up your configuration to another directory. You can always restore your settings from that backup.
Go to File | Manage IDE Settings | Restore Default Settings.
Alternatively, press Shift twice and type
Restore default settings.IntelliJ IDEA shows a confirmation popup:

Click Restore and Restart. The IDE will be restarted with the default configuration.
When IntelliJ IDEA restores the default IDE settings, it creates a backup directory with your configuration in:
In the main menu, go to File | Manage IDE Settings | Import Settings.
In the dialog that opens, specify the path to the backup directory and click Open.
IntelliJ IDEA shows a confirmation popup. Note that after you apply the settings from the backup, these settings will be overwritten with your current IDE configuration.
Apart from the backup configuration directory, you can select the configuration directory from another IntelliJ IDEA version or a .zip file with the previously exported settings.
Click Restart to apply the settings from the backup and restart the IDE.
Thanks for your feedback!