Contexts and Dependency Injection (CDI)
The Contexts and Dependency Injection (CDI) support in IntelliJ IDEA is based on the Jakarta EE: Context and Dependency Injection plugin. This plugin is bundled with the IDE and enabled by default.
You can enable CDI support when creating a project or module. You can as well add CDI support for an existing module.
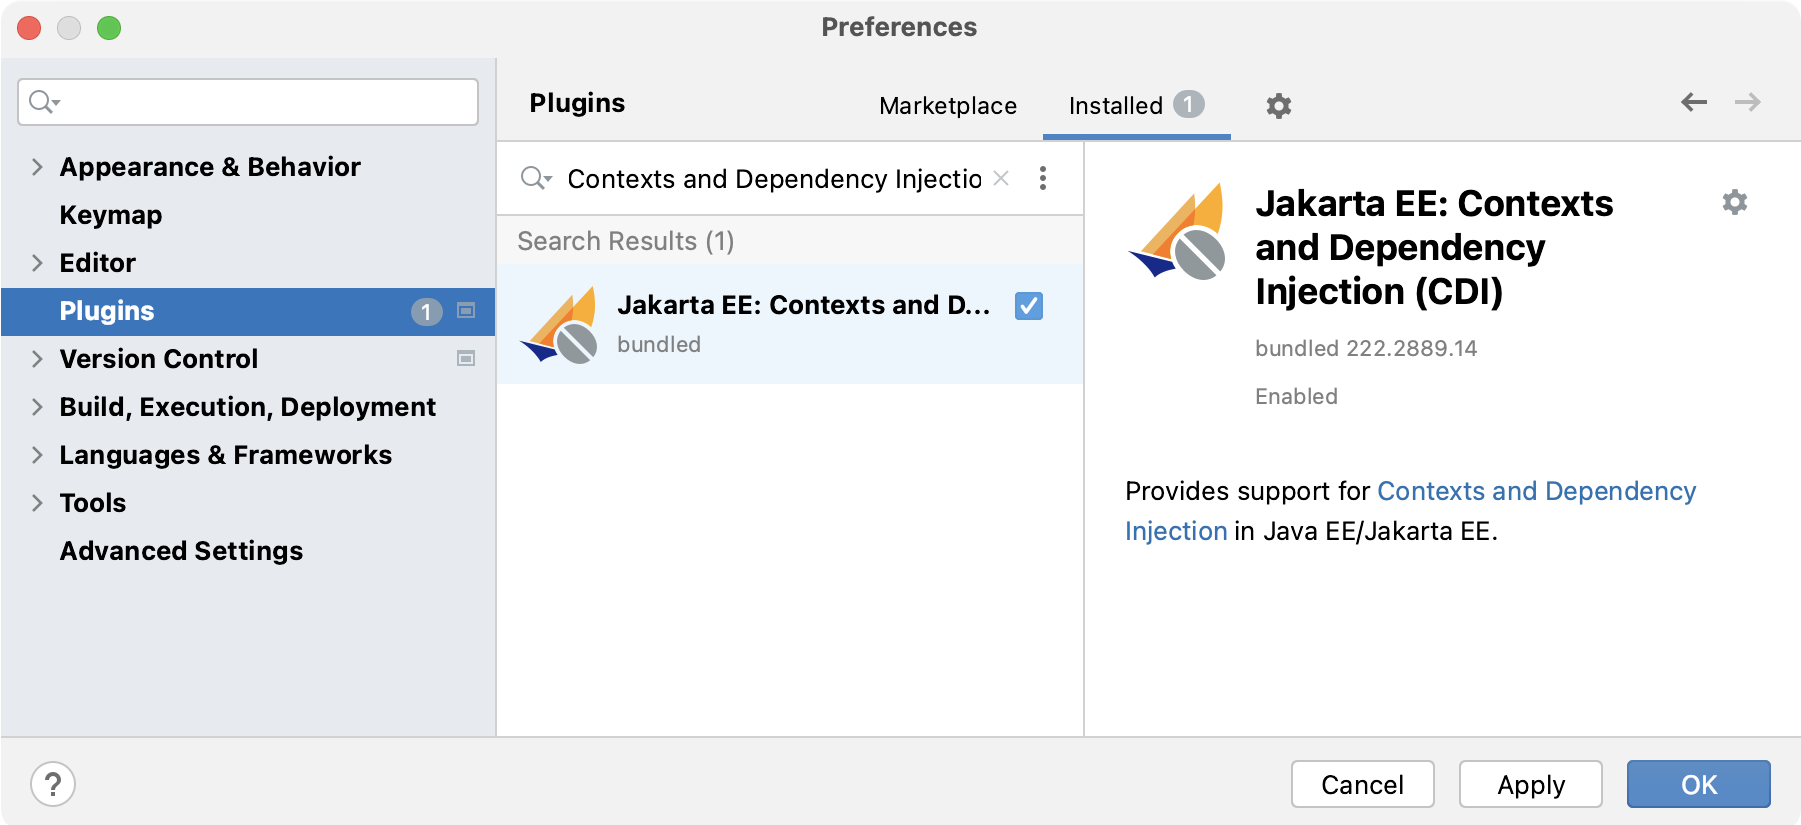
Make sure the CDI plugin is enabled
Press Ctrl+Alt+S to open the IDE settings and select .
Locate the Jakarta EE: Contexts and Dependency Injection plugin in the list, and make sure that the checkbox next to it is selected.

Create a new Java Enterprise project with CDI
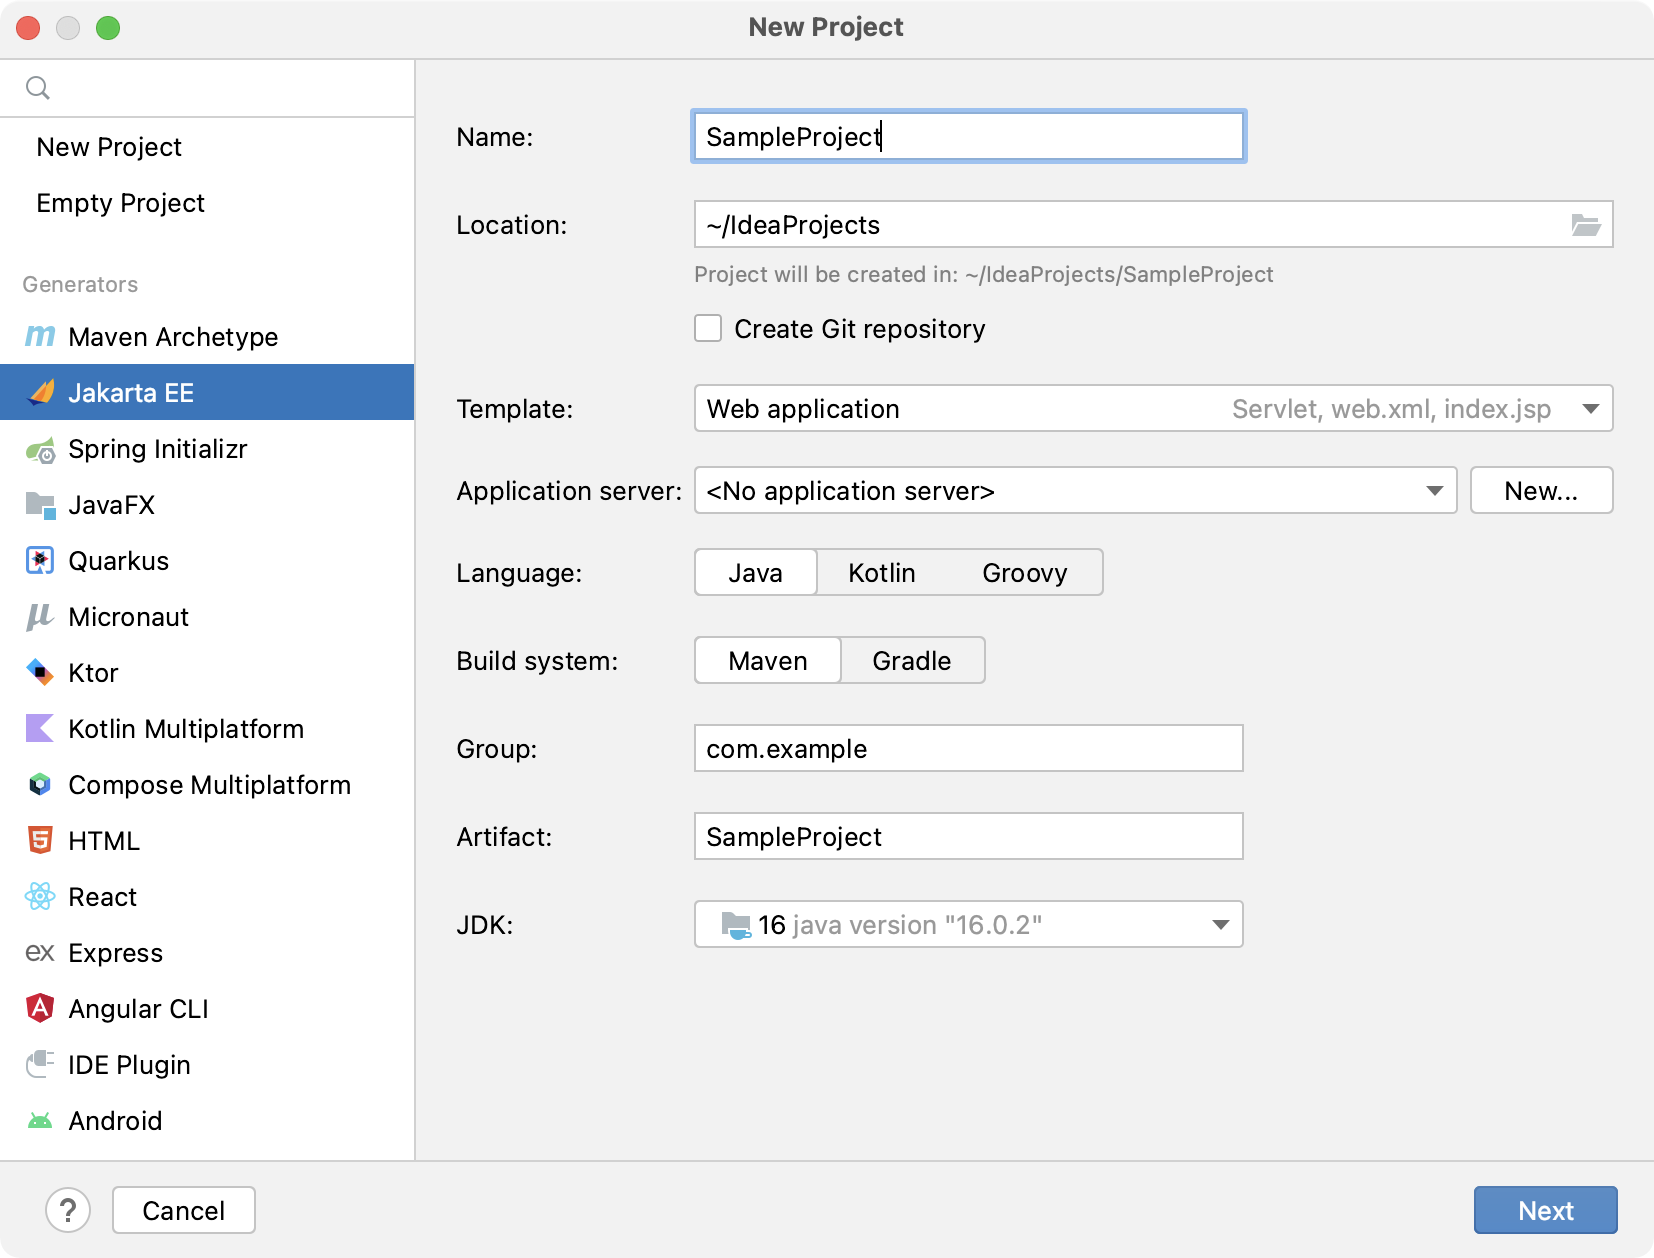
Click New Project on the Welcome screen or select .
From the Generators list, select Jakarta EE.
Name the new project, select a build tool, a language you want to use, and select the Web application project template.
Select the Create Git repository option to place the new project under version control.
From the JDK list, select the JDK that you want to use in your project.
If the JDK is installed on your computer, but not defined in the IDE, select Add JDK and specify the path to the JDK home directory.
If you don't have the necessary JDK on your computer, select Download JDK.

On the next step of the wizard, select the Java Enterprise version to be supported.
From the Dependencies list, select the Contexts and Dependency Injection (CDI) checkbox.

Click Create.
For more information on how to create a Java Enterprise project, refer to Tutorial: Your first Java EE application.
Enable CDI support for an existing project
If you already have a Java Enterprise web application, you can add the CDI framework support.
Open the build file in the editor (pom.xml or build.gradle depending on the build tool that you use in your project).
Add the following dependency, but make sure to change the version according to your project's requirements:
Java EE
<dependency> <groupId>javax.enterprise</groupId> <artifactId>cdi-api</artifactId> <version>2.0.SP1</version> <scope>provided</scope> </dependency>Jakarta EE
<dependency> <groupId>jakarta.enterprise</groupId> <artifactId>jakarta.enterprise.cdi-api</artifactId> <version>4.0.1</version> </dependency>Java EE
compileOnly('org.apache.deltaspike.cdictrl:deltaspike-cdictrl-api:1.9.5')Jakarta EE
implementation 'jakarta.enterprise:jakarta.enterprise.cdi-api:4.0.1'Press Ctrl+Shift+O to import the changes.
For more information on how to work with build tools, refer to Maven or Gradle.