Rector
IntelliJ IDEA supports PHP code upgrade and refactoring capabilities based on the Rector plugin.
Rector provides code transformation rules for automated refactoring and upgrade of applications to a newer framework or PHP version. With IntelliJ IDEA, you can run Rector rules against a selected folder or file right from the Project tool window, compare the source and modified code in the diff viewer, and pick which changes to apply.
Before you start
Rector requires PHP version 7.2 and later. Make sure the PHP interpreter is configured in IntelliJ IDEA on the PHP page, as described in Configuring Local PHP Interpreters and Configuring Remote PHP Interpreters.
For Docker Compose-based remote interpreters, make sure to use docker-compose exec mode to avoid spawning additional containers.
Install and configure Rector
Install Rector with Composer
Before you start, make sure Composer is installed on your machine and initialized in the current project as described in Composer dependency manager.
Inside composer.json, add the
rector/rectordependency record to therequireorrequire-devsection. Press Ctrl+Space to get code completion for the package name and version."require-dev": { "rector/rector": "^0.15.13" },Do one of the following:
Click the Install shortcut link on top of the editor panel.
If the Non-installed Composer packages inspection is enabled, IntelliJ IDEA will highlight the declared dependencies that are not currently installed. Press Alt+Enter and select whether you want to install a specific dependency or all dependencies at once.
For more information about installing Rector, refer to Rector documentation.
Add and edit a Rector config file
Add a rector.php template file to the project root by either of the following:
Right-click the root folder in the Project tool window and select
from the context menu.
IntelliJ IDEA invokes a rector init action, which creates a rector.php file in the same way as Rector's
vendor/bin/rector initcommand executed from the command line would do.Search and apply the rector init action from the search window (Ctrl+Shift+A).

Run the
rector initcommand from the Terminal tool window.vendor/bin/rector init
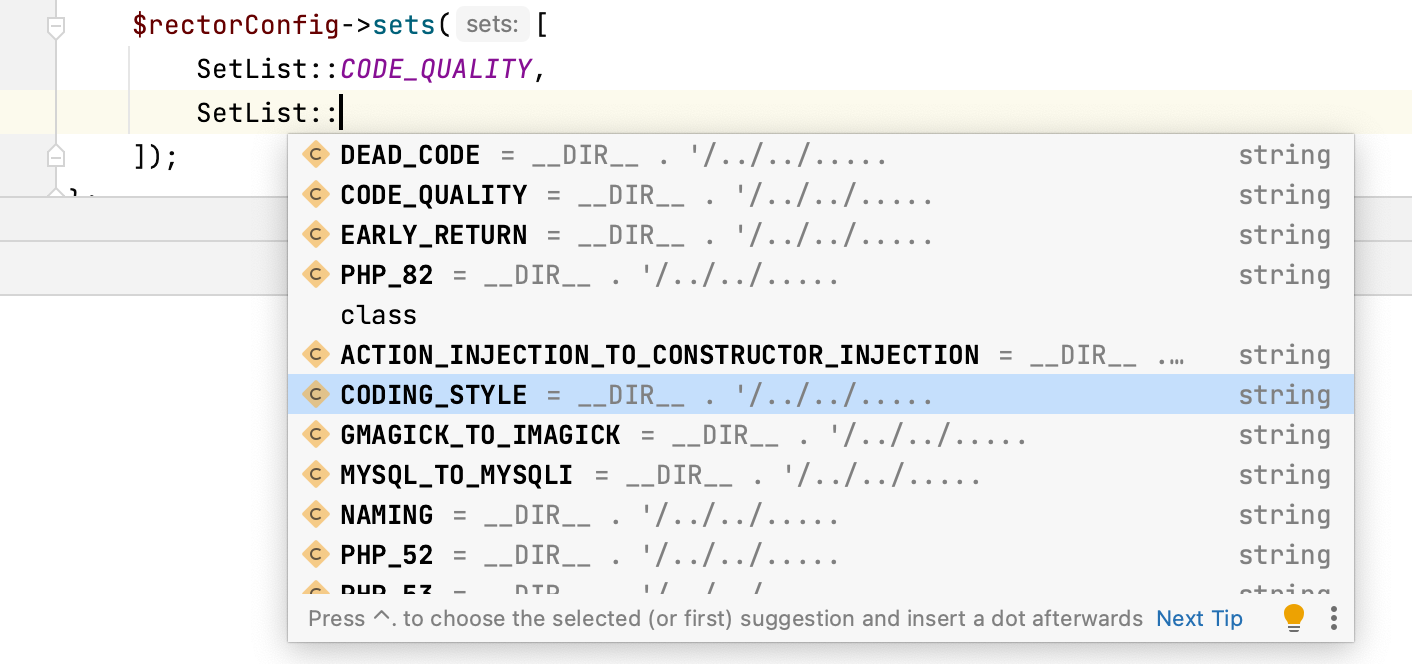
Edit the generated rector.php file to specify which Rector rule or rule sets you need. Press Ctrl+Space to get code completion suggestions.

Run a Rector configuration
You can run Rector on a folder, a file, a selection of multiple folders or files, or from within the rector.php config file. IntelliJ IDEA creates a default run configuration, runs Rector, and outputs the list of files that have suggested changes in them.
As with any other run/debug configuration in IntelliJ IDEA, you can edit, share, create from a template, or save for later use a run configuration for Rector.
Run Rector on a folder or file
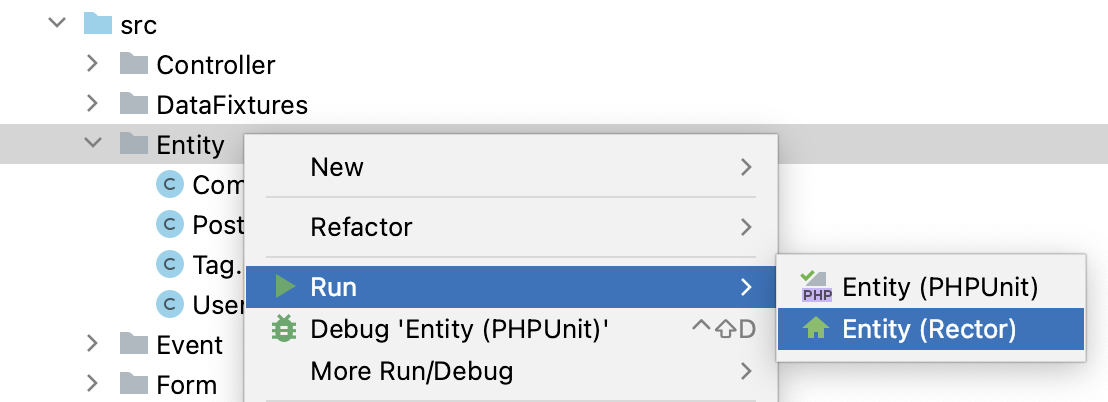
In the Project tool window, select the file or folder to run Rector on and choose Run | <File or folder name> (Rector) from the context menu of the selection:

IntelliJ IDEA generates a default run configuration and runs the
vendor/bin/rector process --dry-runcommand on the scope specified in the configuration.
Run Rector from rector.php
Open rector.php in the editor.
Click
in the gutter and select Run '<project name>' (Rector) from the context menu. Alternatively, press Ctrl+Shift+F10 from anywhere in the file.

If you have
$rectorConfig->pathsdefined in your rector.php file, then Rector runs on the specified scope of folders. Otherwise, the run configuration path is automatically set to the src/ folder in the project root.
Create a custom Rector configuration
You can create a custom run configuration or edit an existing default one—for example, to pass additional arguments to the vendor/bin/rector process command.
In the Project tool window, select the file or folder and choose More Run/Debug | Modify Run Configuration | <File or folder name> (Rector) from the context menu.
Alternatively, choose from the main menu, then click
and choose Rector from the list.
In the Rector configuration dialog that opens, edit the fields as required.
Review and apply changes
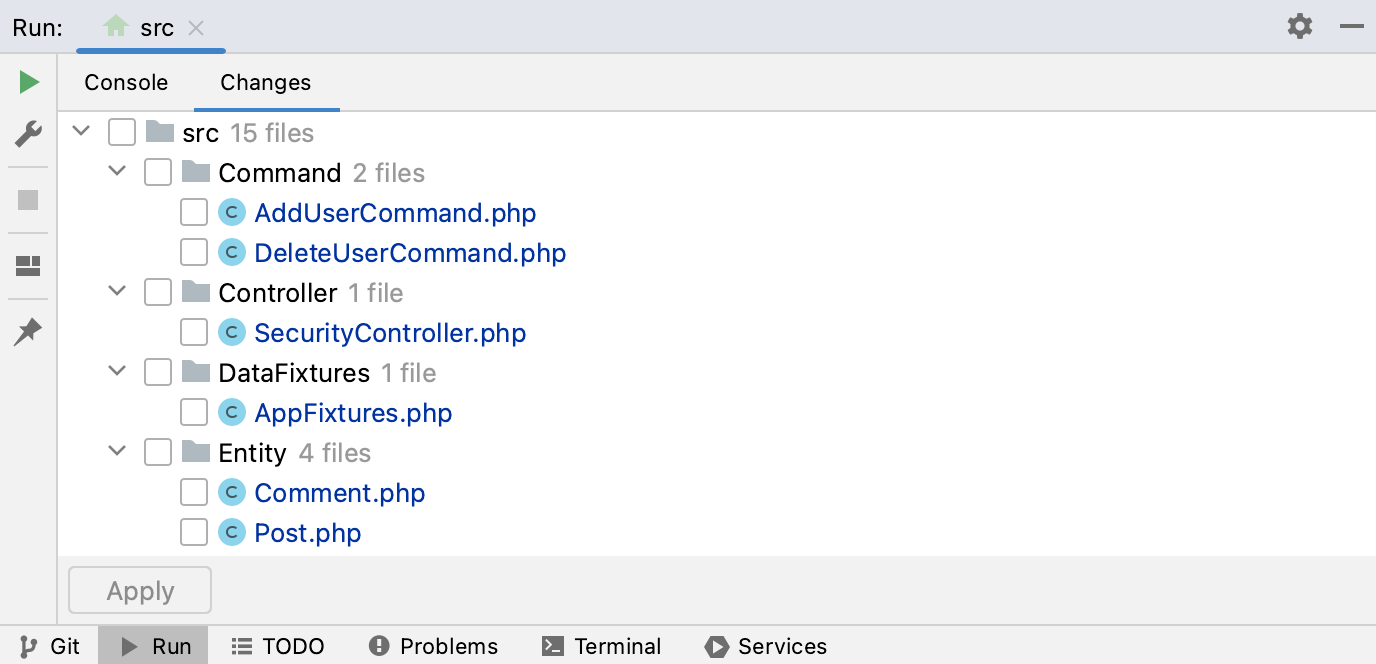
IntelliJ IDEA shows Rector execution results—that is, a list of files with suggested changes—in the Changes tab of the Run tool window. The Console tab contains the same execution output, but in the JSON format.

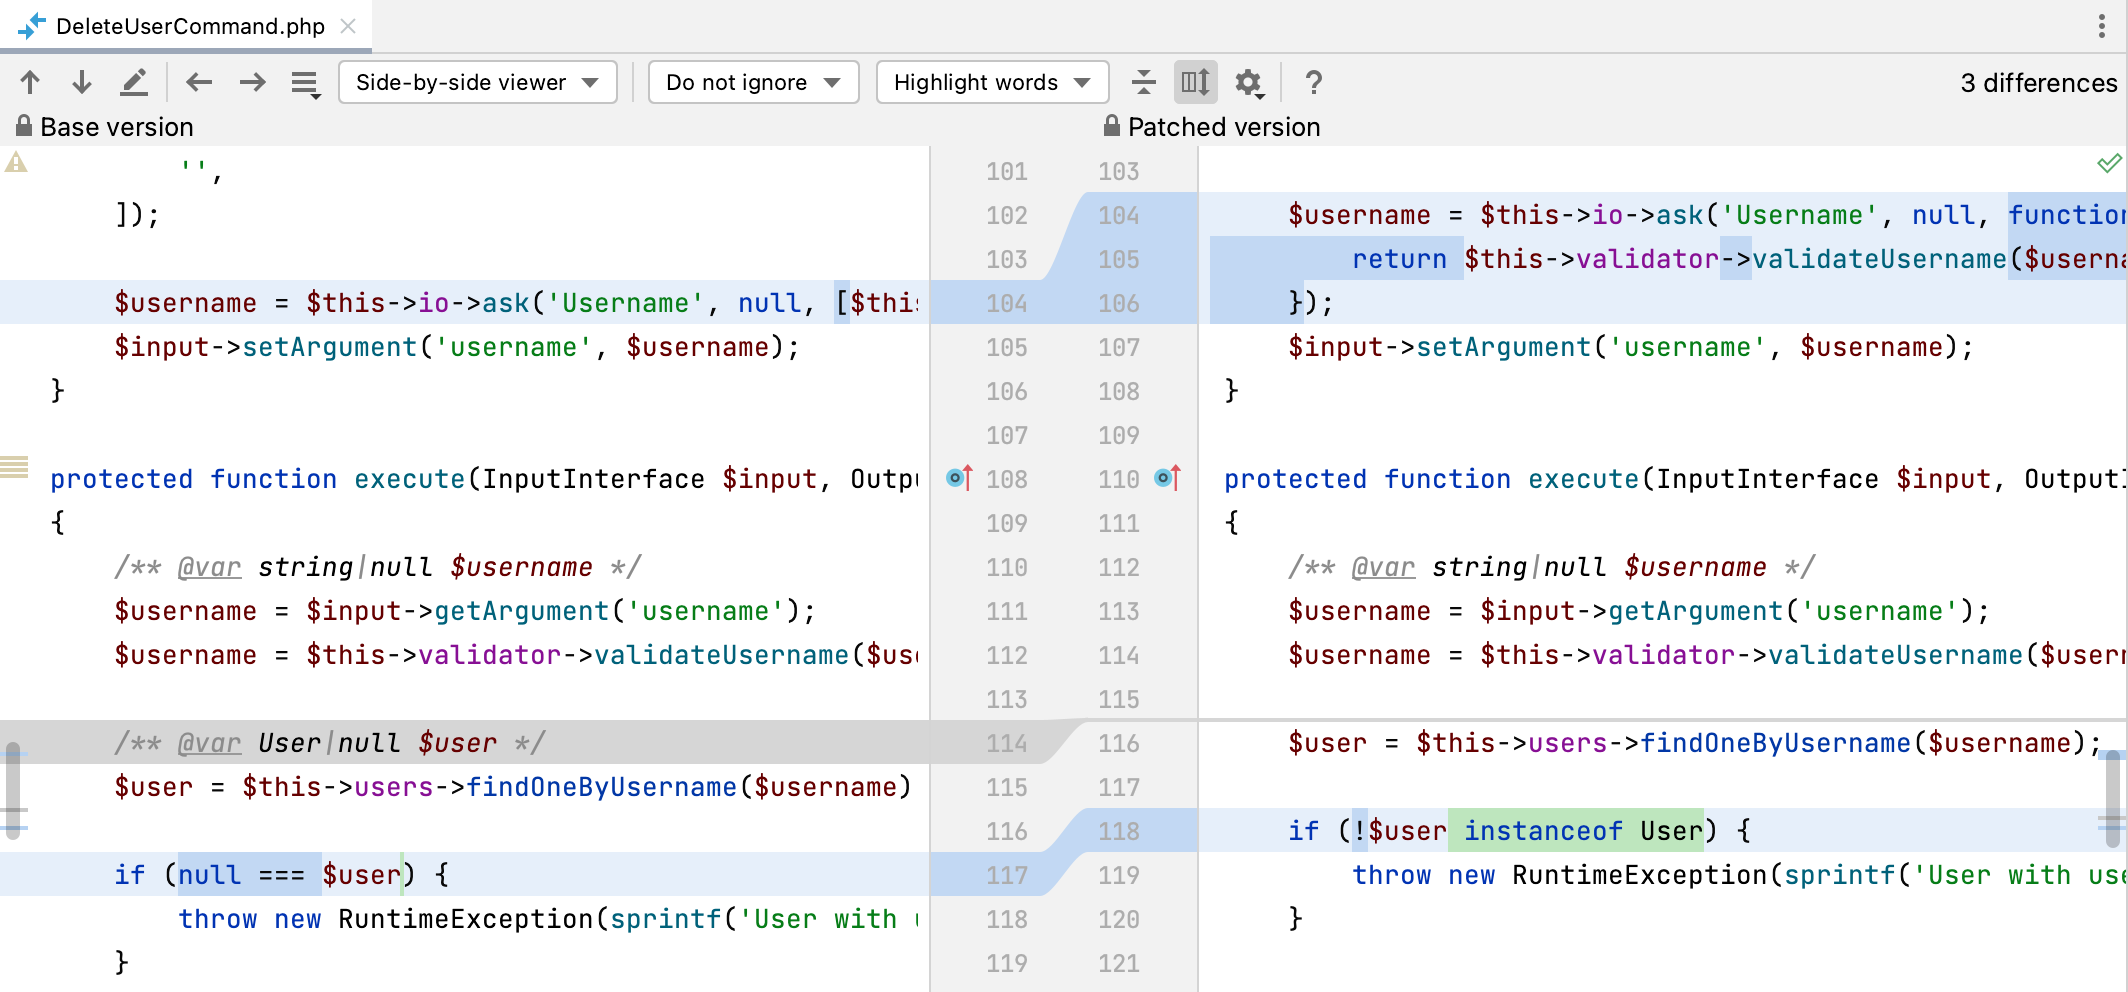
In the Changes tab, click a file from the list to open it and preview the suggested changes in the diff viewer.

To apply the changes, select checkboxes for the relevant files in the Run tool window and click Apply.