Register IntelliJ IDEA
You can evaluate IntelliJ IDEA Ultimate for up to 30 days. After installing the IDE, log in to your JetBrains Account to start using the IntelliJ IDEA's trial version.
Start the free trial
In the Licenses dialog that opens when you start IntelliJ IDEA, select the Start trial option and click Log in to JetBrains Account. You will be redirected to the JetBrains Account website.

Log in to your JetBrains Account on the website and click the Start Trial button in the Licenses dialog to start your trial period.

Upon the expiration of the trial version, you need to buy and register a license to continue using IntelliJ IDEA Ultimate. A new trial period will be available for the next released version of IntelliJ IDEA Ultimate.
Activate IntelliJ IDEA license
Select from the main menu or click on the Welcome screen to open the Licenses dialog.

Select how you want to register IntelliJ IDEA or a plugin that requires a license:
Log in to your to your JetBrains Account get licenses that you purchased.
If you don't have a JetBrains Account yet, use the Register button.

IntelliJ IDEA automatically shows the list of your licenses and their details like expiration date and identifier. Click Activate to start using your license.

If your license is not shown on the list, click Refresh license list.
Provide an activation code.

When purchasing a product license, you receive a code for its offline activation. You can always download available activation codes from your JetBrains Account.
Register using the Floating License Server or License Vault.

When performing silent installation or managing IntelliJ IDEA installations on multiple machines, you can set the
JETBRAINS_LICENSE_SERVERenvironment variable to point to the URL of the Floating License Server or License Vault.Alternatively, you can set the URL of the Floating License Server or License Vault by adding the
-DJETBRAINS_LICENSE_SERVERJVM option.
Change the active user
Select from the main menu or click on the Welcome screen to open the Licenses dialog.
Click your name in the bottom left corner of the dialog and select Log Out.

After logging out, you can register using another JetBrains Account or a different activation method.
Early Access Program
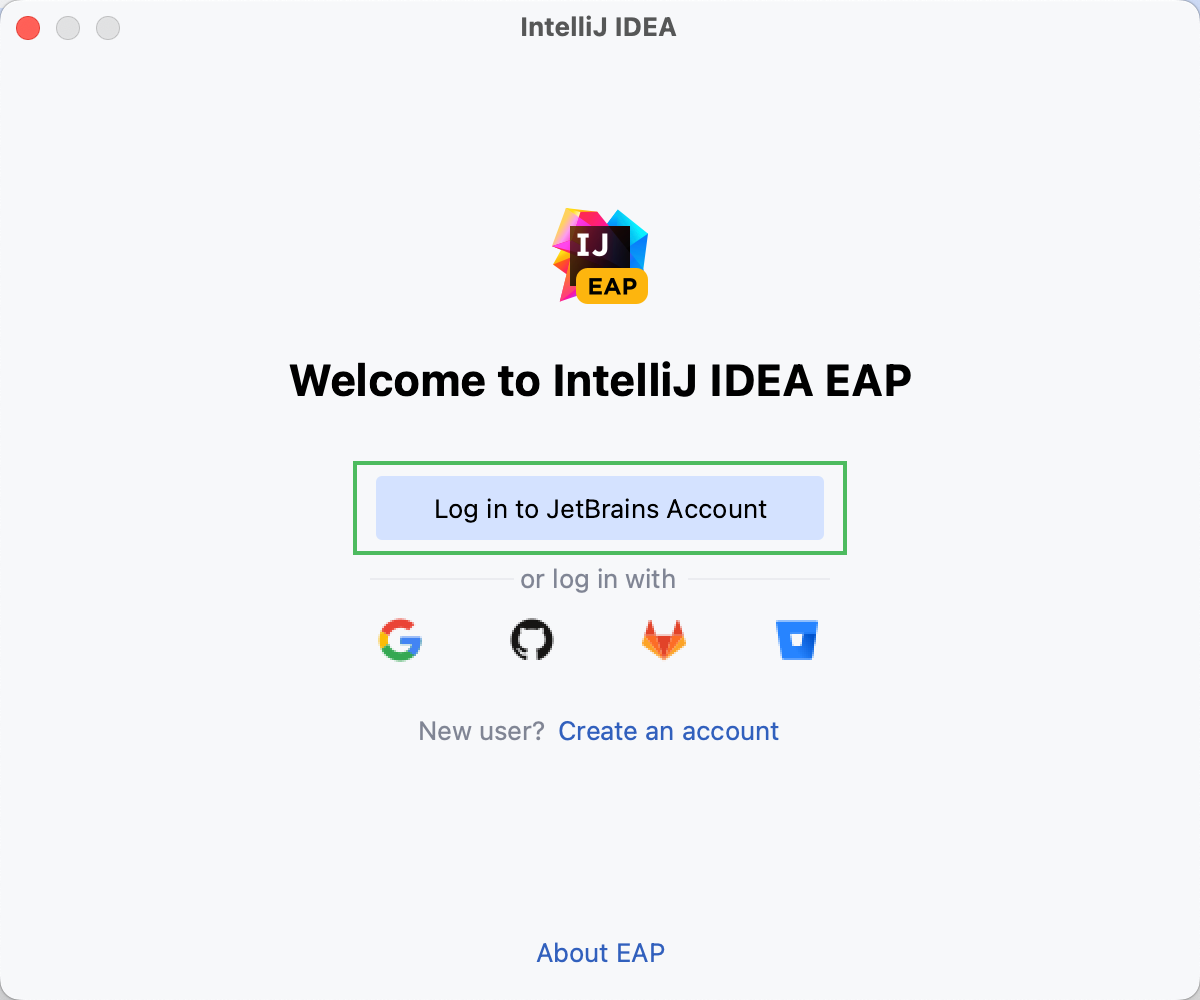
Pre-release builds of IntelliJ IDEA Ultimate that are part of the Early Access Program are shipped with a 30-days license. Log in with your JetBrains Account to start using IntelliJ IDEA Ultimate EAP.
You can use either your JetBrains Account directly or your Google, GitHub, GitLab, or BitBucket account for authorization. You can also create a new JetBrains Account if you don't have one yet.
Login options
Click Log in to JetBrains Account. You will be automatically redirected to the JetBrains Account website.

On the website, log in using your JetBrains Account credentials.
Once you've successfully logged in, you can start using IntelliJ IDEA EAP by clicking Get Started.
If you want to participate in EAP-related activities and provide your feedback, make sure to select the Send me EAP-related feedback requests and surveys option.

Click the Create an account link. You will be automatically redirected to the JetBrains Account website. Follow the instructions on the website to register a new JetBrains Account.

Once you've successfully logged in, you can start using IntelliJ IDEA EAP by clicking Get Started.
If you want to participate in EAP-related activities and provide your feedback, make sure to select the Send me EAP-related feedback requests and surveys option.

Click the icon of the service that you want to use for logging in. You will be redirected to the login page on the website of the selected service.

Once you've successfully logged in, you can start using IntelliJ IDEA EAP by clicking Get Started.
If you want to participate in EAP-related activities and provide your feedback, make sure to select the Send me EAP-related feedback requests and surveys option.

Access to JetBrains Account: Troubleshooting
If you encounter problems when attempting to log in to your JetBrains Account, this may be due to one of the following reasons:
No free ports
IntelliJ IDEA waits for a response about successful login from the JetBrains Account website. If there are no ports available, IntelliJ IDEA will suggest logging in with an authorization token.
Unable to open JetBrains Account in your browser
When you click Log in to JetBrains Account, IntelliJ IDEA redirects you to the JetBrains Account website. If your system browser doesn't start, use the Troubles emergency button. IntelliJ IDEA will suggest logging in with an authorization token.


No access to JetBrains Account
The login process requires access to the JetBrains Account website. IntelliJ IDEA automatically redirects you to the website or lets you log in with an authorization token. If both options don't work and you cannot access the website, contact your system administrator. Otherwise, it will not be possible for you to log in and start using IntelliJ IDEA.
Log in with an authorization token
An authorization token is a way to log in to your JetBrains Account if your system doesn't allow for redirection from the IDE directly, for example, due to your company's security policy. IntelliJ IDEA recognizes when redirection to the JetBrains Account website is impossible. It enables you to copy a link to generate an authorization token manually.
Click Copy link and open the copied link in your browser.

Log in to your JetBrains Account to generate an authorization token. After that, copy the token, paste it to the IDE authorization token field and click Check token. Once you've successfully logged in, you can start using IntelliJ IDEA.