Add Maven support to an existing Java project
In this tutorial you will learn how to add a Maven support to an existing IntelliJ IDEA project and build it using Maven.
Maven is a build automation and project management tool primarily used for Java. In this tutorial a simple Java project will be used.
If you are not familiar with Maven at all, you can read about its basic concepts such as POM, build lifecycle and goals in the Maven Getting Started Guide.
However, let's quickly go through the following concepts that we will refer to in this tutorial:
Project Object Model (POM): an XML file (pom.xml) that describes your project including its build configuration, and other project information.
Build Lifecycle: Maven defines a standard sequence of build phases, which consist of some tasks (goals).
Dependency: Maven manages dependencies on other projects or libraries, ensuring that the correct versions are used.
Plugin: Maven plugins extend its functionality by providing additional goals and tasks. They automate tasks such as compiling, testing, packaging, and deployment.
Check prerequisites
For this tutorial, ensure you have the following:
You are familiar with the IDE and have the latest stable version. We will use IntelliJ IDEA version 2025.1 in this tutorial.
By default, you have the Maven plugin installed and enabled in IntelliJ IDEA. If it is not, check the IDE settings.
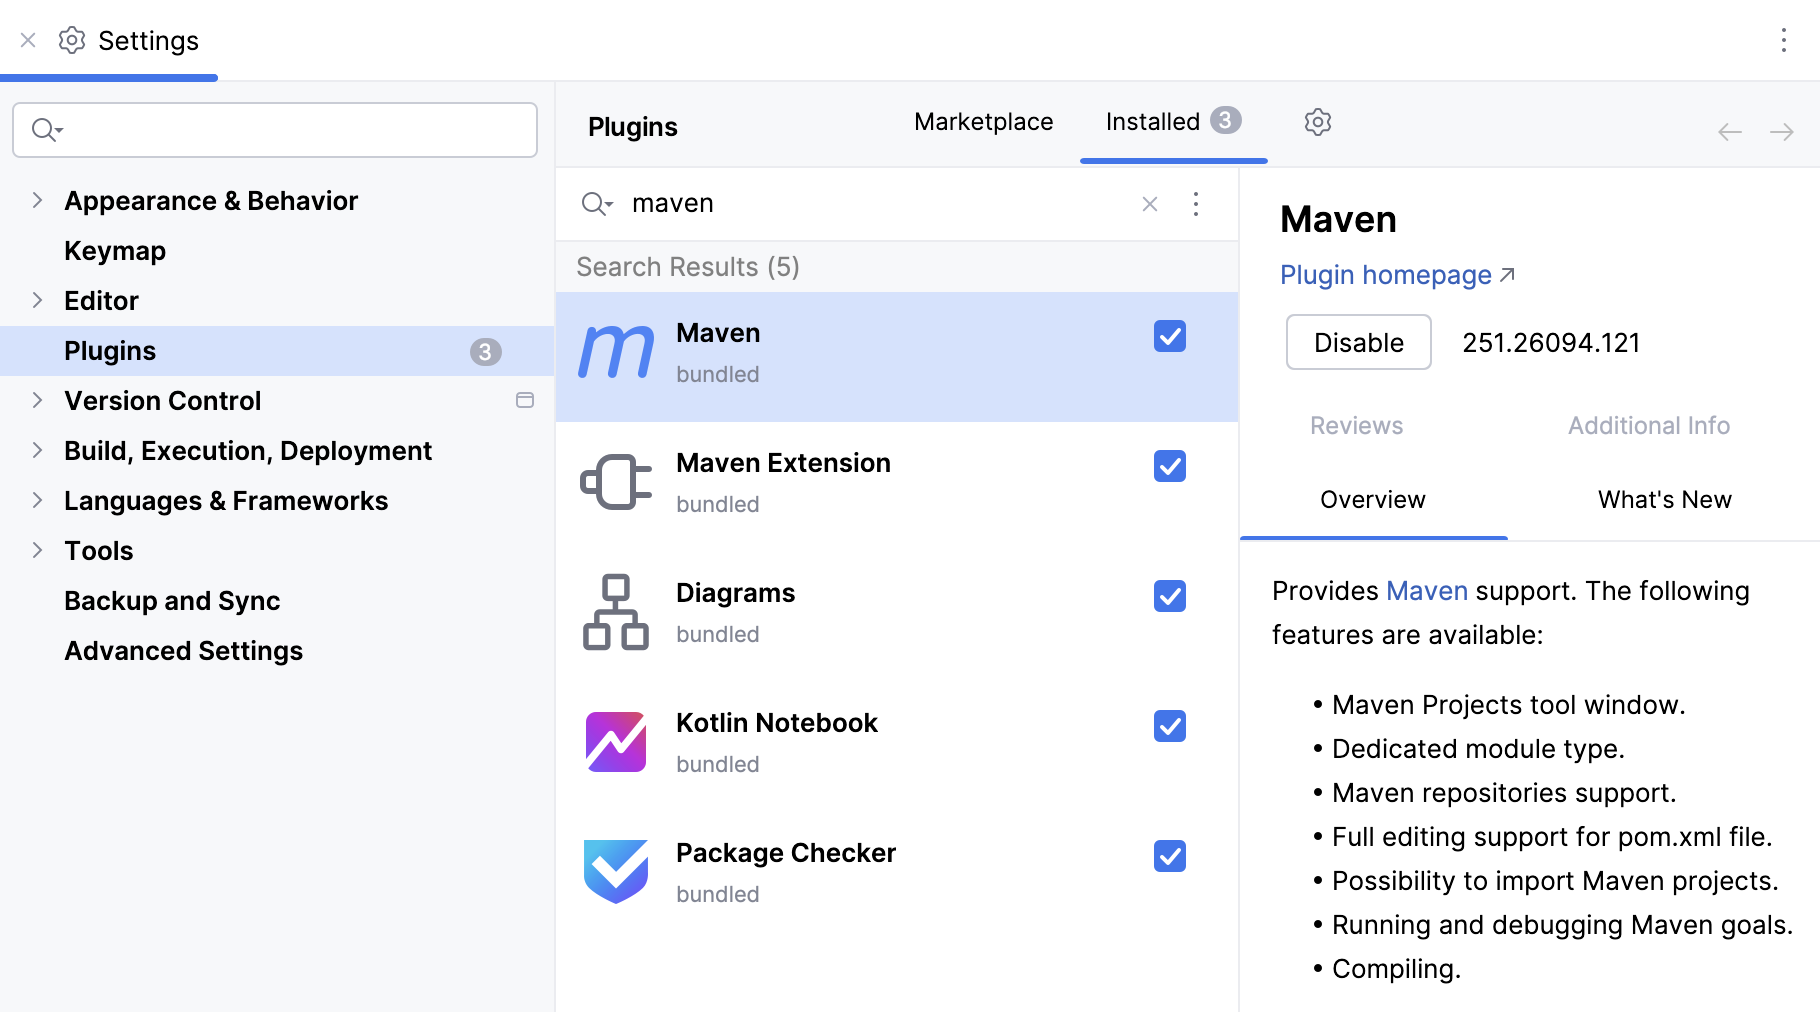
You have an existing Java project and can open it inside the IDE.
If you do not have a project handy, you can use our sample project or complete the Create your first Java application tutorial to create your own Java sample project.
In this tutorial, we will use the bundled Maven version 3.9 and the default project JDK version 21.0.1. If you're using your own project instead of the example, ensure you have compatible versions of Maven and the JDK.
Add Maven support
We start with adding a pom.xml file first.
Add POM file
Open an existing Java project.
In the Project tool window (press Alt+1 to open it), select the module or the project directory to which you want to add Maven. In our case, it is the MortgageCalculator directory.
Right-click it and from the context menu select New | File.
In the New File dialog, add pom.xml.

IntelliJ IDEA detects a Maven build script and displays a notification suggesting to load a Maven project. Click Load Maven Project.
IntelliJ IDEA generates a standard Maven layout in the Project tool window.
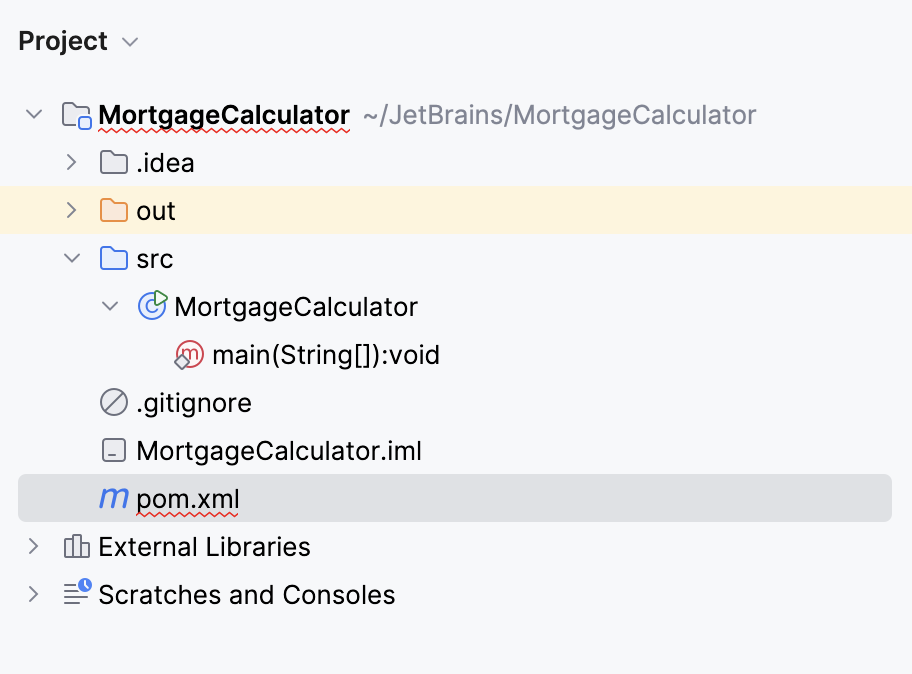
IntelliJ IDEA also creates a corresponding structure with Lifecycle and Repositories in the Maven tool window.
Maven tool window helps us view our project and execute goals of the build lifecycle.
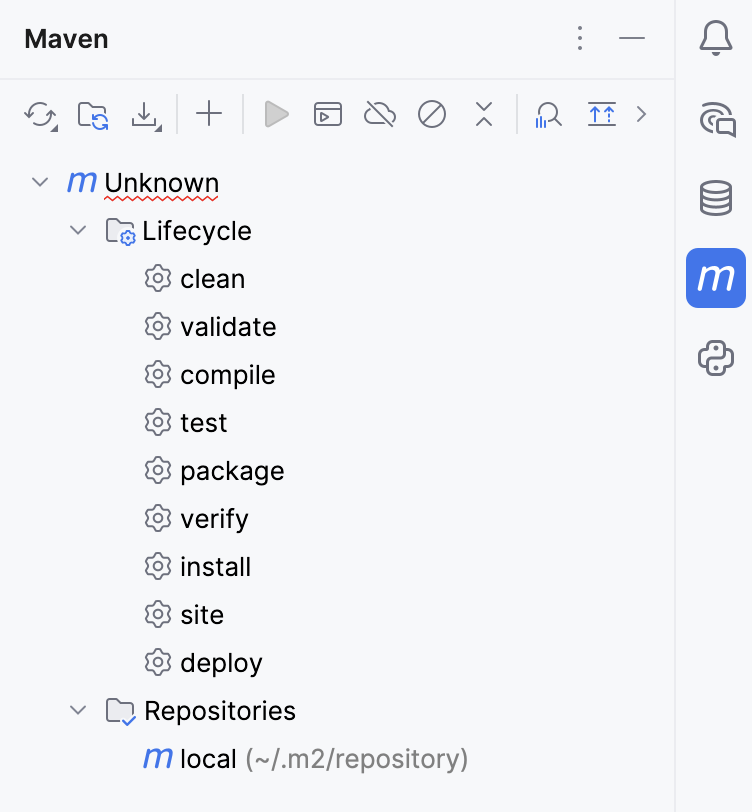
Since there is no information about our project in the
pom.xmlfile, the IDE highlights it in the Project tool window as well as in the Maven tool window.
Let's open the created pom.xml file in the editor and add the basic Maven project information.
Describe your project
Open
pom.xmlfile in the editor and add the following information:<project xmlns="http://maven.apache.org/POM/4.0.0" xmlns:xsi="http://www.w3.org/2001/XMLSchema-instance" xsi:schemaLocation="http://maven.apache.org/POM/4.0.0 http://maven.apache.org/xsd/maven-4.0.0.xsd"> <modelVersion>4.0.0</modelVersion> <groupId>com.example</groupId> <artifactId>mortgage-calculator</artifactId> <version>1.0-SNAPSHOT</version> <name>Mortgage Calculator</name> </project>The added information helps Maven identify, build, and manage our project. Let's look at it closer:
XML Namespace Declarations tell Maven and XML parsers how to validate and interpret our POM file.
modelVersion is the version of the POM model we are using. Maven currently supports only 4.0.0, but we still need to declare it explicitly.
groupId is the unique identifier of your project’s group (like a Java package name). It helps distinguish our project from others.
artifactId is the name of the artifact (when we built output like a JAR or WAR). Maven uses this when creating or referencing your package.
version is the version of your project. The
SNAPSHOTsuffix means it's under active development and can change frequently.name is a human-readable name for our project.
After adding the information, IntelliJ IDEA displays
icon suggesting to synchronize your changes. Let's click the icon to sync our project.
IntelliJ IDEA parses the project structure in the Maven tool window and reloads the changed part of our project.
Let's check the Maven tool window, IntelliJ IDEA adds the Plugins section.
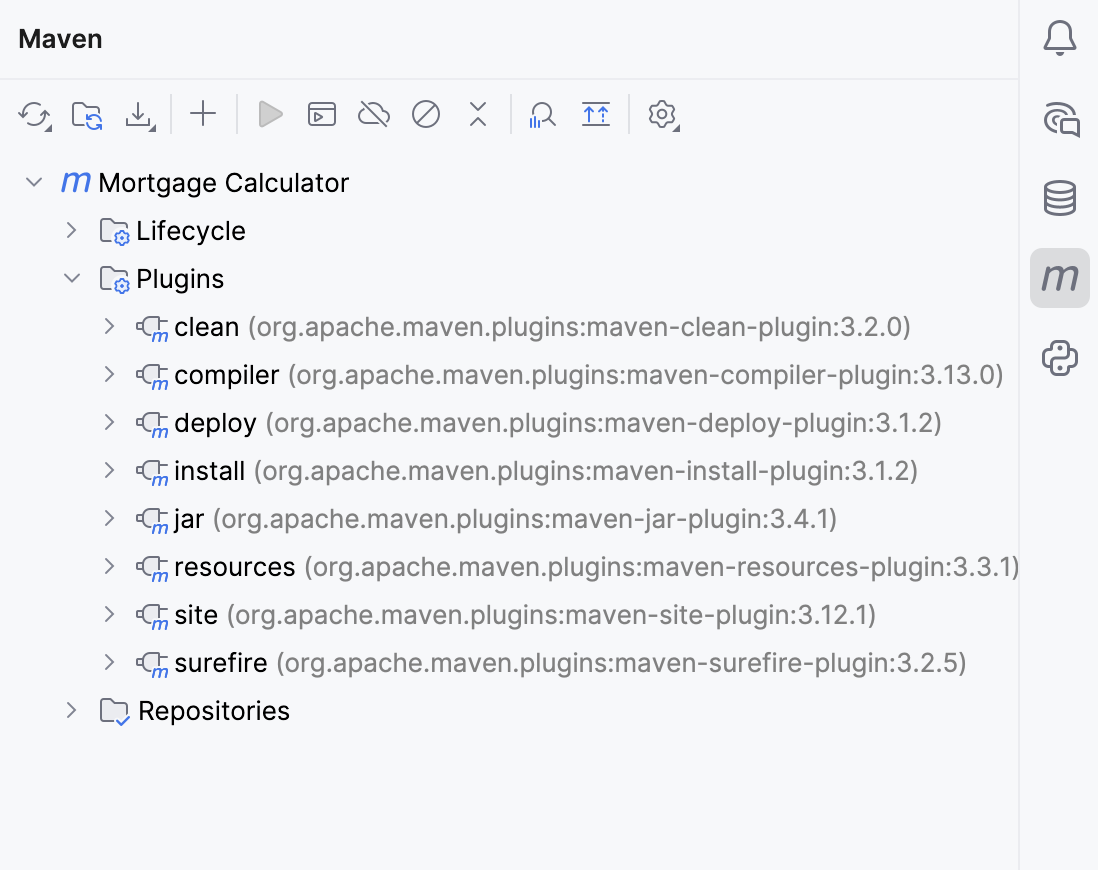
At this point we successfully converted our plain Java project to the Maven-based one. If we want to make changes to our project and develop our project further, we should make all our project changes in POM since IntelliJ IDEA considers the pom.xml file as a single source of truth. So, let's see what else we can do.
Develop with Maven
Let's further develop our project using Maven. Let's create and executable JAR to conclude our tutorial.
Create an executable JAR
From the main menu, select (
) to build project. IntelliJ IDEA generates target folder. Note that IntelliJ IDEA only compiles sources and doesn't create either a
.jarfile orMANIFEST.MFfile which are needed for our tutorial. Let's start with theMANIFEST.MFfile.We need to create a Manifest file in the resources directory.
Right-click the directory, select to create the META-INF subdirectory. Then right-click the subdirectory, select to create the MANIFEST.MF file.
Open the MANIFEST.MF file in the editor and add information about your main class. Our main class is called
MortgageCalculator, let's add it. (If you're using your own project, use the name of its main class).Add the following code:
Main-Class: MortgageCalculatorAlternatively, we can ask Maven to add this line of code into the MANIFEST.MF file with the following code in
pom.xml:<build> <plugins> <plugin> <groupId>org.apache.maven.plugins</groupId> <artifactId>maven-jar-plugin</artifactId> <configuration> <archive> <manifest> <mainClass> MortgageCalculator </mainClass> </manifest> </archive> </configuration> </plugin> </plugins> </build>After adding the code, click
icon to synchronize your changes.
This code is enough to generate an executable
.jarfile. If you want, check the Maven documentation for more detailed information about the Manifest file.In the Maven tool window, in the Lifecycle list, double-click the
installcommand to generate the.jarfile.Maven generates the appropriate information in the
targetfolder and an executable JAR in the Project tool window.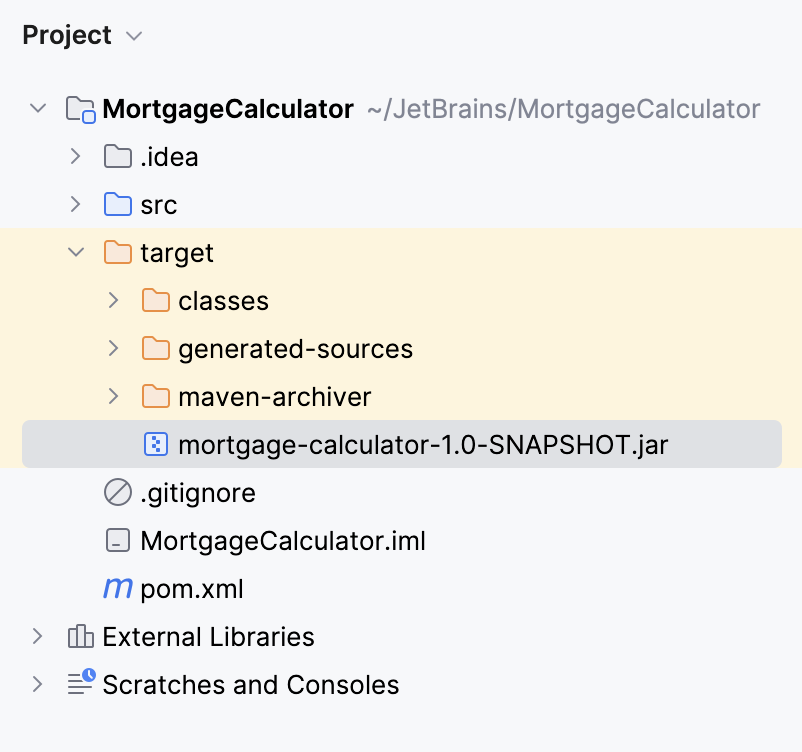
Right-click the generated JAR and select Run to execute the file.
We can check the result, in the Run tool window.

We successfully executed the created
.jarfile.
Let’s summarize what we’ve done in this tutorial.
We started with a regular Java project and converted it into a Maven project by adding a pom.xml file and defining our project configuration within it. We then built the project and successfully created an executable JAR file using Maven, and ran it.
Now you can challenge yourself and try to add the parent POM or try Maven deploy.