Restrict or Disable AI Assistant features
You can restrict the use of AI Assistant if you do not want to share source code with third parties.
note
Learn more about data sharing from How we handle your code and data.
You can disable AI Assistant for the project that is currently open in your IDE.
Click the
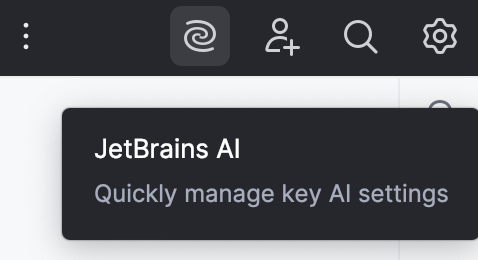
JetBrains AI widget located in the toolbar in the window header.

Hover over the Disable AI Assistant option and click Disable for This Project.

The icon in the toolbar will change, notifying that AI features are disabled for the project. This information will also be duplicated in the JetBrains AI settings manager and AI Chat.
As a result, all AI Assistant icons in the toolbars and AI actions in the context menu will become unavailable.
Create an empty file named
.noaiin the root directory of the project.
When this file is present, all AI Assistant features are fully disabled for the project. Even if this project is opened in another IDE, the AI Assistant features will not be available.
Note that this file affects only the JetBrains AI Assistant plugin and does not affect any third-party AI integration plugins for JetBrains IDEs or other tools that may send code to external LLMs (Large Language Model).
You can restrict AI Assistant from processing specific files or folders by creating and configuring an .aiignore file.
warning
Files added to the
.aiignoreare not processed by AI Assistant, and AI features are disabled for them. However, in some cases, ignored files may still be processed due to unforeseen issues. If you notice any unexpected behavior, please report it so we can investigate.
note
If your project already contains a
.cursorignore,.codeiumignore, or.aiexcludefile, there is no need to create a separate.aiignorefile, as these files are also supported. As long as they are located in the root folder of the project, they will be used to restrict AI Assistant's access to the specified files and folders.
Navigate to Settings | Tools | AI Assistant | Project Settings.
Select the Enable .aiignore checkbox and click Create .aiignore file.
tip
If you do not want to apply restrictions immediately, leave the Enable .aiignore setting unchecked. You can enable it later after finalizing the list of restricted files and folders.
Specify a pattern to exclude files and/or folders from processing by AI Assistant. The
.aiignorefile uses the same syntax as a .gitignore file and provides a configuration template.
The configured file might look like this:
.aiignore{...}
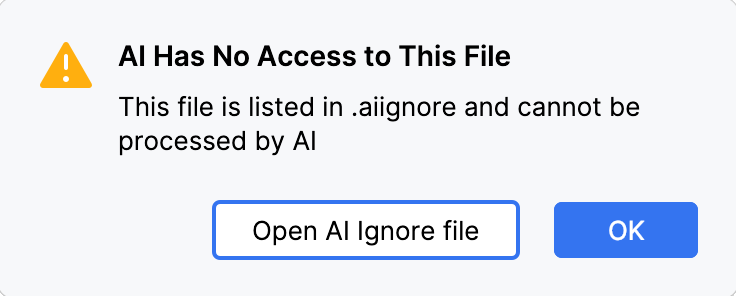
As a result, if you try to invoke any AI Assistant action in a restricted file, you will receive the following message:

You can restrict access to AI Assistant by blocking the following JetBrains AI service's base URLs on a network level:
https://api.jetbrains.ai/(for Mainland China:
https://api.ai.jetbrains.com.cn/)https://api.app.prod.grazie.aws.intellij.net/
To disable AI Assistant on the IDE level, you can disable the AI Assistant plugin.
Click the
JetBrains AI widget located in the toolbar in the window header.

Hover over the Disable AI Assistant option and select the Disable Permanently via Plugin option.

On the plugin's description pane that opens, click Disable.
tip
If the AI Assistant plugin description pane has not opened, you can search for the plugin's name in Settings | Plugins | Installed.
You can also uninstall the plugin on the same plugin's description pane by clicking the arrow button to open the actions list, selecting Uninstall, and then restarting the IDE.
note
For more information about enabling and disabling AI Assistant on a company level, refer to How to enable AI Assistant for companies.
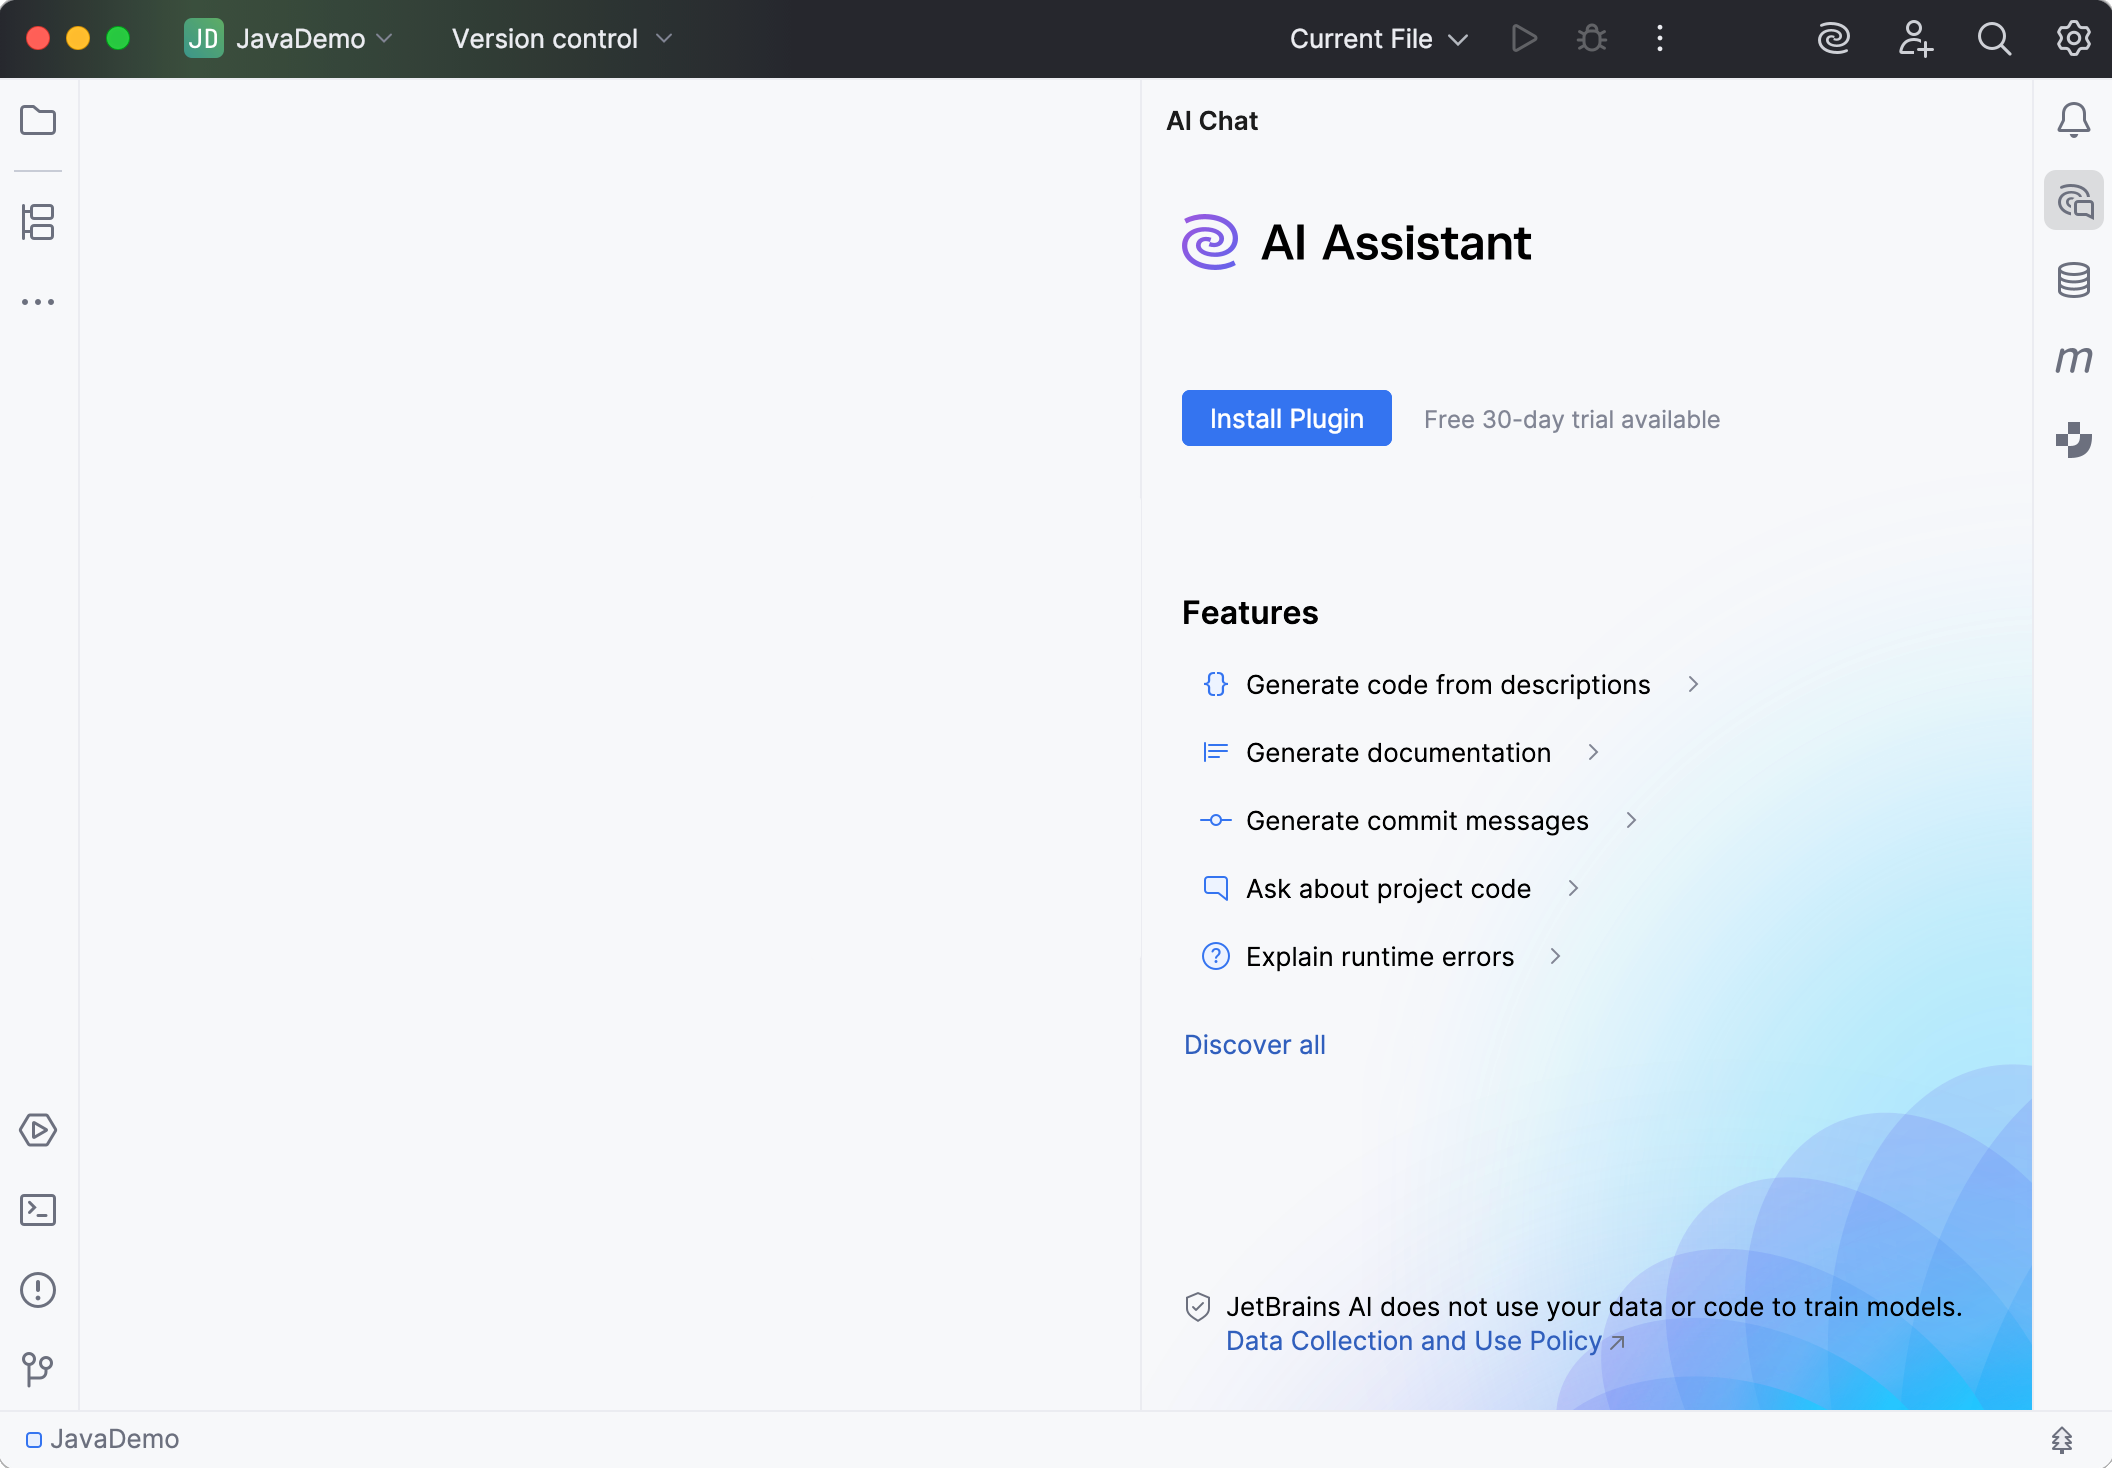
If you do not have the AI Assistant plugin installed, you may still see the installation tool window offering to install the plugin, and the JetBrains AI widget in the toolbar in the window header.

These items are not the AI Assistant plugin, and they have no access to your code.
AI Assistant will not be active and will not have access to your code unless you install the plugin, acquire a JetBrains AI Service license and give your explicit consent to JetBrains AI Terms of Service and JetBrains AI Acceptable Use Policy while installing the plugin.
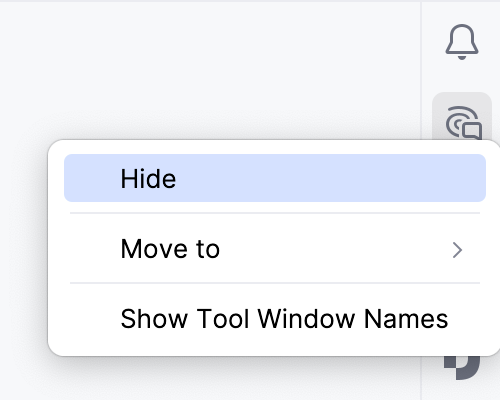
You can hide the tool window by right-clicking it and selecting Hide.

To hide the JetBrains AI widget, right-click the icon, select Customize Toolbar, click
Remove, and then click Apply to save the changes.