Creating Google App Engine Project
A Google App Engine project is intended for productive development of web applications in the Google infrastructure. PyCharm takes care of creating the specific directory structure and settings.
To create a Google App Engine project, follow these steps
Note that PyCharm always uses the Python 2.7 runtime when creating a new project.
From the main menu, choose , or click the New Project button in the Welcome screen. New Project dialog opens.
In the New Project dialog, do the following:
Specify project type Google App Engine.
Specify project location.
Next, click
to expand the Python Interpreter node, and select the new environment or previously configured interpreter, by clicking the corresponding radio-button.
The following steps depend on your choice:
- New environment
If this option has been selected, choose the tool to be used to create a virtual environment. To do that, click the list and choose Virtualenv, Pipenv, Poetry, or Conda.
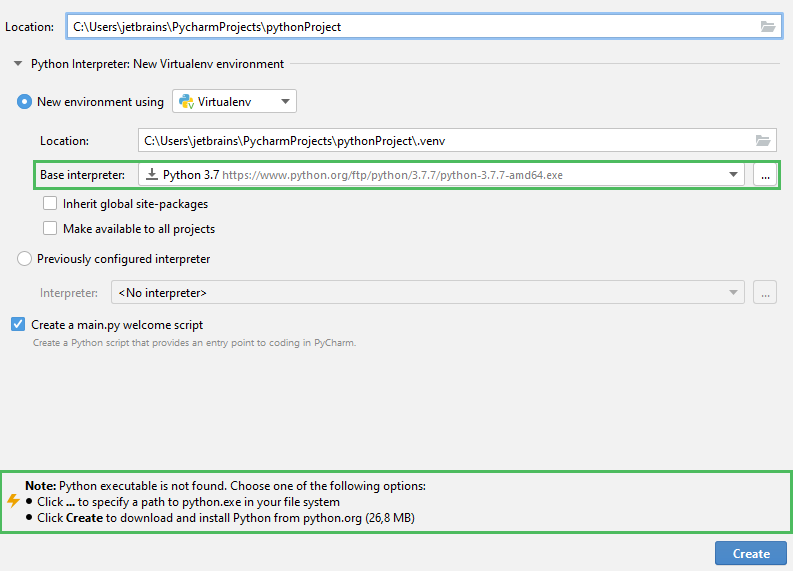
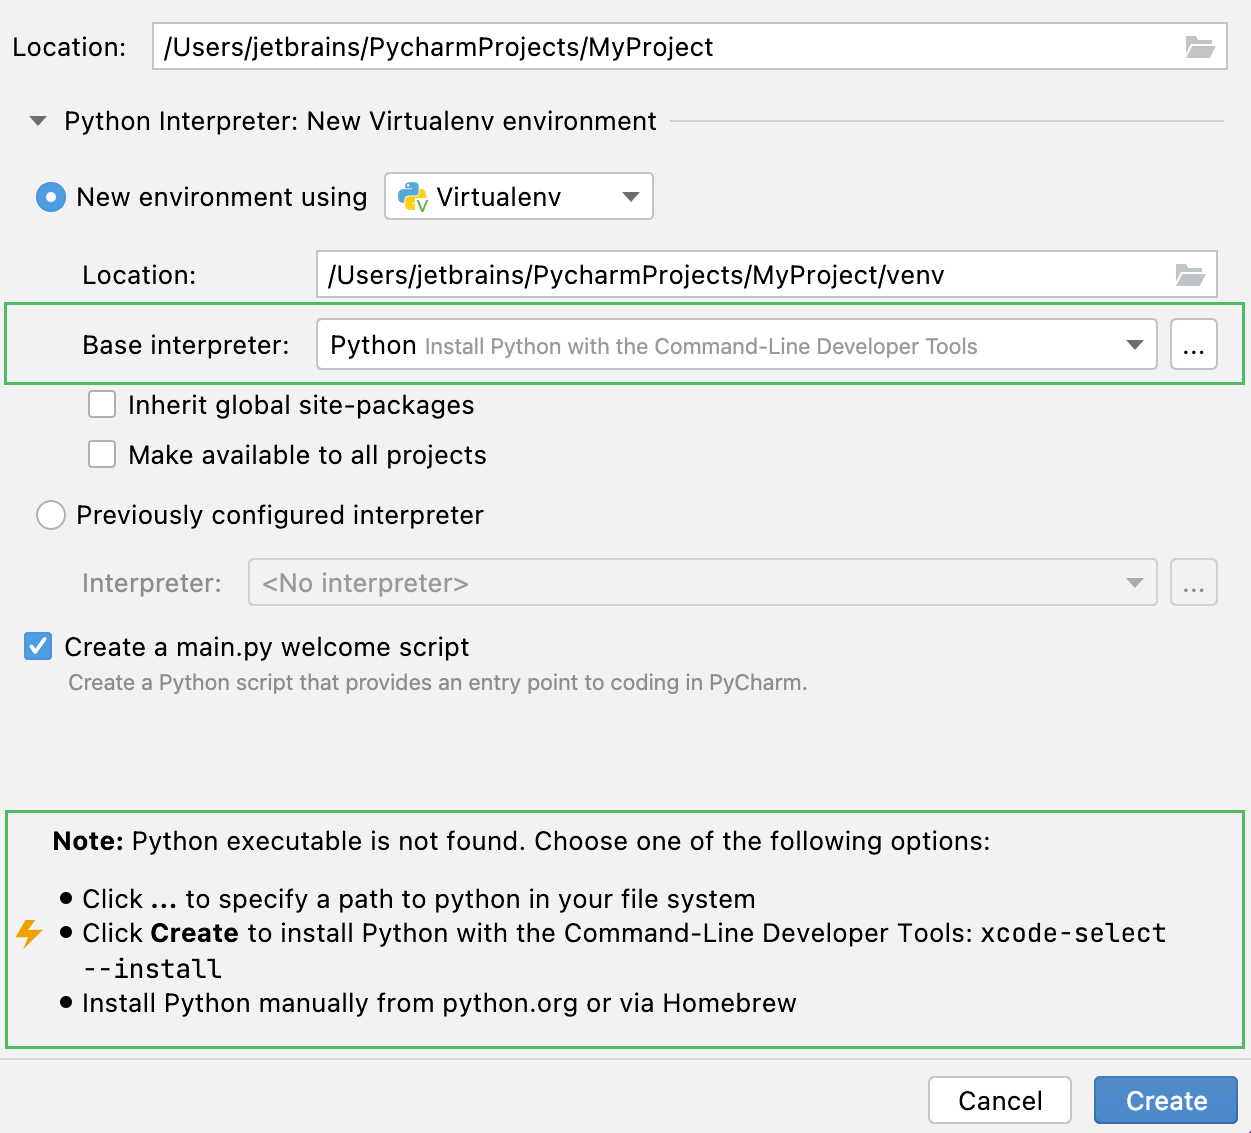
Next, specify the Location and Base interpreter of the new virtual environment.
Select the Inherit global site-packages checkbox if you want all packages installed in the global Python on your machine to be added to the virtual environment you're going to create. This checkbox corresponds to the
--system-site-packagesoption of the virtualenv tool.Select the Make available to all projects checkbox if you want to reuse this environment when creating Python interpreters in PyCharm.
If PyCharm detects no Python on your machine, it provides the following options:
Specify a path to the Python executable (in case of non-standard installation)
Download and install the latest Python versions from python.org
Install Python using the Command-Line Developer Tools (macOS only).


- Previously configured interpreter
If this option has been selected, choose the desired interpreter from the list, or (if the desired interpreter is not found), click Add Interpreter and choose the interpreter.
See Configure a Python interpreter for details.
Click
(More Settings), and specify the following:
In the Application ID field, enter the identifier that you have already defined on the Create application page of the Google App Engine. The project identifier should meet certain requirements: only lower-case letters, digits, and "-" characters are allowed; the application id should not begin with "-".
App Engine SDK directory - the location of the App Engine SDK on your machine. If this SDK is missing from the
pathvariable, type it manually or clickand locate the required directory from the file system. If the SDK directory is added to the
pathvariable during installation, it is detected automatically.
Click Create.
Once the project is created, you should see the following files in the Project tool window:
app.yml: a file to configure your App Engine app's settings. See more details and examples in the app.yaml reference.
main.py: an application boilerplate. If you enable using third-party libraries when creating the project, the corresponding code templates, for example, Django or Flask, will be added.
Use code intentions and quick fixes to install the missing packages 