View data
You can browse and edit data in three modes: Table, Tree, Text, and Transpose. To switch between these modes, click the View as button (![]() ) and select the mode that you need.
) and select the mode that you need.
Transpose: viewing mode in which rows and columns are interchanged. You can combine this checkbox with other viewing modes.
To make this mode a default for tables and views, open settings by pressing CtrlAlt0S and navigate to . From the Automatically transpose tables list, select Always. When this option is enabled, query results are not transposed.

Table: the default viewing mode of table data. Data in a table is stored in a cell that is an intersection of a vertical column and horizontal row.

Tree: viewing mode in which data is displayed in the key-value table with the possibility to expand the key cell if it contains children nodes. Data from the expanded children node is distributed between key and value columns. You might consider using this mode to work with JSON and array data.

Text: viewing mode in which data is displayed as a text.

To transpose a table, a view, or a virtual view click the View as button (
 ) and select Transpose.
To see the query that was used to generate the result table, click the Show Options Menu button (
 ) and select View Query. If necessary, you can select the query text and copy it to the clipboard by pressing Ctrl0C.
To close the pane where the query is shown, press Esc.

When you insert, delete, or modify data in a table editor, you can preview the query that PyCharm uses to perform selected operations. To preview the query, click the Preview Pending Changes button (
 ) on the toolbar.
Click the Reload Page button (
 ) on the toolbar.
Right-click the table and select Reload Page from the context menu.
Press CtrlF5.

To edit the value in value editor, do the following:
To start a new line, press Enter.
To enter the value, press CtrlEnter.
To restore an initial value and quit the editing mode, press Esc.
To enable soft wrap in the editor by clicking the Toggle Soft-Wrap button
 .
.


Click the gear icon (![]() ) on the toolbar of the Aggregates tab to view, enable, and disable aggregates. To access the bundled scripts, select Go to Scripts Directory. Bundled scripts are located in Scratches and Consoles
) on the toolbar of the Aggregates tab to view, enable, and disable aggregates. To access the bundled scripts, select Go to Scripts Directory. Bundled scripts are located in Scratches and Consoles

tip
Aggregate scripts and extractors are interchangeable. If you have previously used an extractor that gets just one value, you can copy it to the aggregates directory and use it for aggregates.
warning
The Geo data viewer works only if JCEF is enabled. In rare cases, when you enable JCEF, PyCharm might crash. It can happen if you have installed plugins that use JavaFX. If the crash happened, refer to Recover PyCharm after enabling JCEF.
note
To work with geographical data, you must install the Postgis extension on your PostgreSQL server. For more information about the installation process, refer to the Postgis documentation.
In the Database tool window ( ) , double-click the table with geographical data.
Click the Show Options Menu icon (
 ) and select Show Geo Viewer.
Read the notification about possible risks of enabling JCEF. If you accept the risk, click Enable JCEF.
In the Restart Required window, click Restart Now.
After the restart, press CtrlF5 or reopen the table with geographical data.
Click the Show Options Menu icon (
) and select Show Geo Viewer.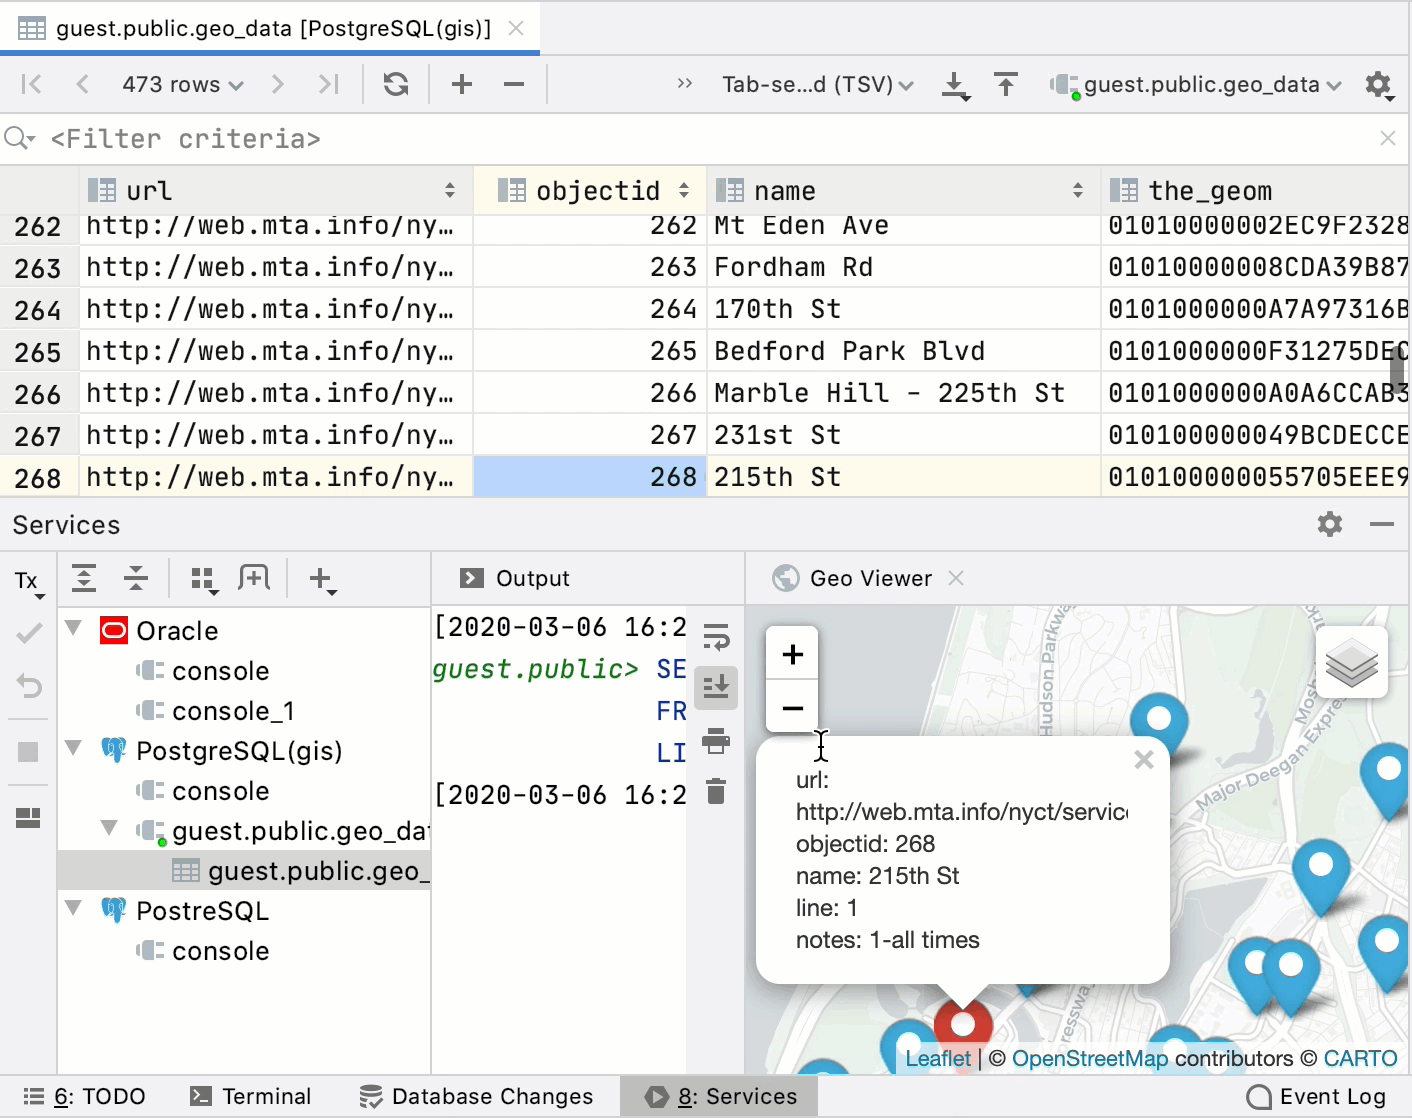 Gif
Gif
Thanks for your feedback!