Configuring remote Node.js interpreters
In PyCharm, you need to configure a remote Node.js interpreter when you want to develop, test, lint, run and debug your application on Node.js installed on a remote host or in a virtual environment.
Remote Node.js interpreters are configured in the Configure Node.js Remote Interpreter dialog. You can open this dialog from the Node.js page of the Settings dialog or later, when you create or edit a Node.js run/debug configuration for running or debugging your application in a remote environment.
The recommended way is to configure a remote Node.js interpreter in the Settings dialog. In this case you can set the interpreter and the associated package manager as default for your project.
A remote Node.js interpreter that you configure right in the Node.js run/debug configuration can be used only with this run/debug configuration.
Remote Node.js interpreter on a host accessible through SSH connection
Before you start
Install the Node.js and Node.js Remote Interpreter plugins on the Settings | Plugins page, tab Marketplace, as described in Installing plugins from JetBrains Marketplace.
Make sure the FTP/SFTP/WebDAV Connectivity plugin is enabled in the settings. Press Ctrl+Alt+S to open settings and then select . Click the Installed tab. In the search field, type FTP/SFTP/WebDAV Connectivity. For more information about plugins, refer to Managing plugins.
Configure access to an SSH server on the target remote host as described in Create SSH configurations and make sure this server is running.
Node.js interpreters via SSH are configured in the Configure Node.js Remote Interpreter dialog. You can open this dialog from the Node.js page of the Settings dialog or later, when you create or edit a Node.js run/debug configuration for running or debugging your application.
The recommended way is to configure a remote Node.js interpreter in the Settings dialog. In this case you can set the interpreter and the associated package manager as default for your project.
A remote Node.js interpreter that you configure right in the Node.js run/debug configuration can be used only with this run/debug configuration.
Configure a remote Node.js interpreter via SSH in the Settings dialog
Open the Settings dialog (Ctrl+Alt+S) and go to .
Click
next to the Node interpreter field.

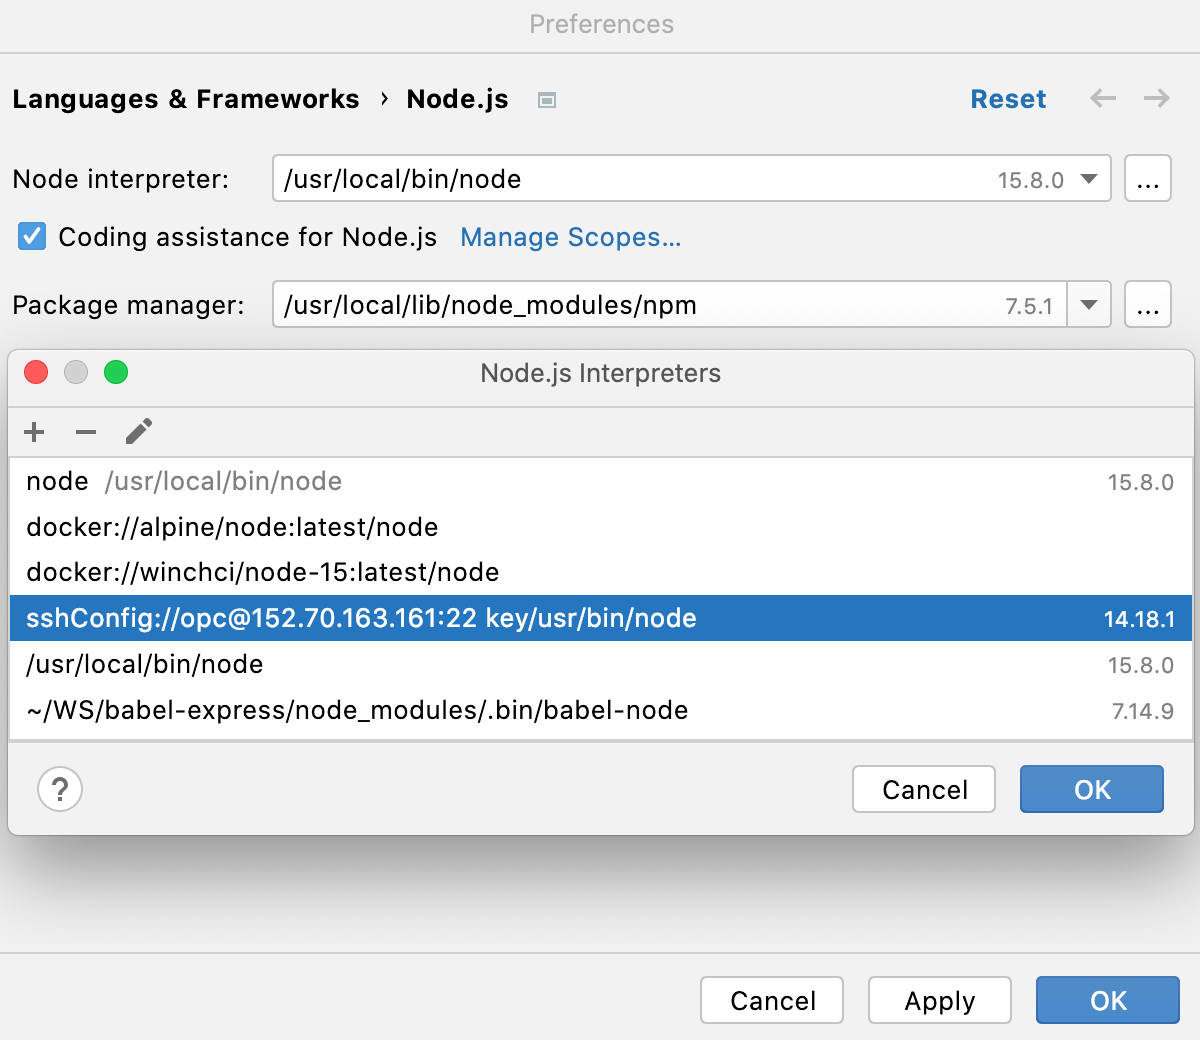
In the Node.js Interpreters dialog with a list of all the currently configured interpreters, click
on the toolbar and select Add Remote from the context menu .

In the Configure Node.js Remote Interpreter dialog that opens, select SSH.
Select an SSH configuration to use.

Alternatively, click
and create a new SSH configuration as described in Create SSH configurations.
Click OK to return to the Node.js Interpreters dialog where the new interpreter is added to the list.

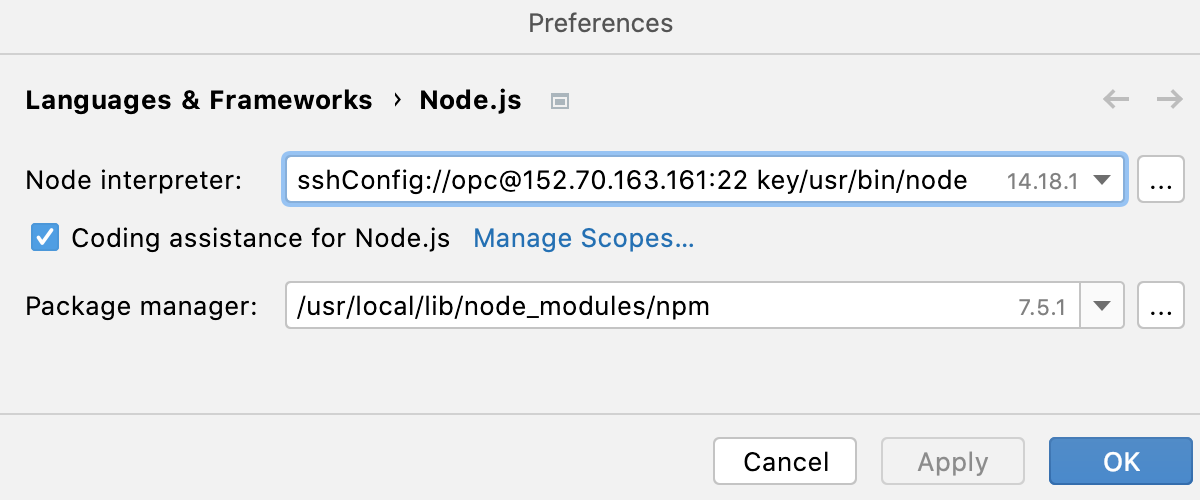
To set the newly configured interpreter as project default, select it in the list and click OK to return to the Node.js dialog.
PyCharm automatically uses this interpreter every time you select the
Projectalias from Node Interpreter lists, for example, when creating run/debug configurations.To use the package manager associated with the new interpreter for managing your project dependencies, set this package manager as default in your project. To do that, specify the location of the package manager in the Package manager field.
The default location for npm executable is
/usr/local/lib/node_modules/npm.
Configure a remote Node.js interpreter via SSH in a run/debug configuration
Go to . In the Edit Configuration dialog that opens, click
on the toolbar and select Node.js from the context menu. The Run/Debug Configuration: Node.js dialog opens.
Click
next to the Node interpreter field .

The Node.js Interpreters dialog opens.
Click
on the toolbar and select Add Remote from the context menu.

Configure a remote Node.js interpreter via SSH as described above.
Remote Node.js interpreter in a Docker container
Before you start
Install the Node.js and Node.js Remote Interpreter plugins on the Settings | Plugins page, tab Marketplace, as described in Installing plugins from JetBrains Marketplace.
Make sure the Docker plugin is enabled in the settings. Press Ctrl+Alt+S to open settings and then select . Click the Installed tab. In the search field, type Docker. For more information about plugins, refer to Managing plugins.
Download, install, and configure Docker as described in Docker
Node.js interpreters in Docker are configured in the Configure Node.js Remote Interpreter dialog. You can open this dialog from the Node.js page of the Settings dialog or later, when you create or edit a Node.js run/debug configuration for running or debugging your application in Docker.
The recommended way is to configure a remote Node.js interpreter in the Settings dialog. In this case you can set the interpreter and the associated package manager as default for your project. As a result, you can not only run and debug your app with configured Node.js interpreter in Docker but also manage your project dependencies, run tests, and lint your code.
A remote Node.js interpreter that you configure right in the Node.js run/debug configuration can be used only with this run/debug configuration.
Configure a Node.js interpreter in the Settings dialog
Go to . In the Edit Configuration dialog that opens, click
on the toolbar and select Node.js from the context menu.
In the Run/Debug Configuration: Node.js dialog that opens, click
next to the Node interpreter field.
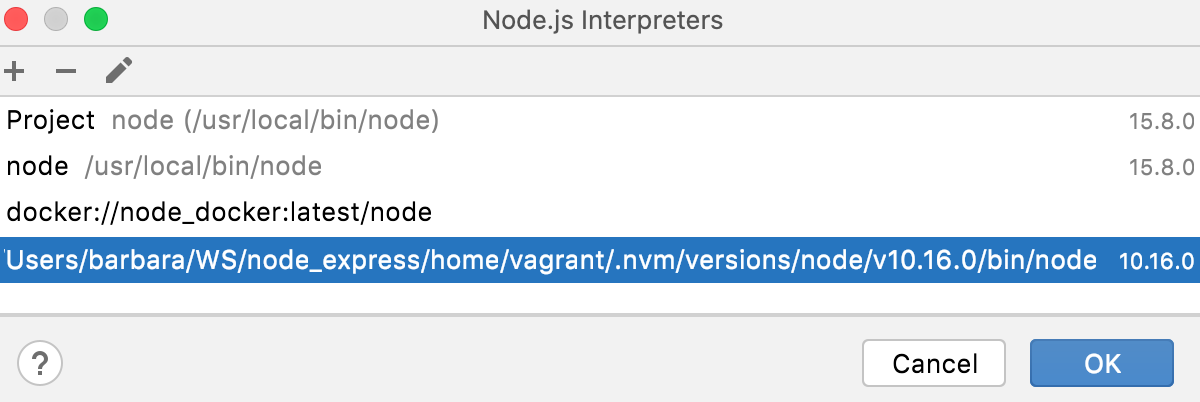
In the Node.js Interpreters dialog with a list of all the currently configured interpreters, click
on the toolbar and select Add Remote from the context menu .
In the Configure Node.js Remote Interpreter dialog that opens, select the Docker option.
In the Server field, specify the Docker configuration to use. For more information, refer to Working with Docker: Process overview. Select a configuration from the list or click
and create a new configuration on the Docker page that opens.
In the Image name field,
specify the base Docker image to use. Choose one of the previously downloaded or your custom images from the list or type the image name manually, for example,
node:argonormhart/alpine-node.When you later launch the run configuration, Docker will search for the specified image on your machine. If the search fails, the image will be downloaded from the Docker Official Images repository on the Docker Registry page.
The Node.js interpreter path field shows the location of the default Node.js interpreter from the specified image.
When you click OK, PyCharm closes the Configure Node.js Remote Interpreter dialog and brings you to the Node.js Interpreters dialog where the new interpreter configuration is added to the list. Click OK to return to the run configuration.
Configure a Node.js interpreter in the Node.js run/debug configuration
Go to . In the Edit Configuration dialog that opens, click
on the toolbar and select Node.js from the context menu. The Run/Debug Configuration: Node.js dialog opens.
Click
next to the Node interpreter field . The Node.js Interpreters dialog opens.
Click
on the toolbar and select Add Remote from the context menu.

Configure a remote Node.js interpreter as described above.
Using a remote Node.js interpreter in a Docker container with a Docker Compose definition
With Docker Compose, you can run a Node.js server and your application code as separate services. Each service can be scaled by adding more containers if necessary. This enables you to perform efficient development and testing in a dynamic environment that is similar to production one.
Node.js interpreter in a Vagrant instance
With Vagrant, you can quickly bootstrap your Node.js application to run, debug, and profile it from PyCharm.
Before you start
Install the Node.js, Node.js Remote Interpreter, and Vagrant plugins on the Settings | Plugins page, tab Marketplace, as described in Installing plugins from JetBrains Marketplace.
Make sure Vagrant and Oracle's VirtualBox are downloaded, installed, and configured on your computer. For more information, refer to Vagrant: Working with Reproducible Development Environments.
Make sure that the parent folders of the following executable files are added to the system PATH variable:
vagrant.bat or vagrant from your Vagrant installation. This should be done automatically by the Vagrant installer.
VBoxManage.exe or VBoxManage from your Oracle's VirtualBox installation.
Node.js interpreters in Vagrant environments are configured in the Configure Node.js Remote Interpreter dialog. You can open this dialog from the Node.js page of the Settings dialog or later, when you create or edit a Node.js run/debug configuration for running or debugging your application in a Vagrant environment.
The recommended way is to configure a remote Node.js interpreter in the Settings dialog. In this case you can set the interpreter and the associated package manager as default for your project.
A remote Node.js interpreter that you configure right in the Node.js run/debug configuration can be used only with this run/debug configuration.
Configure a Node.js interpreter in the Settings dialog
Open the Settings dialog (Ctrl+Alt+S) and go to .
Click
next to the Node interpreter field.

In the Node.js Interpreters dialog with a list of all the currently configured interpreters, click
on the toolbar and select Add Remote from the context menu .

In the Configure Node.js Remote Interpreter dialog that opens, select Vagrant.
Specify the Vagrant instance folder that points at the environment you are going to use.
Technically, it is the folder where the VagrantFile configuration file for the desired environment is located. Based on this setting, PyCharm detects the Vagrant host and shows it as a link in the Vagrant Host URL read-only field.
By default, the field shows the current project folder.
In the Node.js interpreter path field, specify the location of the Node.js executable file.

To locate the Node.js executable, open the embedded Terminal (Alt+F12) and type:
vagrant ssh whereis node exit
Click OK to return to the Node.js Interpreters dialog where the new interpreter is added to the list.
To set the newly configured interpreter as project default, select it in the list and click OK to return to the Node.js dialog.

PyCharm automatically uses this interpreter every time you select the
Projectalias from Node Interpreter lists, for example, when creating run/debug configurations.Specify the path to the package manager to use.

To locate the package manager, open the embedded Terminal (Alt+F12) and type:
vagrant ssh whereis <package manager> exit
Configure a Node.js interpreter in the Node.js run/debug configuration
Go to . In the Edit Configuration dialog that opens, click
on the toolbar and select Node.js from the context menu. The Run/Debug Configuration: Node.js dialog opens.
Click
next to the Node interpreter field . The Node.js Interpreters dialog opens.
Click
on the toolbar and select Add Remote from the context menu.

Configure a remote Node.js interpreter in a Vagrant environment as described above.