Django Structure tool window
Enable the Django plugin
This functionality relies on the Django plugin, which is bundled and enabled in PyCharm by default. If the relevant features are not available, make sure that you did not disable the plugin.
Press Ctrl+Alt+S to open settings and then select .
Open the Installed tab, find the Django plugin, and select the checkbox next to the plugin name.
The Django Structure tool window provides a quick way to create, refactor and navigate the main components of your Django project.
View the project structure
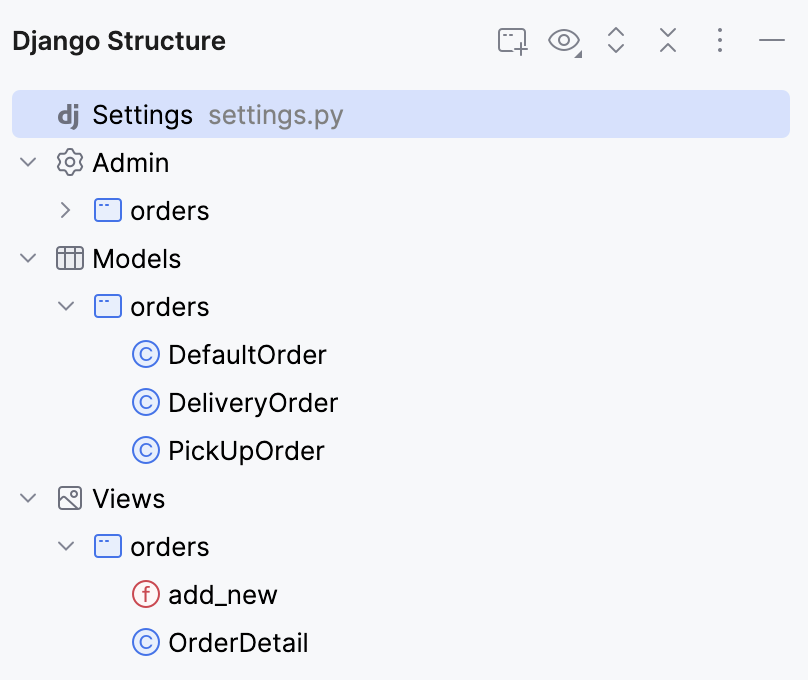
Click Django Structure on the left to open the tool window.
If the tool window icon is not shown, click
More tool windows and select Django Structure from the list.
The Django Structure tool window lists the following components:
Models
Admin classes
Views
All components are visible by default. To hide component, click
View Options in the toolbar and deselect it in the Show section.
By default, the components are grouped by component type. To group them by apps, click
View Options in the toolbar and select Apps.
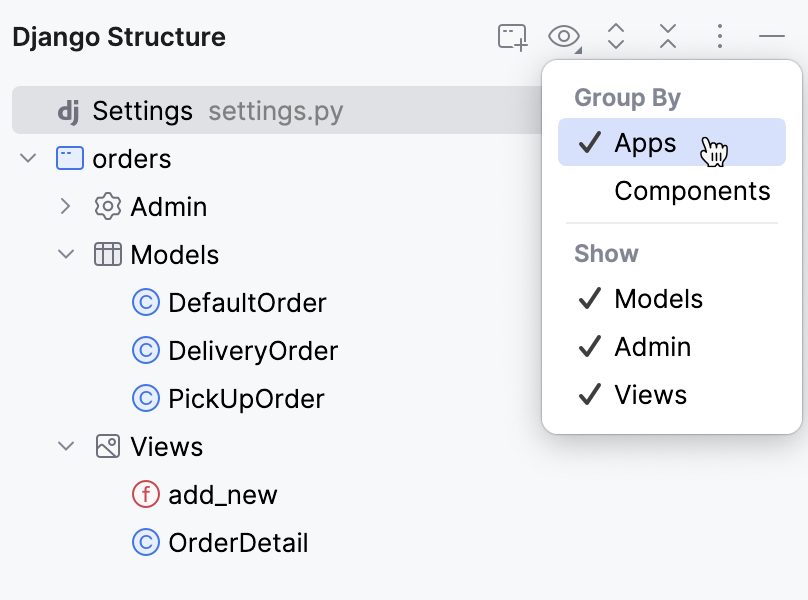
To go to a component, double-click it. The containing file is opened in the editor, and the caret is set to the corresponding class declaration or function definition.

Access the project settings
In the Django Structure tool window, double-click
Settings. The Django project settings file (for example, settings.py) is opened in the editor.
Managing apps
You can use the Django Structure tool window to create new apps and run migrations.
Create an app
Do one of the following:
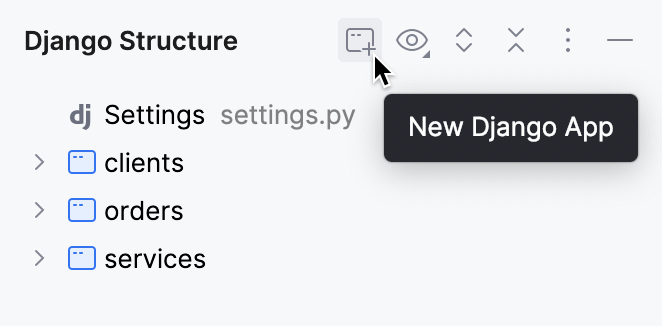
Click New Django App in the toolbar of the Django Structure tool window.
Right-click an existing app. If there are no apps yet, click the Create App link.
Select New Django App from the context menu.
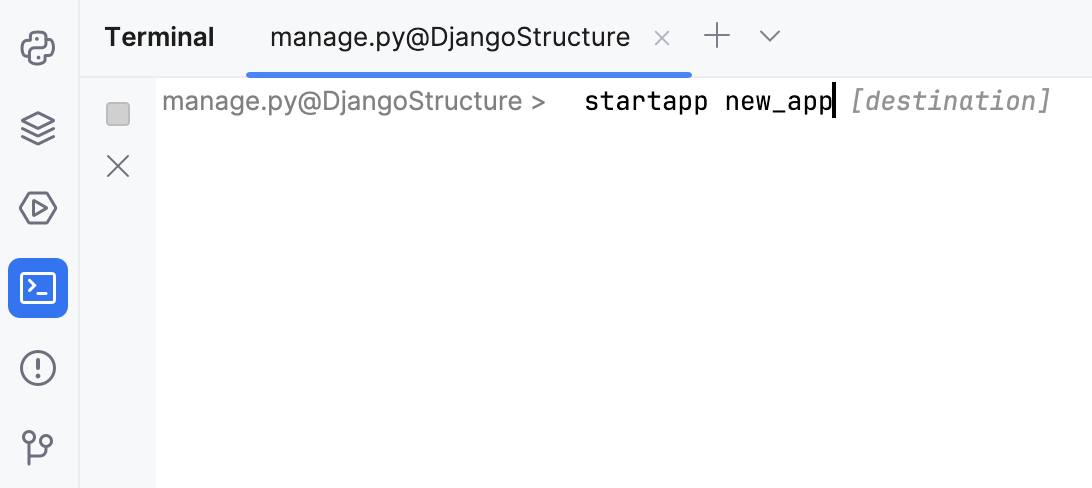
In the terminal that opens, specify the name of the app and press Enter.
Run migrations for an app
Right-click the app in the Django Structure tool window and select Make Migrations from the context menu.
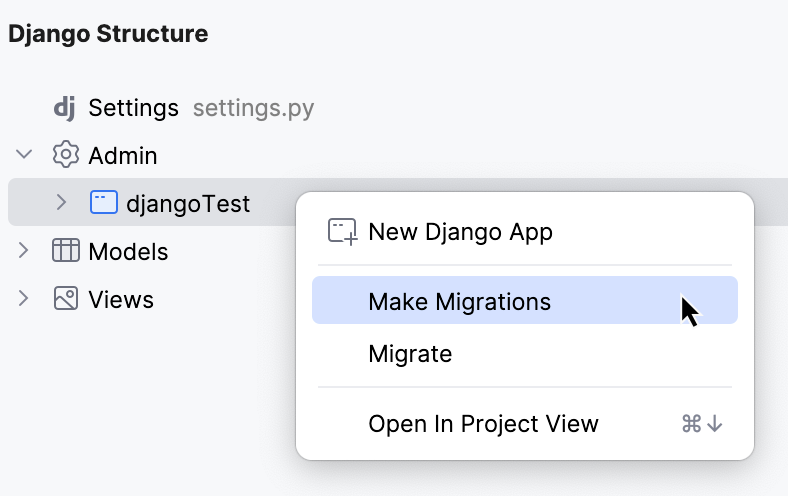
The name of the app is automatically inserted in the terminal that opens. Press Enter

Go back to the Django Structure tool window, right-click the app, and select Migrate from the context menu.
The name of the app is automatically inserted in the terminal that opens. Press Enter
Navigate to the app directory
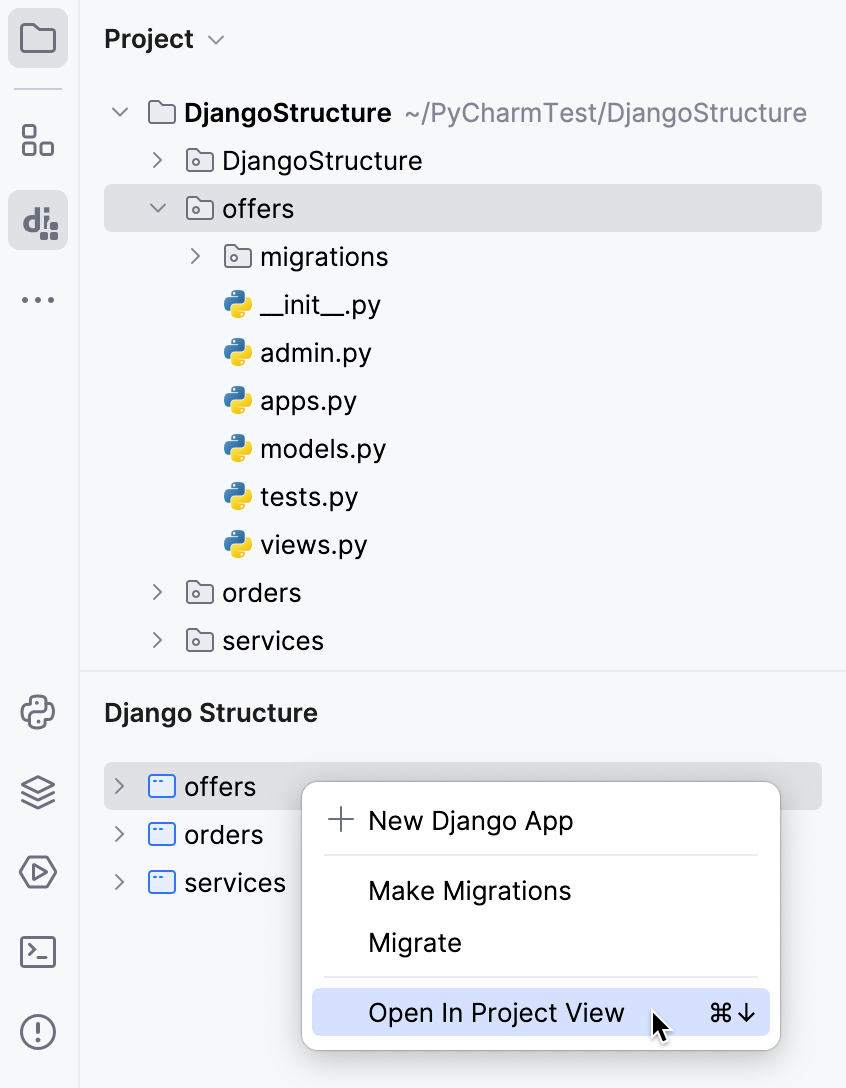
Right-click the app in the Django Structure tool window and select Open in Project View from the context menu.
The app directory is opened in the Project tool window.
Managing models
The Django Structure tool window lets you perform the following operations with models:
Add new models to apps
Find usages of models within the project
Create a model
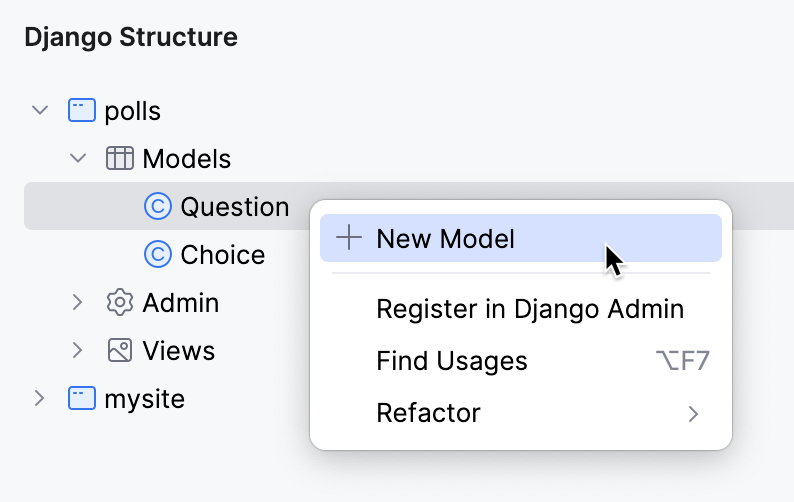
In the Django Structure tool window, right-click the Models node or any existing model.
Select New Model from the context menu.
If the app contains several files with models, for example, a directory or a Python module with models, PyCharm will ask you to choose the file for the new model.
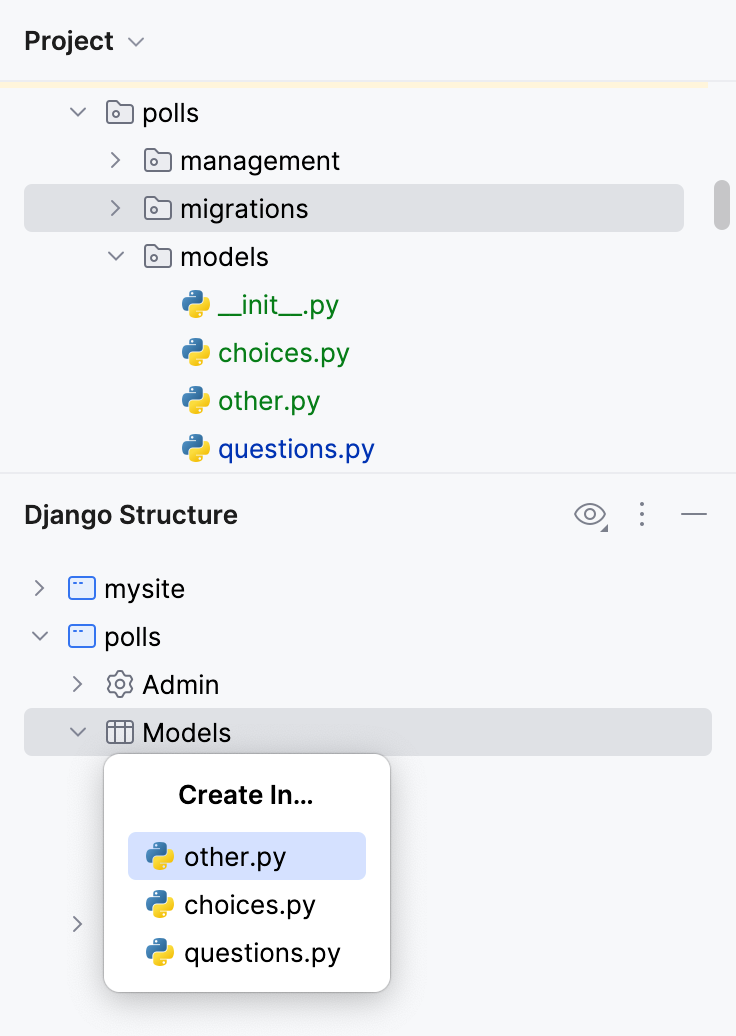
The file with models (for example, models.py) is opened in the editor.
Specify the name of the new model and press Enter, then you can proceed by adding the fields and other model code instead of
pass.
Register a model in the admin interface
Right-click the model in the Django Structure tool window and select Register in Django Admin from the context menu.
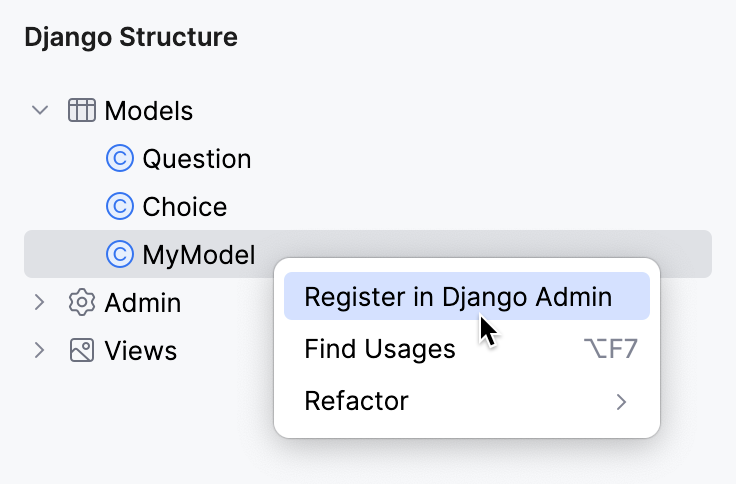
admin.py is opened in the editor, and a new model admin class with the
@admin.registerdecorator is added.
Press Enter to confirm the class creation.
When models are registered in the admin interface, the corresponding model admin classes are listed under the Admin node in the Django Structure tool window.
If your project contains model admin classes that have not been used to register models yet, they are grayed out in the Django Structure tool window.

You can use the context menu to register a model with such a model admin class.
Register a model with an unused admin
Right-click the model admin class in the Django Structure tool window and select Register in Django Admin from the context menu.
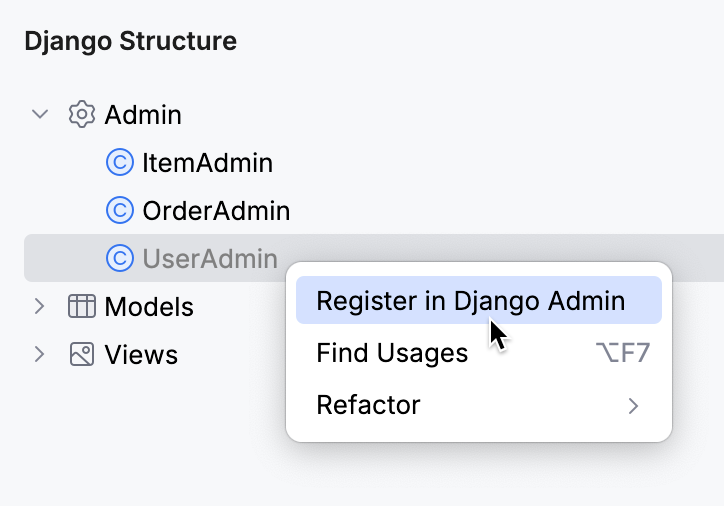
Select the model in the popup. If there are no unregistered models, an All models already registered message appears.
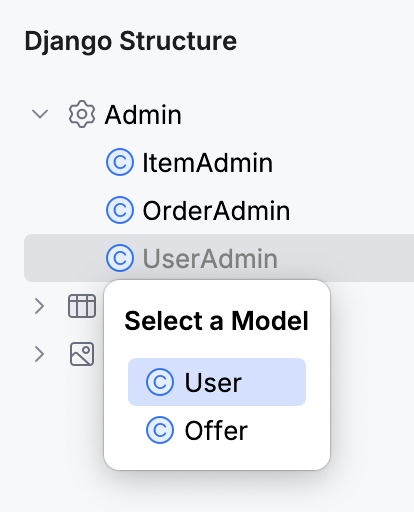
admin.py is opened in the editor, and an
@admin.registerdecorator is added to the model admin class.
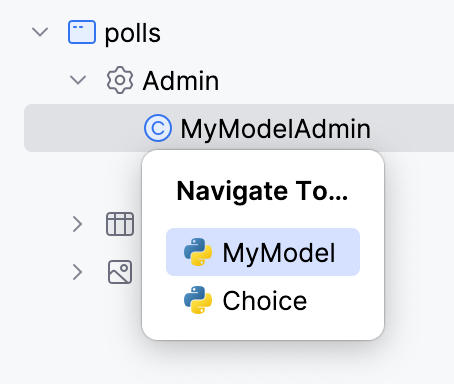
You can also use the context menu of model admin classes in the Admin node to find usages of model admin classes, refactor them, and navigate to the corresponding models.
Navigate to a model from admin
Right-click the model admin class in the Django Structure tool window and select Go to Model from the context menu.
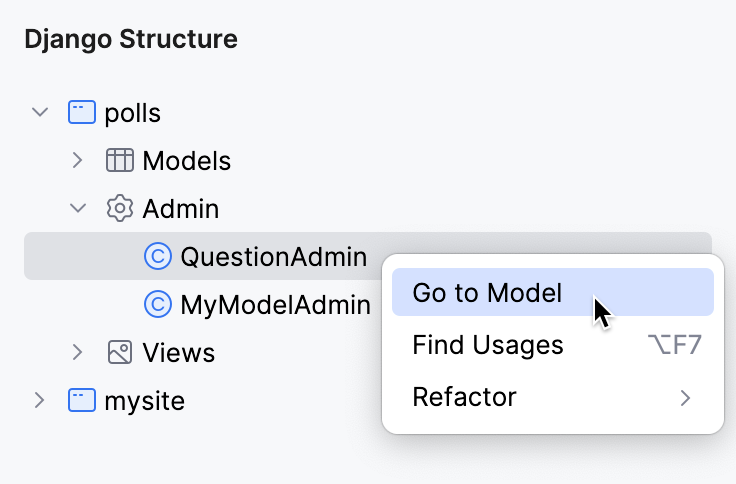
If there are several models registered with the selected admin class, you will need to select the model in the popup.
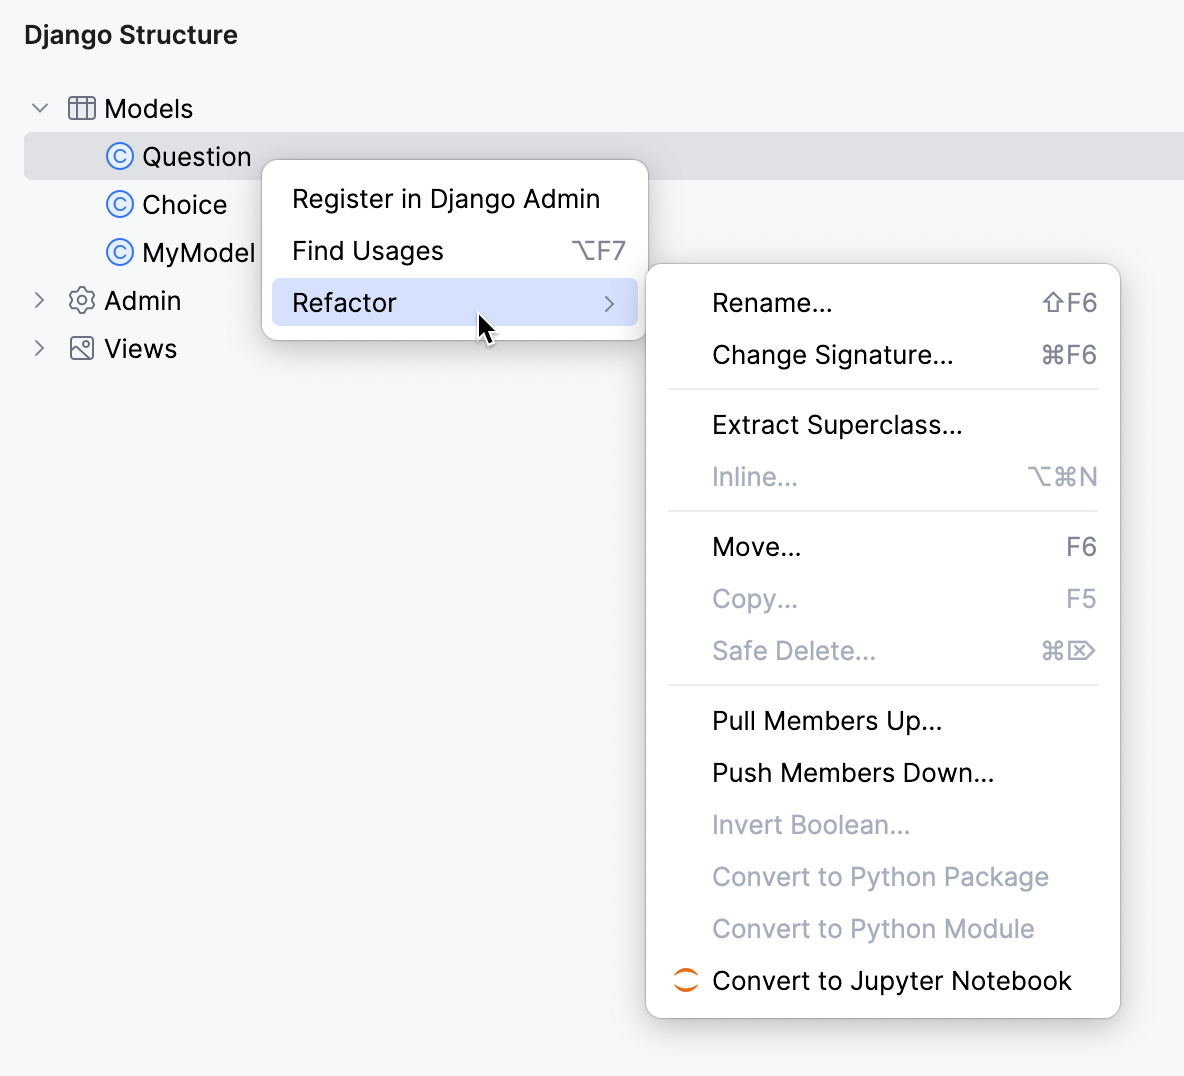
Refactor a model
Right-click the model in the Django Structure tool window.
In the context menu that opens, select Refactor and choose the refactoring from the list.
Find usages of a model
Right-click the model in the Django Structure tool window and select Find Usages from the context menu.
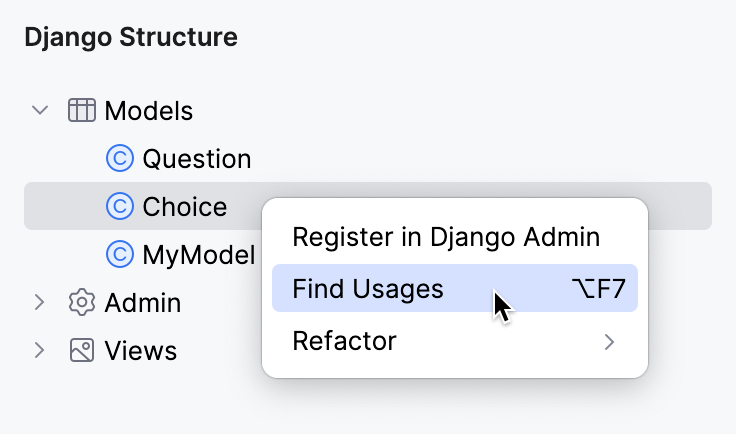
The Find tool window opens with the search results. For information, refer to Find usages in a project.
Managing views
The Django Structure tool window lets you perform the following operations with views:
Find usages of views within the project
Create a view
In the Django Structure tool window, right-click the Views node or any existing view.
Select New View from the context menu.
Choose the view type.
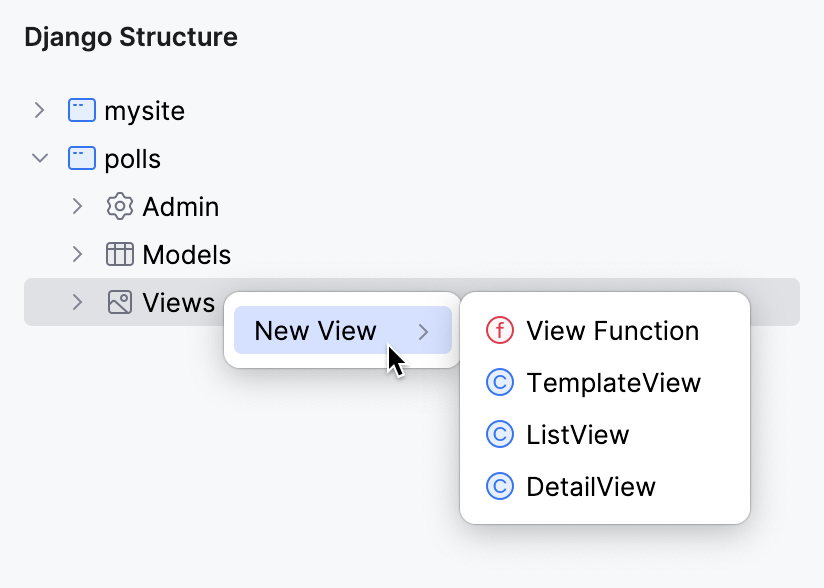
If the app contains several files with views, PyCharm will ask you to choose the file for the new view.
The file with views (for example, views.py) is opened in the editor.
Specify the name of the new view and press Enter, then you can proceed by adding view code .

Refactor a view
Right-click the view in the Django Structure tool window.
In the context menu that opens, select Refactor and choose the refactoring from the list.
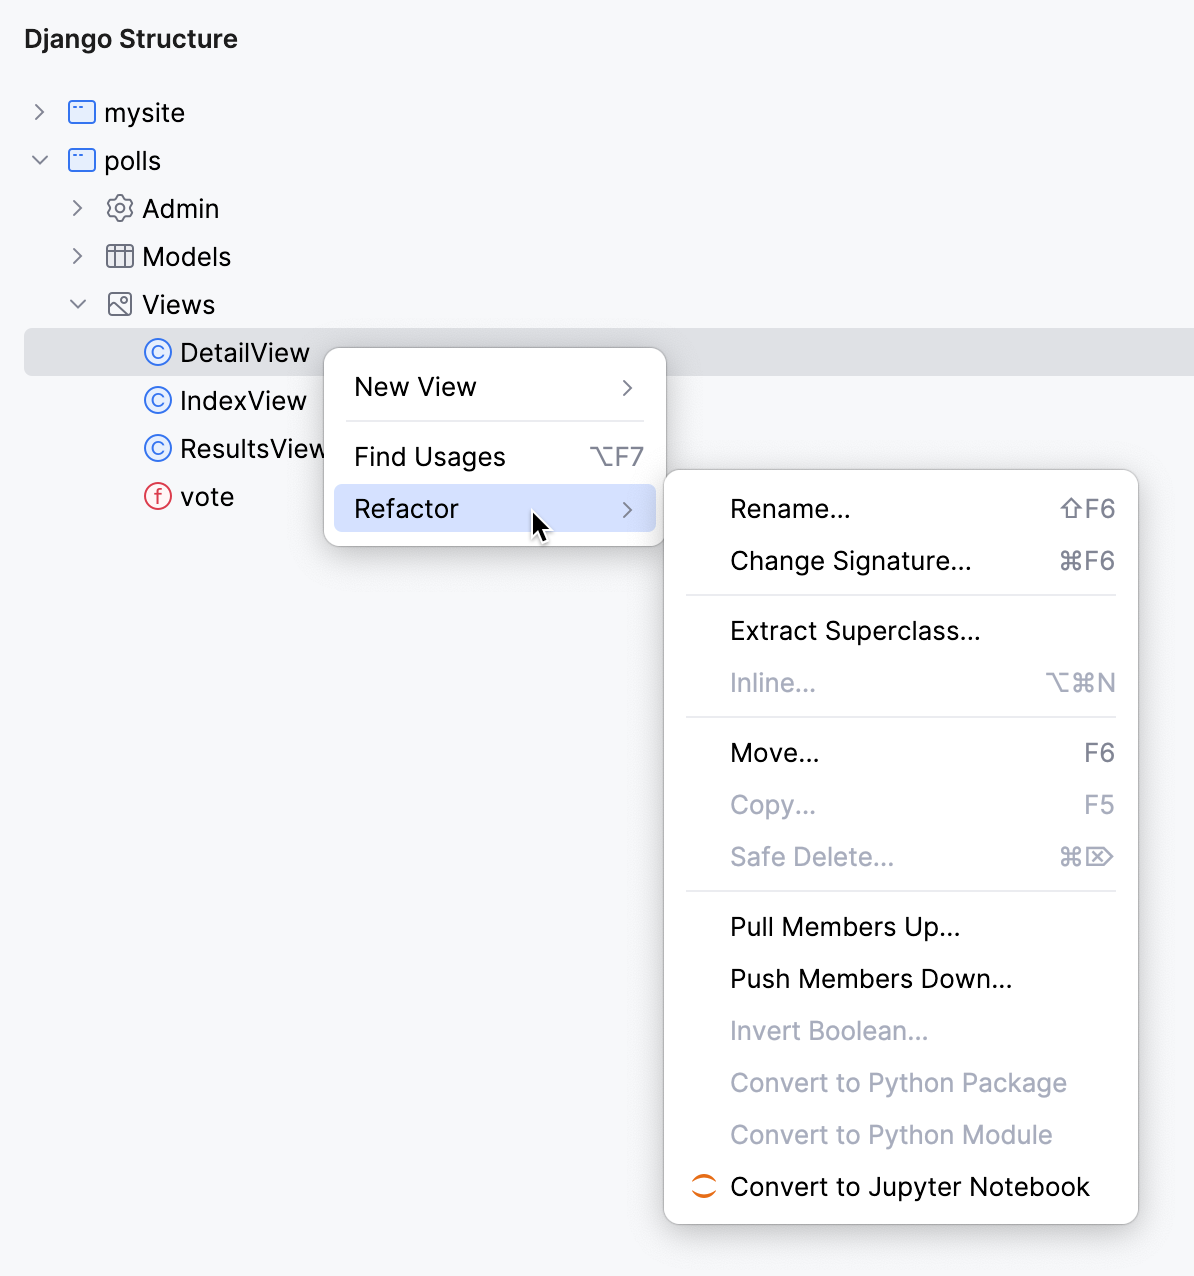
Find usages of a view
Right-click the view in the Django Structure tool window and select Find Usages from the context menu.
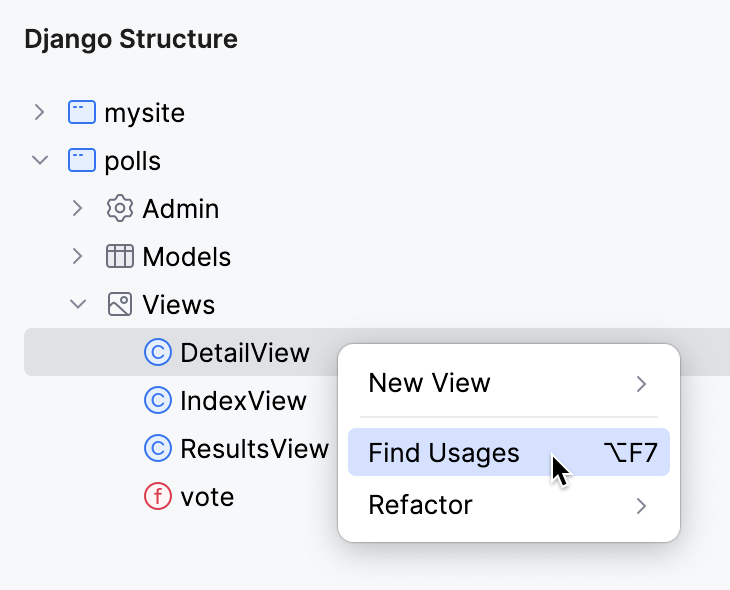
The Find tool window opens with the search results. For information, refer to Find usages in a project.