Enable version control
JetBrains Rider supports version control integration at two levels:
At the IDE level, VCS integration is provided through a set of bundled plugins enabled by default.
At the solution level, VCS integration is enabled by associating solution folders with one or several version control systems.
Associate a project root with a version control system
JetBrains Rider allows you to quickly enable your project's integration with a version control system, and associate it with the project root. For instructions on how to associate separate project directories with different version control systems, refer to Associate a directory with a version control system.
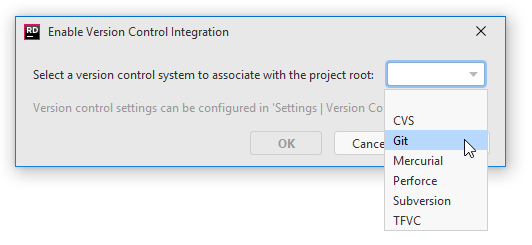
Choose Enable Version Control Integration from the VCS Operations Popup Alt+` or from the main menu.
In the Enable Version Control Integration dialog that opens, select a version control system from the list that you want to associate with your project root.

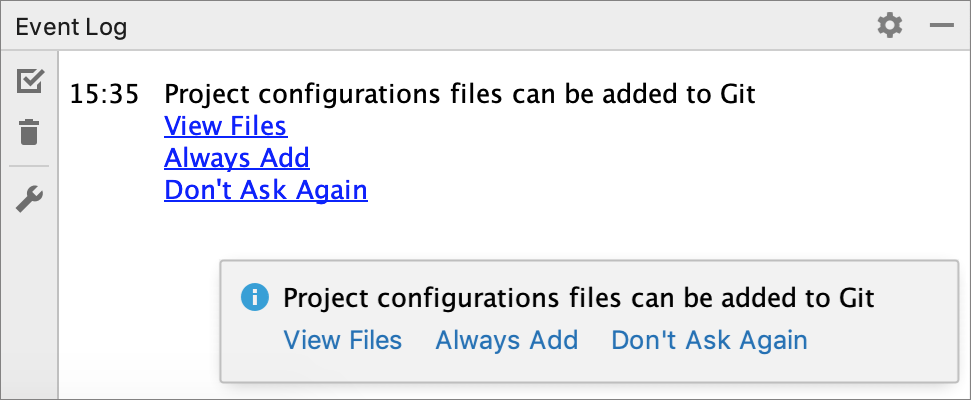
After VCS integration is enabled, JetBrains Rider will ask you whether you want to share project settings files via VCS. You can choose Always Add to synchronize project settings with other repository users who work with JetBrains Rider.

Note, that this only applicable to Git and Mercurial. For more information, see Share directory-based settings.
Associate a directory with a version control system
JetBrains Rider supports a directory-based versioning model, which means that each project directory can be associated with a different version control system.
Press Ctrl+Alt+S to open the IDE settings and select Version Control.
The Version Control page shows a list of project directories and version control systems associated with them (if no directories have been added, the list only contains the project root).
Click the Add button
on the right.
In the Add VCS Directory Mapping dialog that opens, select the Directory option. Type the path to the directory that you want to associate with a version control system, or click the Browse button
and select the directory in the dialog that opens.
From the VCS list, select the version control system that will be used to control the files in this directory. Note that this list only contains the version control systems for which the corresponding plugins are currently enabled.
Optionally, click the Configure VCS button that allows you to specify the settings for the selected version control system. The same settings are also available under the Version Control settings node.
Click OK to save the mapping and return to the Version Control page.
Manage unregistered directories
For projects with Git or Mercurial integration enabled, JetBrains Rider scans project directories to check if there are Git/Mercurial repositories that are not controlled by the IDE. If such repositories are detected, JetBrains Rider displays a notification.
To add an unregistered root, click the Add roots link in the notification. Alternatively, open the Version Control settings page, select the unregistered root you want to add (they are marked grey) and follow the procedure Associate a directory with a version control system.
If you do not want to be notified about these roots again, click the Ignore link in the notification. Note that if new unregistered repositories are added to the project, JetBrains Rider will notify you about them.
Change VCS associations
Press Ctrl+Alt+S to open the IDE settings and select Version Control.
The Version Control page shows a list of project directories and version control systems associated with them (if no directories have been added, the list only contains the project root).
Locate the row that corresponds to the directory which you want to put under another version control system.
Click the VCS column. From the list that appears, select a new version control system.
Click OK to save the mapping and return to the Version Control page.