Get started with version control
JetBrains Rider includes a full-fledged VCS client that supports all major version control systems. Let's take Git as an example and walk through basic VCS features — we'll create a local Git repository for our solution, start tracking changes in our code, and then associate it with a remote repository so that our solution becomes available to other contributors.
Step 1. Get Git
If you have ever worked with Git on your machine, you can skip this step — Git is already installed and Rider will find it automatically.
Otherwise, download Git from the official page (https://git-scm.com/downloads) and run the installer.
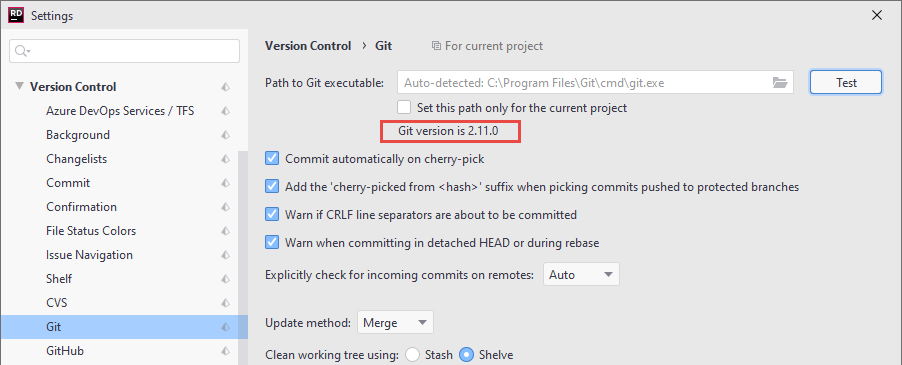
To be sure that Rider has found the Git executable, go to the page of JetBrains Rider settings Ctrl+Alt+S In most cases, you will see the detected path, but if your system environment is customized and the Git path is empty, specify the path manually. Once you have the correct path, click Test:
Step 2. Create a Git repository
To version your solution with Git, you need to create a Git repository at the root directory of your solution. JetBrains Rider can do that for you.
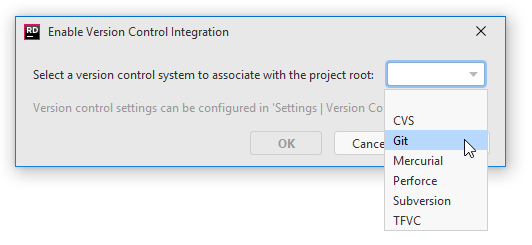
Choose Enable Version Control Integration from the VCS Operations Popup Alt+` or from the main menu.
Choose Git as the version control system and click OK.
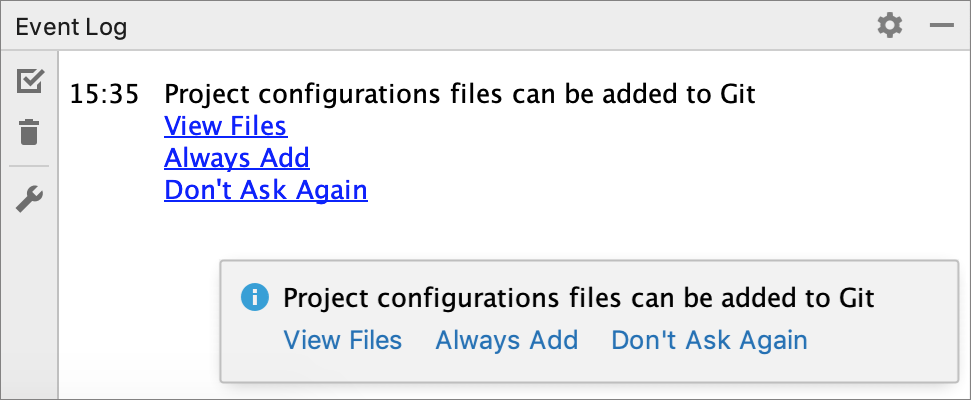
After VCS integration is enabled, JetBrains Rider will ask you whether you want to share project settings files via VCS. You can choose Always Add to synchronize project settings with other repository users who work with JetBrains Rider.
For more information, see Share directory-based settings.
Step 3. Decide what you want to version
As soon as your solution is associated with a Git repository, you can start versioning your code.
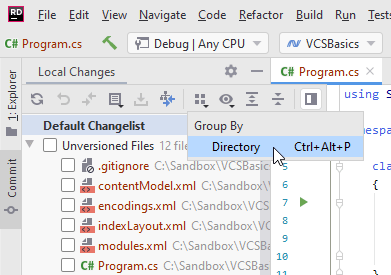
The first place to go is the Commit window. You will see all your project files under Unversioned Files.
Group the files by directory to visualize your directory structure.
Ignore files and directories that you don't want to version. These normally include bin and obj project directories as well as DotSettings.user file with user-specific settings.
Git lets you list ignored file patterns in two kinds of configuration files:
.git/info/exclude file.
Patterns listed in this file only apply to the local copy of the repository.
This file is created automatically when you initialize or check out a Git repository.
One or more .gitignore files in the VCS root directory and its subdirectories.
These files are checked into the repository so that the ignore patterns in them are available to the entire team. Therefore, it is a most common place to store the ignored file patterns.
If there is no .gitignore file in the VCS root directory, you can switch the Explorer window to the File System view, right-click the root node, choose and type .gitignore in the New File dialog.
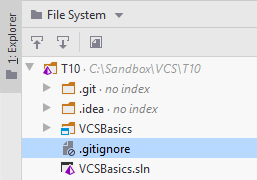
Now when you have .gitignore in the VCS root, you can right-click any unversioned file or folder that you want to ignore and choose :
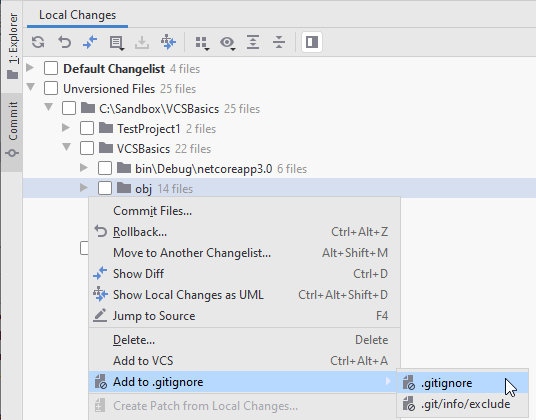
It is recommended to version — that is, not to ignore — the .gitignore files and the project settings files that you see under the .idea directory.
Step 4. Commit your changes
Unversioned files are not tracked. To log the addition of a new file in Git, you need to add the file (or, using the Git terms, stage it) and then to commit it to the repository. In Rider, you can do these two things as one command — that is, you can commit unstaged files — but we'll do it with two separate commands to better understand file states.
Right-click a file or directory that you want to stage (in our case it's the entire Unversioned Files node) and choose Add to VCS from the context menu or press Ctrl+Alt+A.
Notice the change of the file color. Brown means unstaged, green means newly staged for commit.
Now when all the files are staged, select what should be committed using the checkboxes. In our case it's the entire Default Changelist, so you can also press Ctrl+K to select all uncommitted files.
Type a meaningful commit message at the bottom of the view and click Commit or press Ctrl+Enter — this will log the snapshot of the current solution state in Git and we'll be able to return to this snapshot at any time in the future.
You will see that there are no more untracked changes — everything is saved in your Git repository.
Step 5. Track changes
When your code is under a VCS, you can always see what and how is changing.
Make an edit and you will notice a blue gutter mark notifying you that the line is changed.
Click the gutter mark to see what was different before the change. You can click Rollback Lines to revert the edit.

All tracked and modified files will appear in blue in the Commit window. You can open the diff preview and check changes for the selected file.
If you are happy with the changes, select the file to be committed, or alternatively press Ctrl+K to select all files, type a commit message, and then click Commit.
You can find all your commits in the Log tab of the Repository tool window Alt+9.
When you select a commit in the history, you will see its details and all files changed in this commit. Click a file changed in the commit to see what exactly was changed in this file.
Step 6. Distributed storage
We have now set up our Git repository locally and this already allows us to study the history of changes and revert to any of the committed states.
But to get the most out of Git, your local repo should be associated with a remote repo, also called origin. This will additionally allow you to keep your code and its history safe if the local repo is damaged, and most importantly, to collaborate with others working on the same project.
Let's use GitHub — arguably the most popular Git hosting service — to create a remote repo for our example.
Log in to github.com (you can create a free account if you don't have one) and switch to the Repositories view.
Click New, specify any name for you repo, and then click Create Repository.
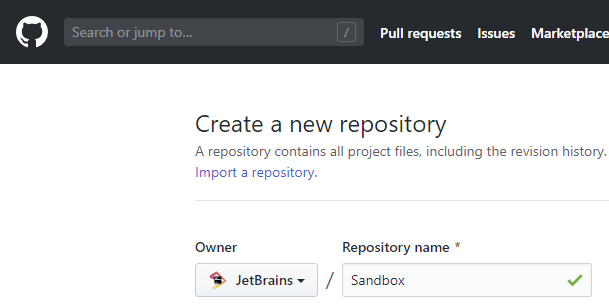
When the repo is created, you will see its URL. Click the button next to it to copy it to the clipboard.
Going back to Rider, choose from the menu and add a new remote using the GitHub URL you copied.
Choose from the menu or press Ctrl+Shift+K. In the dialog that opens, you can see the list of commits you've done so far. Click Push in the dialog to transfer them to the remote.
As soon as you provide your GitHub credentials, your commits will be pushed to the remote repo that we've just created on GitHub.
Now you can use the GitHub repository URL to access your code from other machines and to share your project with others.