Apache Cassandra with SSL
Step 1. Create a Apache Cassandra connection
In the Database tool window (), click the Data Source Properties icon
.
In the Data Sources and Drivers dialog, click the Add icon (
) and select Apache Cassandra.
At the bottom of the data source settings area, click the Download missing driver files link. As you click this link, JetBrains Rider downloads drivers that are required to interact with a database. The IDE does not include bundled drivers in order to have a smaller size of the installation package and to keep driver versions up-to-date for each IDE version.
You can specify your drivers for the data source if you do not want to download the provided drivers. For more information about creating a database connection with your driver, see Add a user driver to an existing connection.
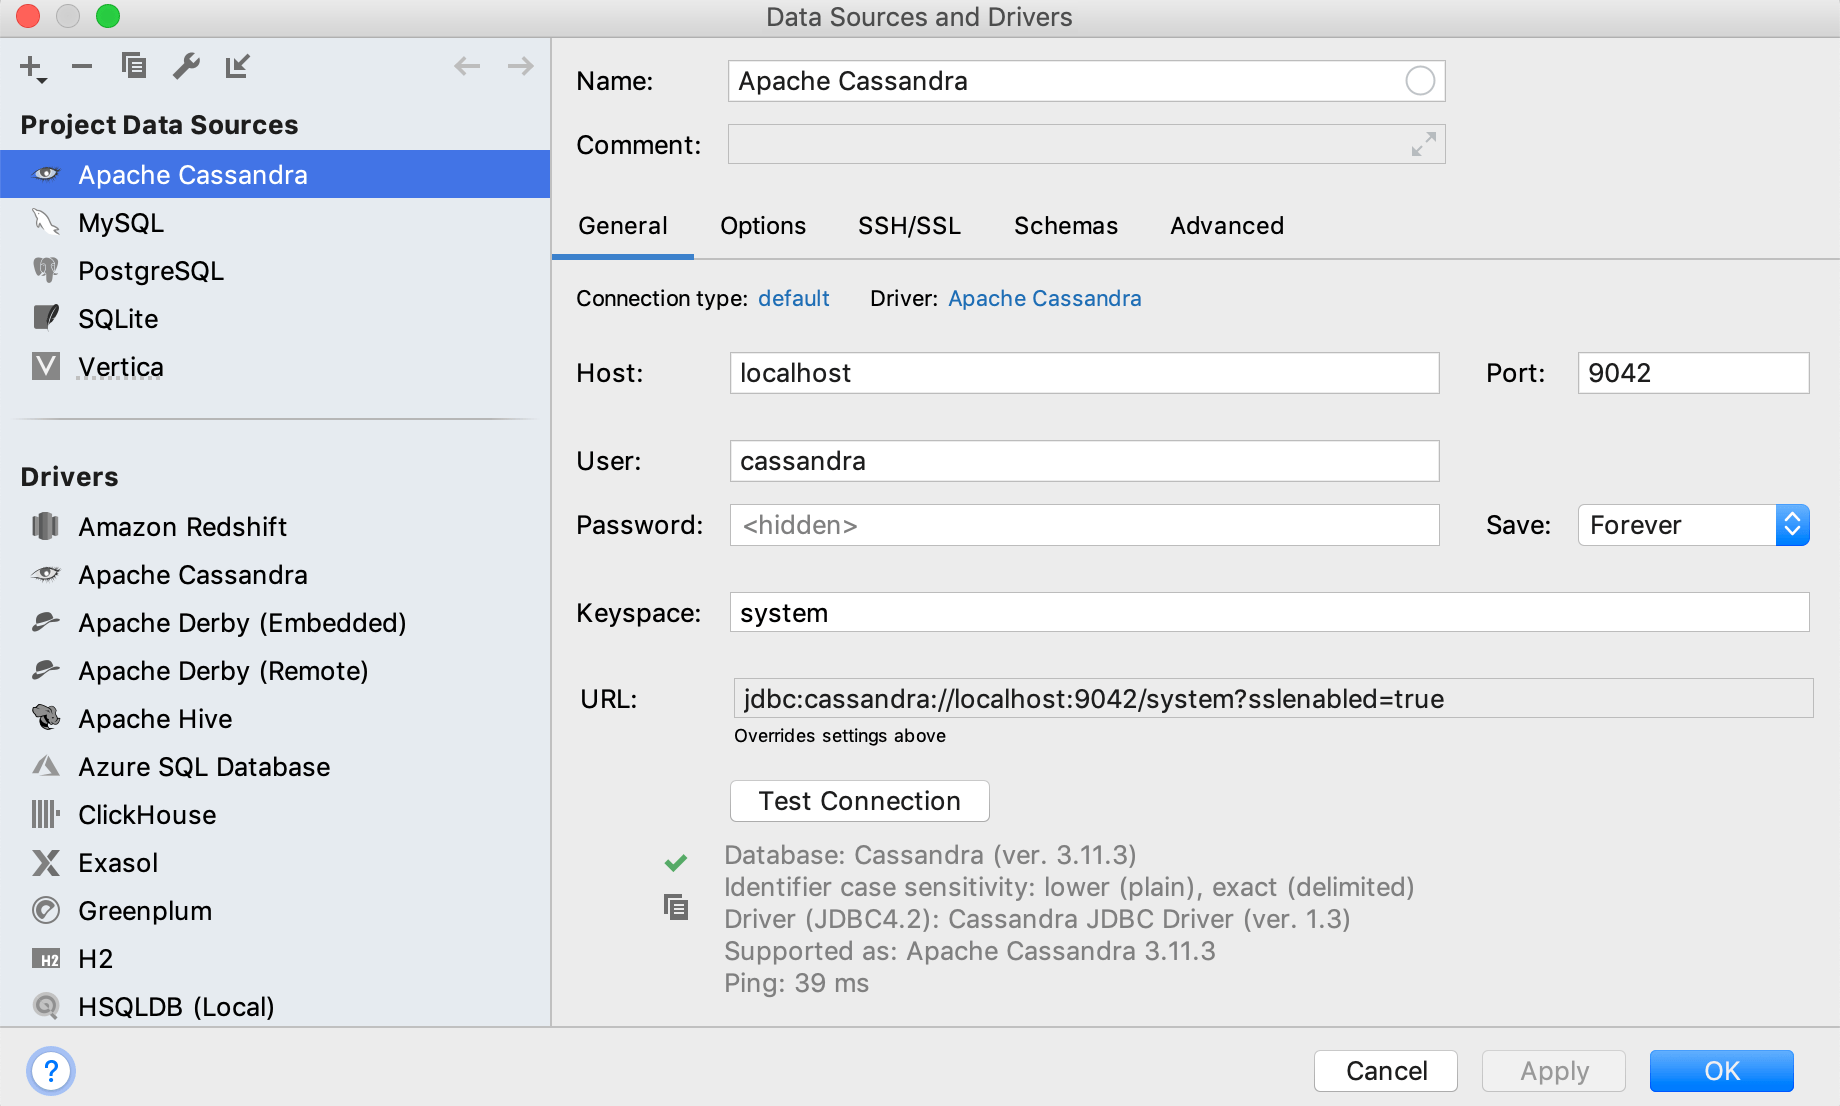
In Host, Keyspace, User, Password, and Port fields, specify connection details.
Step 2. Verify the version of the JDBC driver
Verify that you use the JDBC driver of version 1.3, or later.
In the Database tool window (), click the Data Source Properties icon
.
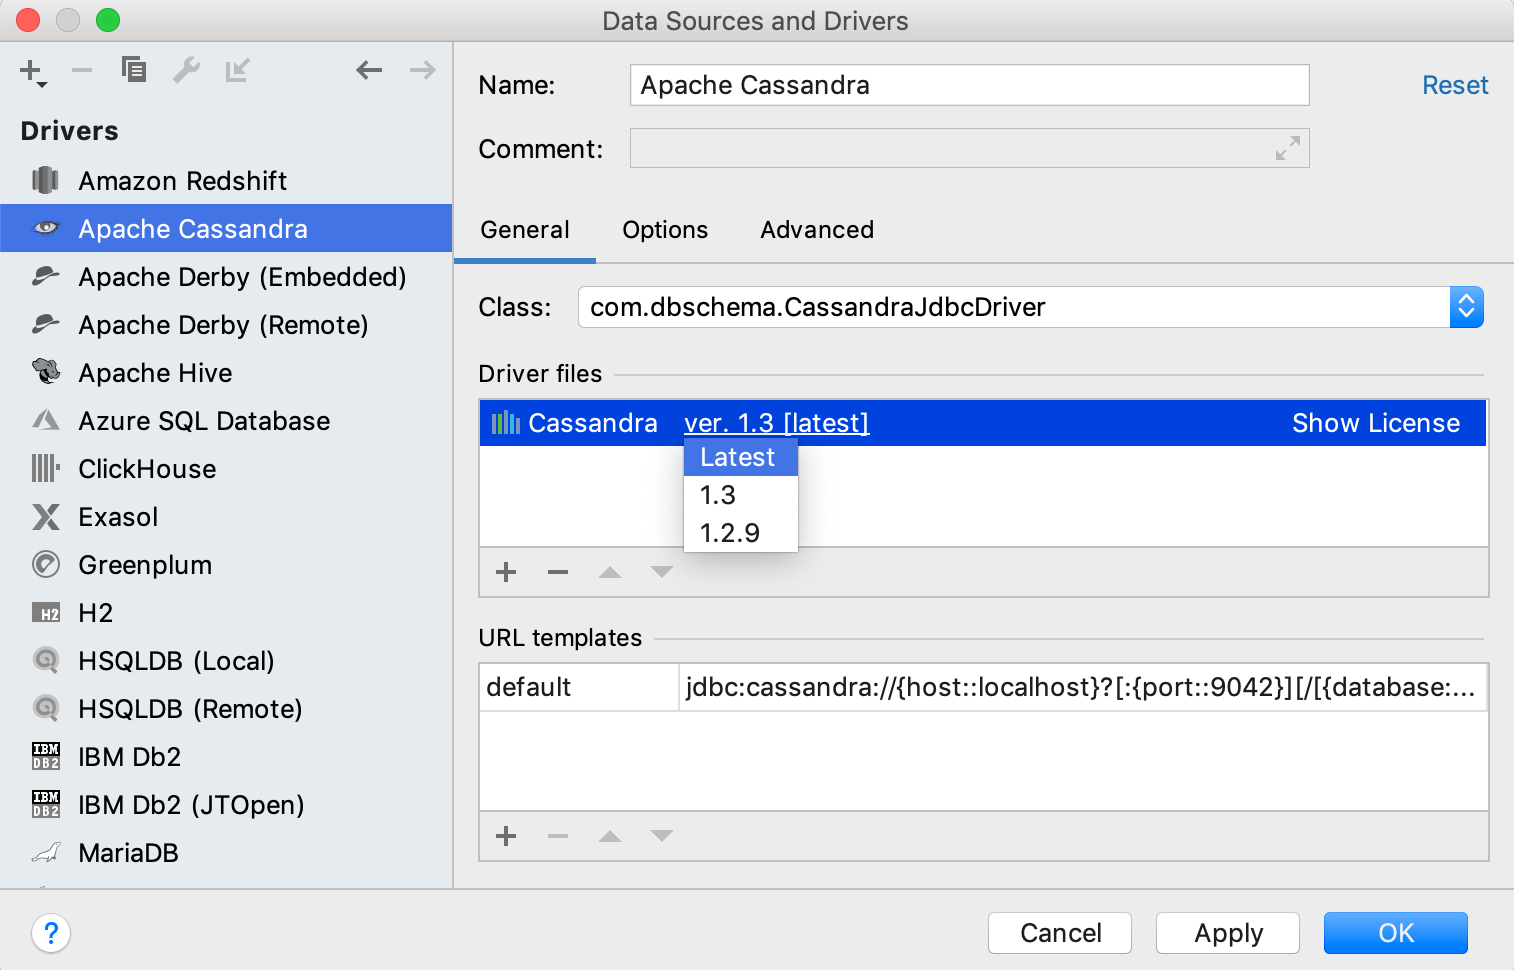
In the Drivers list, select Apache Cassandra.
In the Driver files pane, click ver. <version_number> and select
Latestor1.3.

Step 3. Set VM options
In the Database tool window (), click the Data Source Properties icon
.
In the Drivers list, select Apache Cassandra.
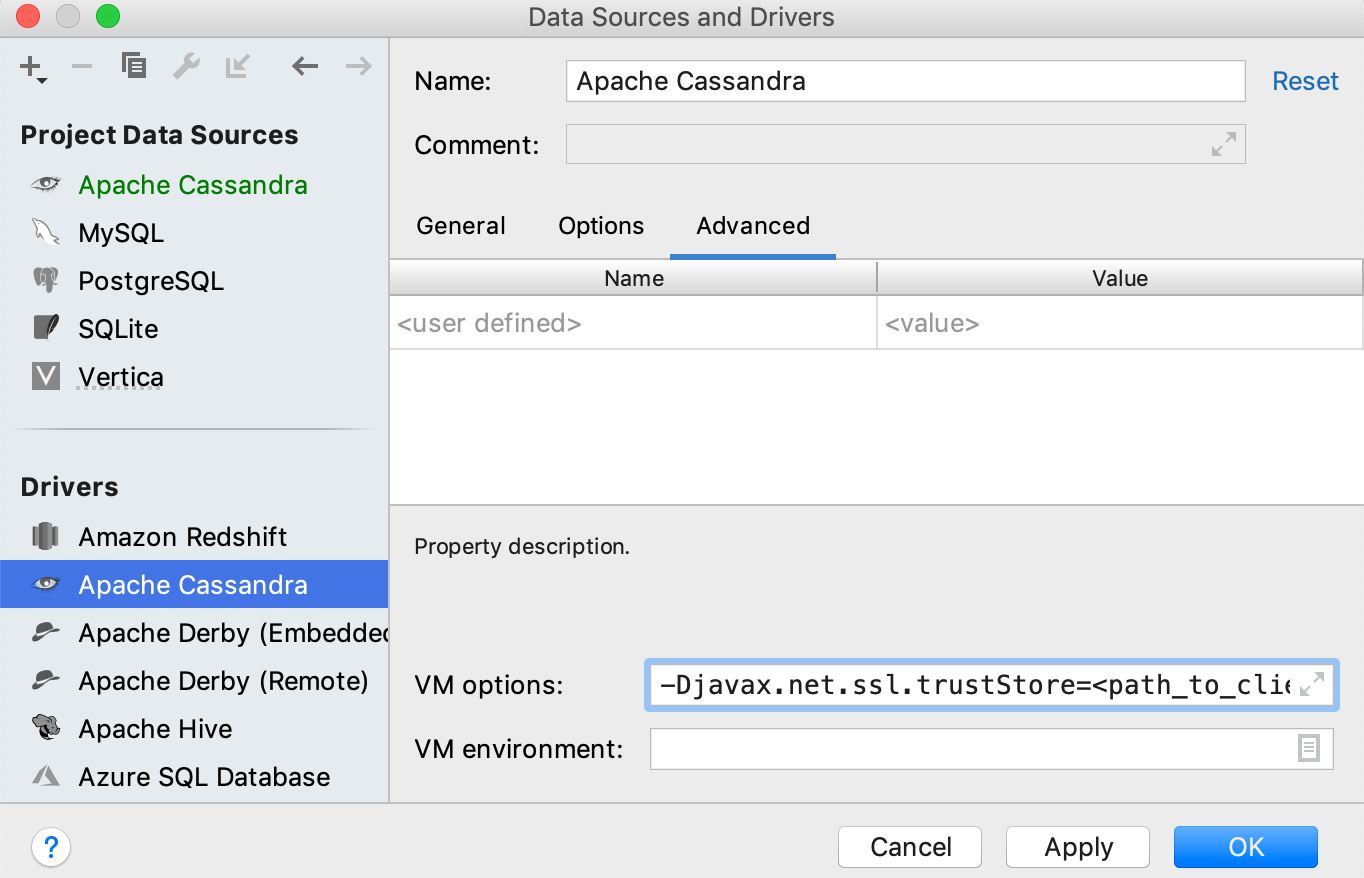
In the driver settings, click the Advanced tab.
In the VM options field, specify options for authentication.
Server authentication: your client verifies that the server is correct and trusted. The truststore must contain a public key of the server or the CA certificate that was used to sign the server key.
-Djavax.net.ssl.trustStore=<path_to_client_truststore> -Djavax.net.ssl.trustStorePassword=<truststore_password>Client authentication: the server verifies the client that tries to connect to the server.
-Djavax.net.ssl.keyStore=<path_to_client_keystore> -Djavax.net.ssl.keyStorePassword=<keystore_password>

Step 4. Add the sslenabled option to the JDBC URL
Add the
sslenabled=trueoption to the JDBC URL. For example, jdbc:cassandra://localhost:9042/?sslenabled=true.To ensure that the connection to the data source is successful, click Test Connection.
