Run JetBrains Rider for the first time
You can use the Toolbox App to run any JetBrains product. In case of a standalone installation, running JetBrains Rider depends on the operating system:
To run JetBrains Rider, find it in the Windows Start menu or use the desktop shortcut. You can also run the launcher batch script or executable in the installation directory under bin.
Run the JetBrains Rider app from the Applications directory, Launchpad, or Spotlight.
Run the rider.sh shell script in the installation directory under bin. You can also use the desktop shortcut, if it was created during installation.
For information about running JetBrains Rider from the command line, see Command-line interface.
When you run JetBrains Rider for the first time, some steps are required to complete the installation, customize your instance, and start working with the IDE.
Customize your JetBrains Rider environment
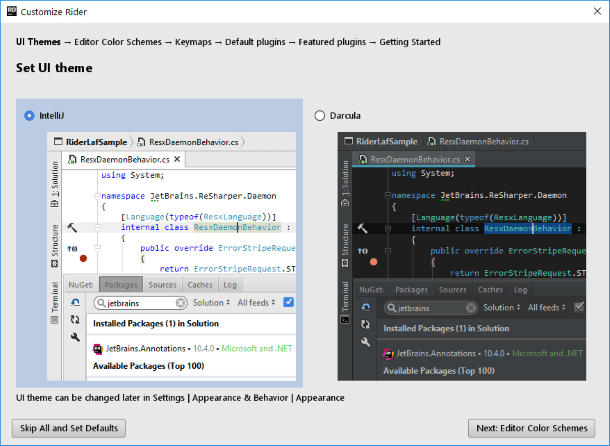
Follow the Customize JetBrains Rider wizard steps to configure your working environment to your liking, or skip these steps and keep default settings by pressing a corresponding button. In any case you'll be able to change the setting later.
Select the user interface theme. You can choose between the light themes and the Darcula theme.

Choose the editor color schemes you feel more comfortable with:
ReSharper Light — a default ReSharper scheme
Visual Studio light — a Visual Studio alike scheme
Default — an IntelliJ IDEA alike scheme
Choose the keymap (the shortcuts scheme):
Visual Studio keymap — a Visual Studio alike scheme
ReSharper keymap — similar to the "IntelliJ IDEA" scheme in ReSharper
Rider keymap — an IntelliJ IDEA alike scheme
See the keymaps comparison table for Windows/Linux and macOS.
Disable unnecessary default plugins.
JetBrains Rider is shipped with a variety of plugins that provide integration with different version control systems and application servers, add support for various frameworks and development technologies, etc.
You can disable the plugins you do not need to increase JetBrains Rider performance. If necessary, you can re-enable them later in the Settings/Preferences dialog Ctrl+Alt+S under Plugins.
Click the Disable All link for each group of plugins to disable them all, or Customize to disable individual plugins.
Get additional plugins.
Download and install additional plugins (that are not bundled with the IDE) from the JetBrains Rider plugins repository:
Start a solution in JetBrains Rider
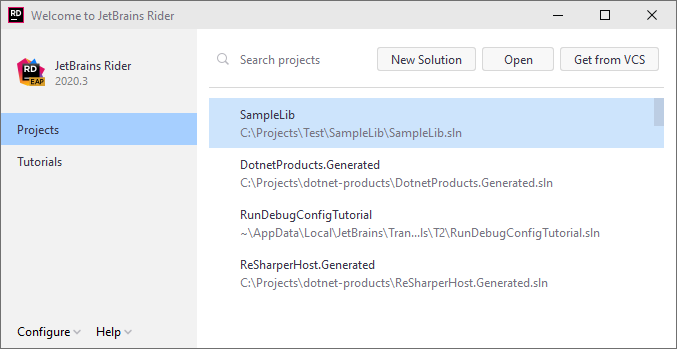
On the Welcome screen, you can do the following:
Choose Tutorials on the left and then follow one of the interactive tutorials.
