Databases in the Version Control System
DDL data source is a virtual data source with a schema based on a number of SQL scripts. Storing these files in the Version Control System (VCS) is a way to keep your database under the VCS.
The general workflow with VCS is the following:
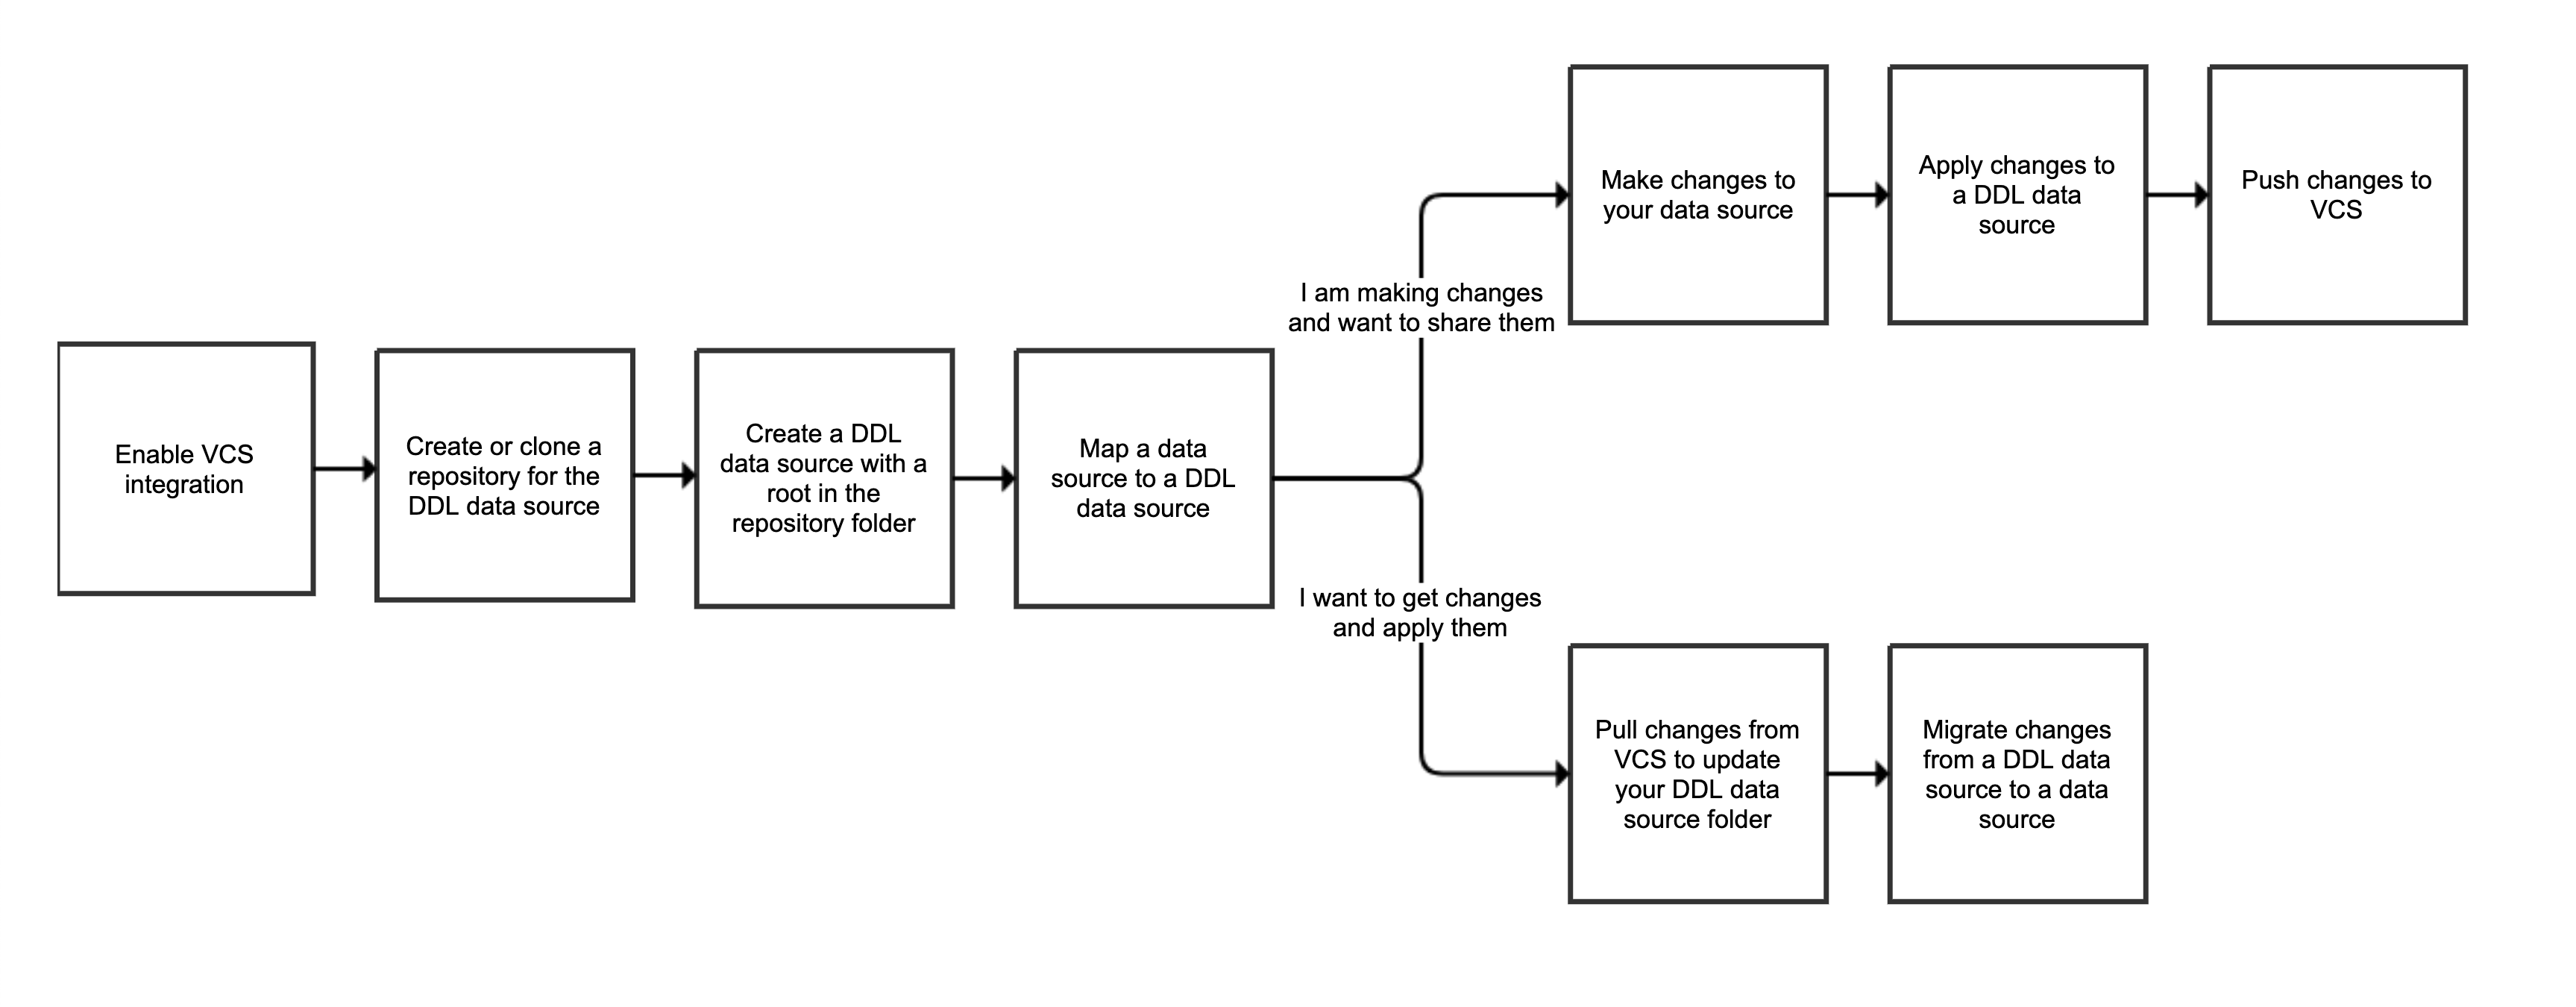
First of all, you need to enable the VCS integration in your IDE. It will allow you to share and apply changes right from the IDE. With the VCS integration enabled, prepare a folder that you will share as a repository. This folder will also be a root folder for your DDL data source.
Then you need to create your DDL data source by dumping a regular data source (for example, SQLite) to a root/repository folder. Then you need to create a mapping between a data source and a DDL data source. You need the mapping to set what you want to share. For example, you hardly need to share all system or template schemas. So, you can select those schemas that you will exchange with your college.
Depending on what you want to do, you can dump your changes and share them through a VCS, or you can pull changes and apply it to your data source. All synchronization in both directions is made with the help of a DDL data source.
Configuring your Version Control System
We will use Git as a version control system and GitHub as a place to store our repository. To create a repository at GitHub, follow the steps in the Create a repo tutorial at docs.github.com.
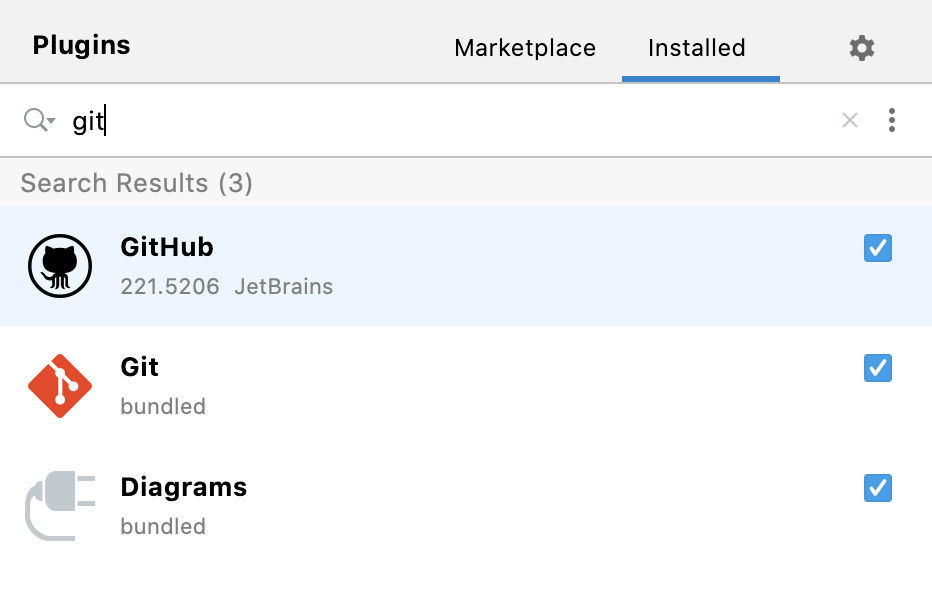
By default, JetBrains Rider has the VCS integration disabled. As a first step, we need to enable it and log into GitHub. To do that, you need to verify that the following plugins are installed and enabled: Git and GitHub.
Step 1. Enable the Git plugin by JetBrains
Press Ctrl+Alt+S to open the IDE settings and select .
Click Installed.
In the search field, type
Git, and press Enter.Select the checkbox near the Git plugin name. To add integration with GitHub, you can also enable the GitHub plugin.
Restart the IDE.
Then you need to authorize at GitHub with a user account that has access to the repository with a DDL data source.
Register an existing account by signing in to GitHub
Press Ctrl+Alt+S to open the IDE settings and select .
Click
.
Select Log In via GitHub.
Enter your GitHub credentials in the browser window that opens. If you have two-factor authentication enabled, you will be asked to enter a code that will be sent to you by SMS or through the mobile application.
After all the necessary plugins are installed, you need to enable the VCS integration in the IDE.
Step 3. Enable version control integration
Click on the menu bar.
In the Enable Version Control Integration dialog, ensure that
Gitis selected in the drop-down list and click OK.
Now clone the repository from GitHub to your local machine.
Step 4. Clone repositories
Click .
In the URL field, type the URL for your repository (for example,
https://github.com/JetBrainsUser/mySQLiteDDL.git)In the Directory field, click the folder icon (
) and specify a directory for the repository files (for example, /Users/jetbrains/DataGripProjects/mySQLiteDDL).
Click Clone
In the Open Project dialog, click Attach.
The repository folder will appear in the Files tool window.

Prepare a DDL data source
When all the configuration with VCS is done, you can start preparing your DDL data source.
Step 1. Dump an existing data source to a DDL data source
In the Database tool window (), right-click a data source that you want to dump to a DDL data source and select .
To configure code settings for the DDL data source, see Configuring DDL generation settings.
In the Data Sources and Drivers dialog, select the DDL data source, and click Add directories or DDL files.
In the file browser, navigate to the directory that will store DDL files of a data source and click Open.
Click OK.
Step 2. Add a DDL mapping
In the Database tool window (), click the Data Source Properties icon
.
Click the DDL Mappings tab.
Alternatively, you can get to this tab by right-clicking a data source in the Database tool window () and selecting .
Click the <Choose Data Source> for Data Source.
Select
SQLite.Click the <Choose Data Source> for DDL Data Source.
Select
SQLite (DDL).In the Scope tree, select schemas or databases that will be used in the mapping (for example,
main).
Share changes of a project data source
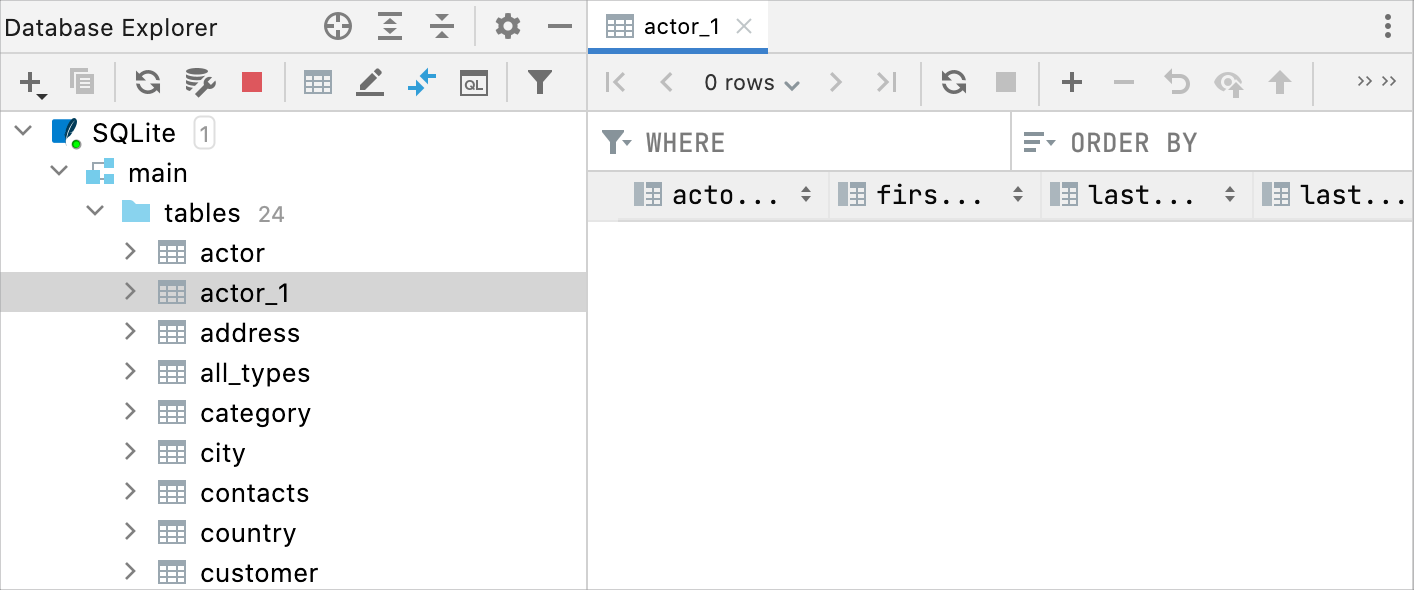
This workflow might help you if you made changes to your data source and want to share it in the VCS. For example, let's add a new table (actor_1) to our SQLite data source.
Step 1. Update a DDL data source from a data source
In the Database tool window (), right-click a DDL data source and select .
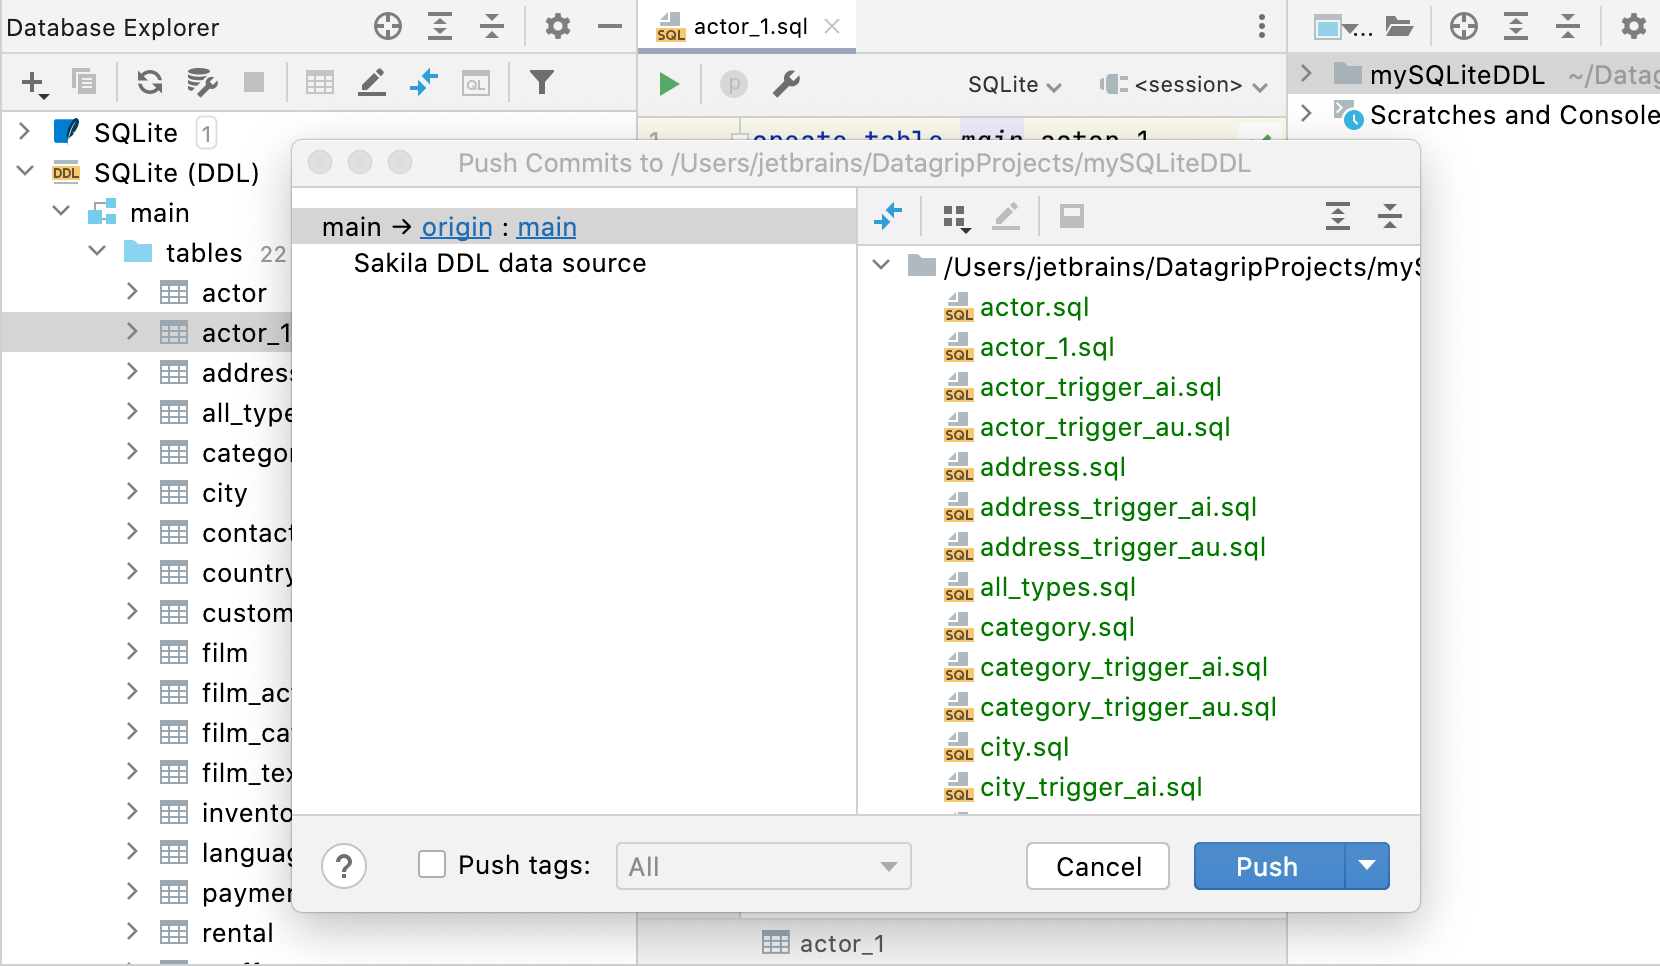
Step 2. Commit and push your changes to VCS
Open the vertical Commit tool window located on the left.
As your changes are ready to be committed, select the corresponding files or an entire changelist.
If you press Ctrl+K, the entire active changelist will be selected.
Enter the commit message. You can click
to choose from the list of recent commit messages.
To push changes from the current branch, press Ctrl+Shift+K or choose from the main menu.
Click Push.
Get changes from VCS and apply them to a project data source
If you have not yet cloned the repository and the necessary changes are there, clone the repository, create a DDL data source, and add a DDL mapping. Then proceed with the migration procedure.
Otherwise, update a local copy of the repository and migrate changes.
Step 1. Update a project from the VCS
From the main menu, choose or press Ctrl+T. The Update Project dialog opens.
Select the update type (this strategy will be applied to all roots that are under Git version control):
Merge the incoming changes into the current branch: select this option to perform merge during the update. This is equivalent to running
git fetchand thengit merge, orgit pull --no-rebase.Rebase the current branch on top of the incoming changes: select this option to perform rebase during the update. This is equivalent to running
git fetchand thengit rebase, orgit pull --rebase(all local commits will be put on top of the updated upstream head).
If you choose not to show the Update Project dialog in the future, and then want to modify the default update strategy later, go to the Version Control | Confirmation page of the IDE settings Ctrl+Alt+S, select Update under Display options dialog when these commands are invoked, and modify the update strategy the next time you perform an update.
When the update operation is completed, the Update Info tab is added to the Git tool window Alt+9. It lists all commits that were made since the last sync with the remote, and lets you review the changes the same way as in the Repository tab.
Step 2. Migrate changes to a data source
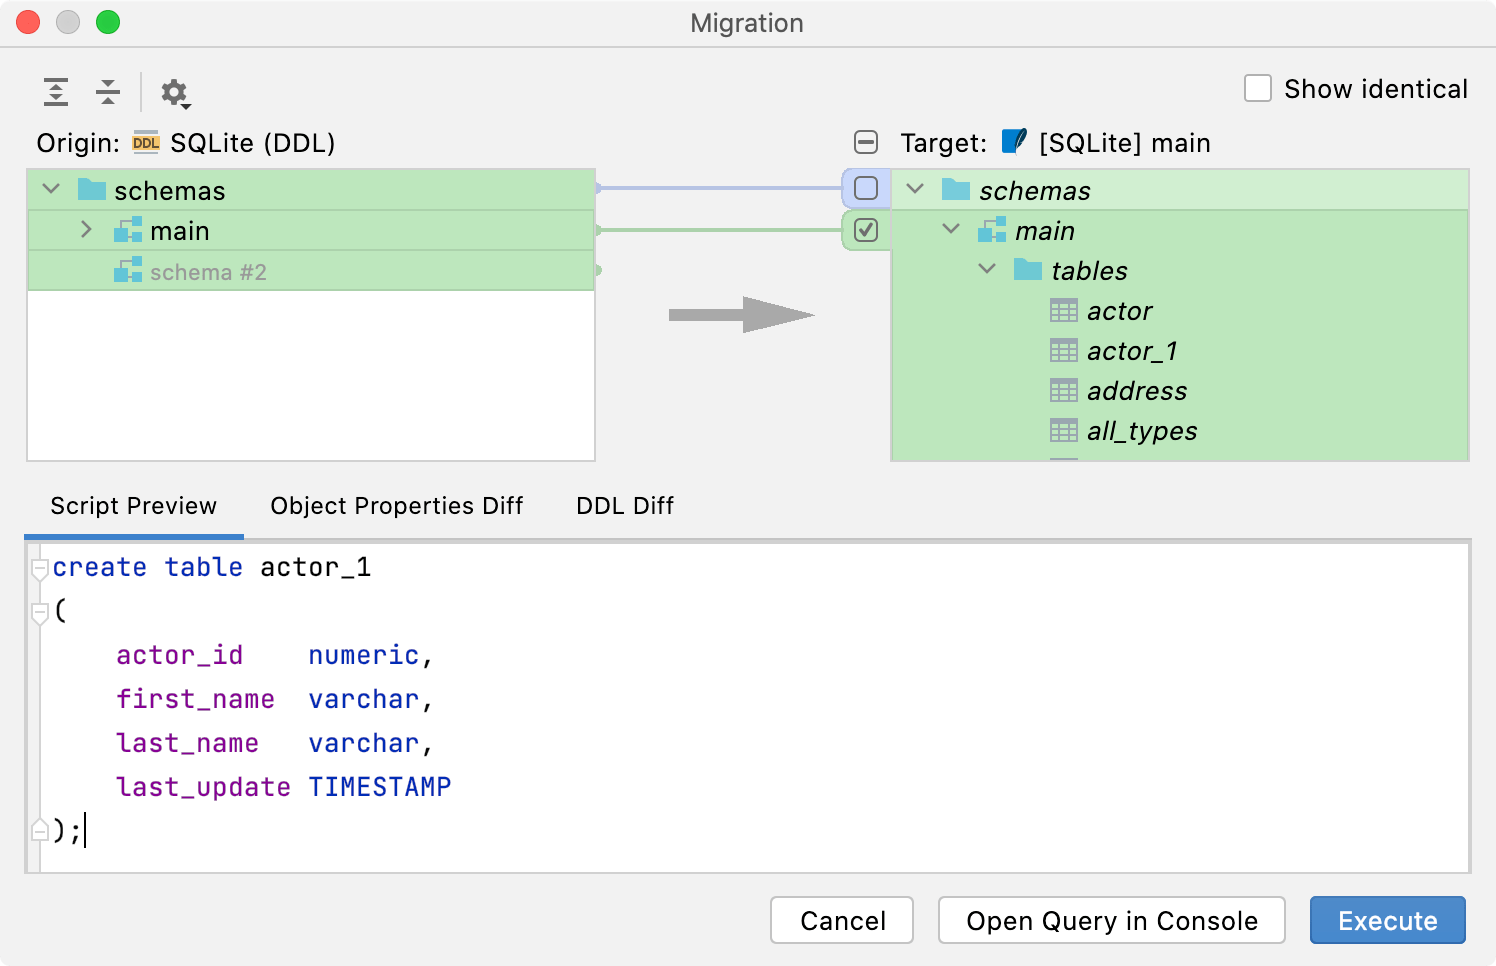
In the Database tool window (), right-click a data source and select .
In the Migration dialog, modify scripts generated in the Script Preview tab. Leave only those scripts that you plan to execute.
Click Execute.
Productivity tips
File-related actions
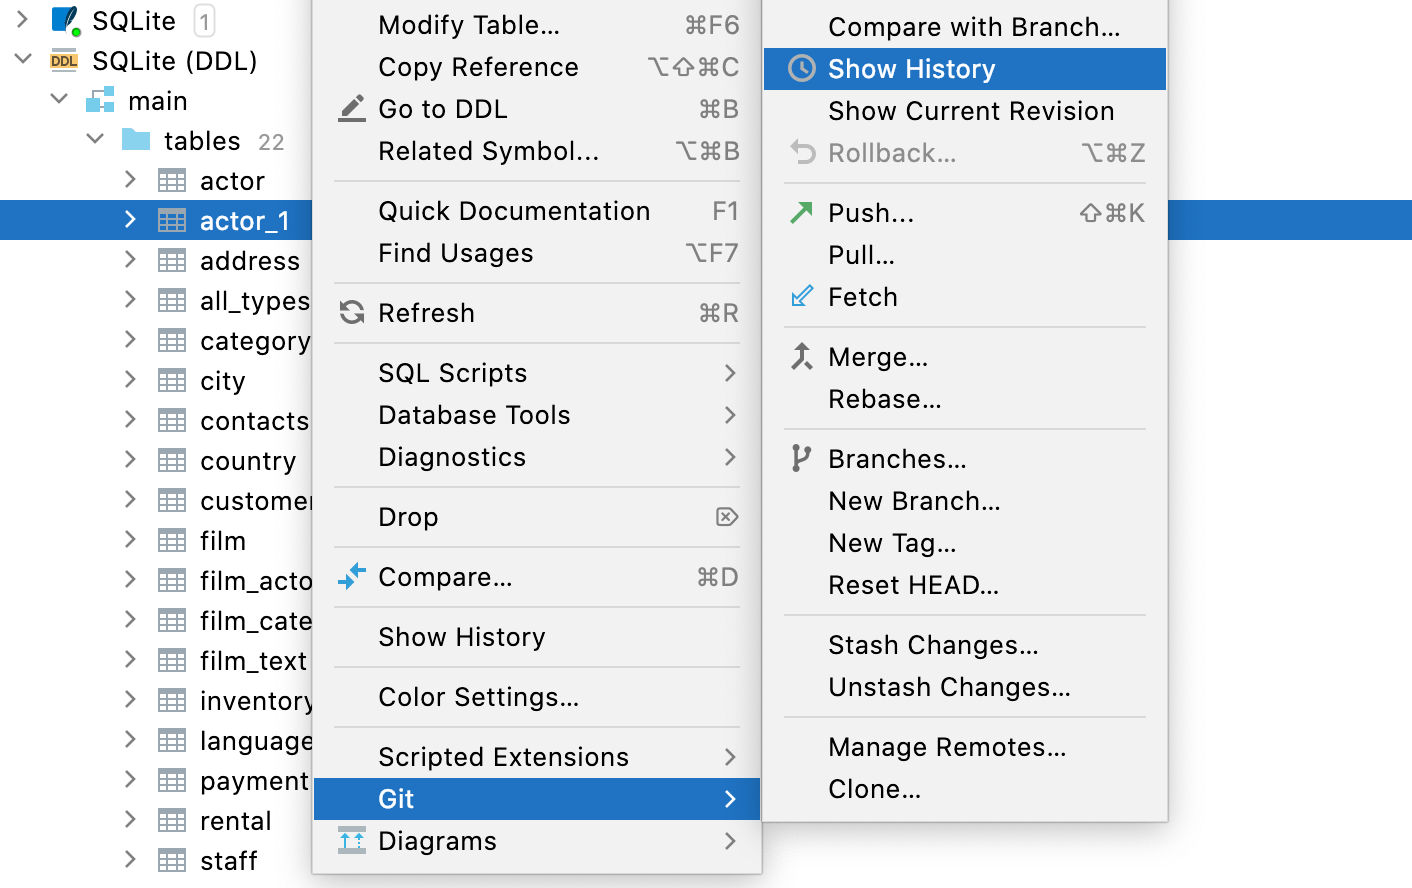
All actions for files are available on DDL data source elements as well. For example, you can delete, copy, or commit files related to the schema elements from the Database tool window.
Automatically refresh a DDL data source when you change the corresponding files
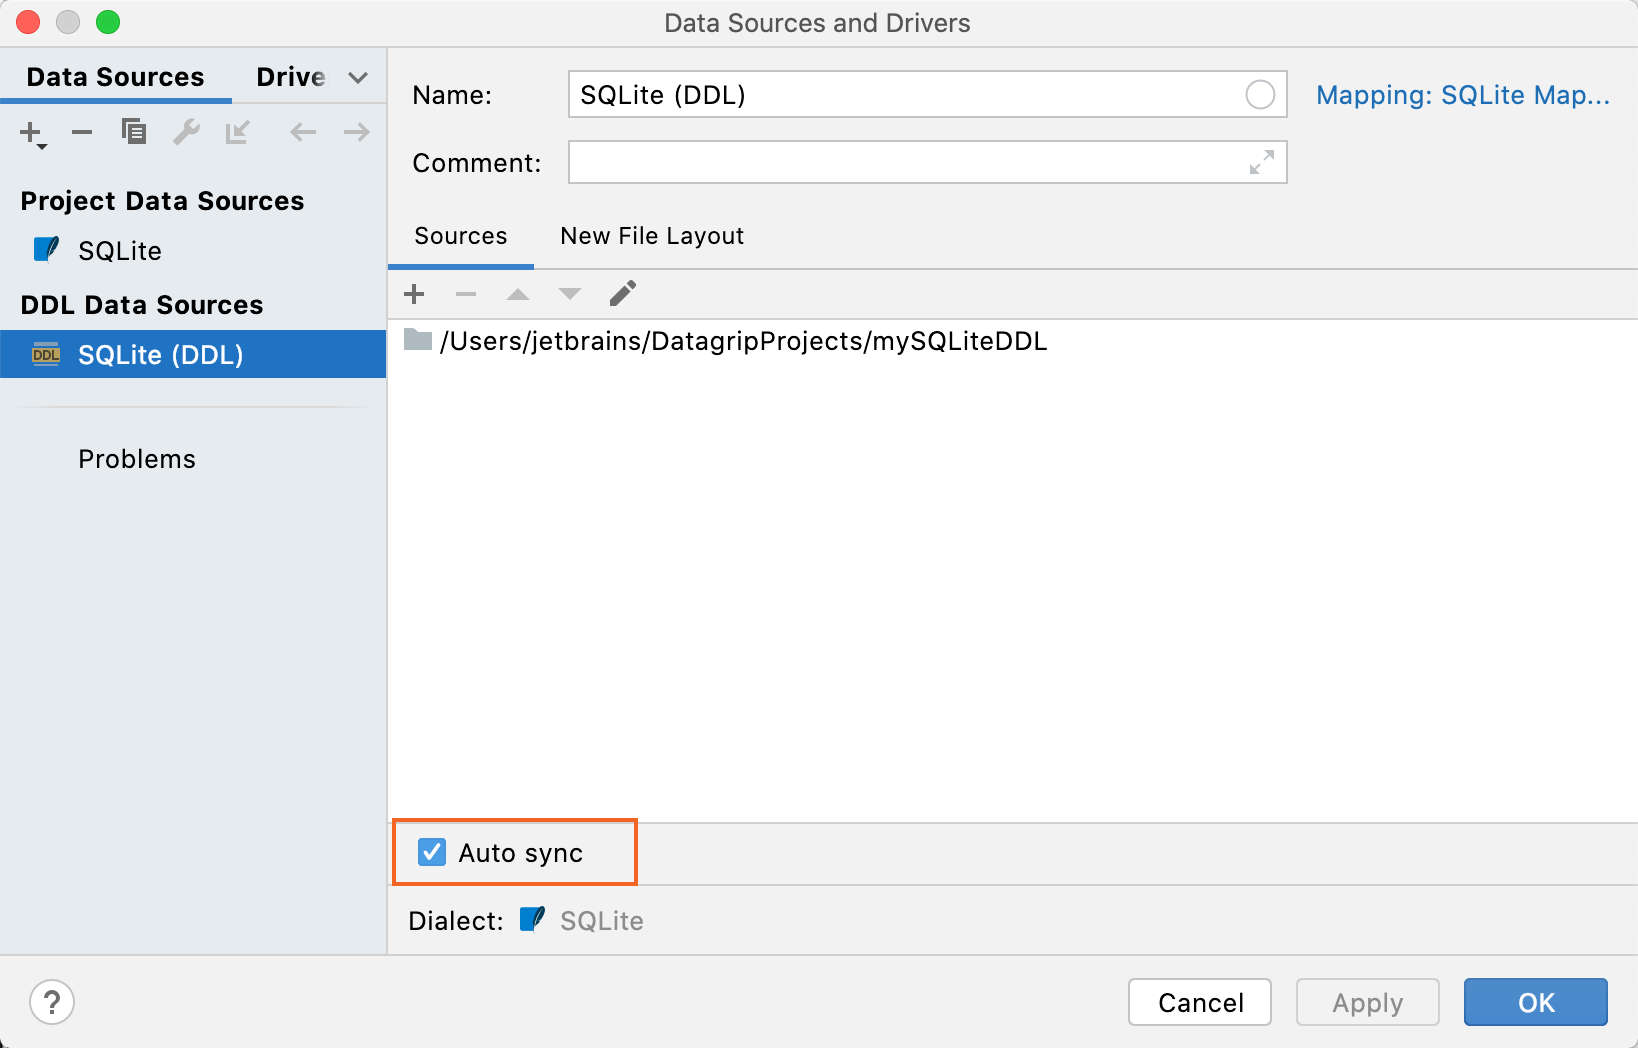
If the Auto-sync option is turned on, the DDL data source will be automatically refreshed with changes to the corresponding files. This was already the default behavior, but now you have the option to disable it.
Initial search path
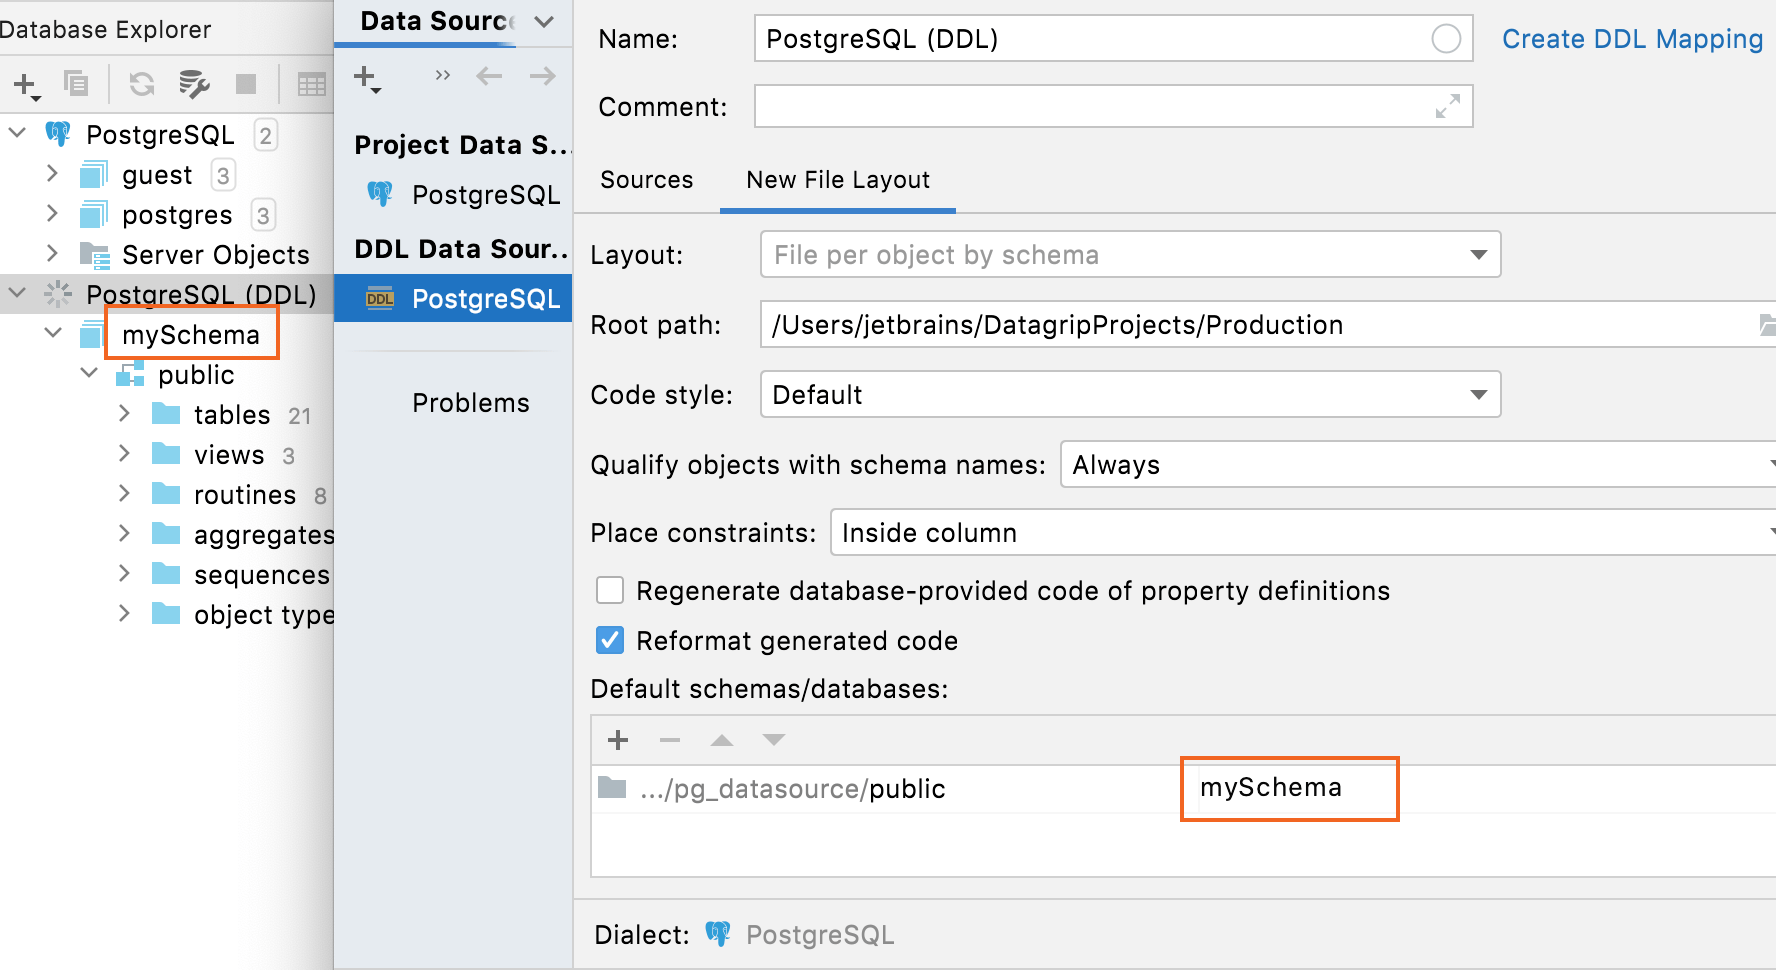
On the New File Layout tab, you can define names for your database and schemas, which will be displayed in the DDL data source. DDL scripts do not usually contain names, and in these cases, there will be dummy names for databases and schemas by default.
