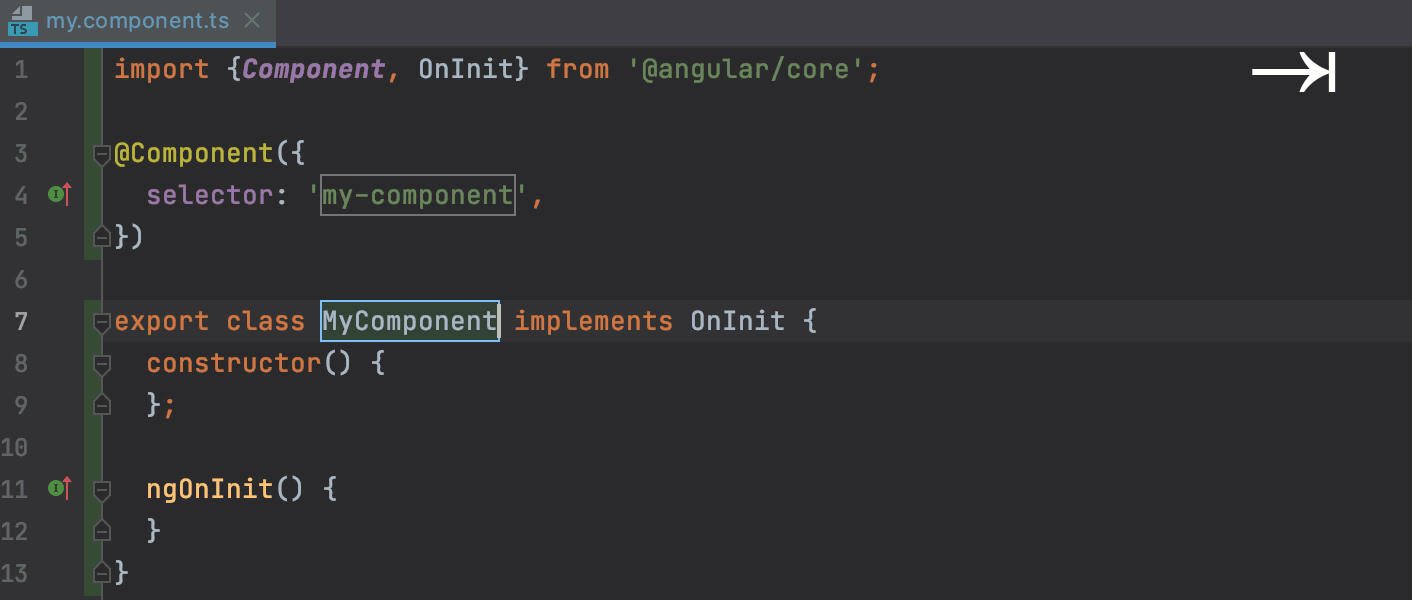
Live template variables
When you expand a live template abbreviation, its variables either appear as input fields where you can type values or are replaced with values. These may be default values that you can modify or values calculated using functions.
To declare variables within templates, use the following format: $VAR$.
In expressions, use variable names without opening and closing dollar characters $, for example, lowercaseAndDash(ComponentName).
Define each variable using an expression and provide a default value for cases when the expression fails to evaluate.
This expression may contain the following constructs:
String constants in double quotes
Names of other variables defined in a live template
Predefined functions with possible arguments
Configure template variables
In the Settings/Preferences dialog (Control+Alt+S), go to .
Select a template where you want to configure variables.
Specify variables in the template text and click Edit Variables….
In the Edit Template Variables dialog, you can do the following for each variable:
Change the variable name.
Define an expression using predefined functions.
Specify the default value for cases when the expression fails to evaluate. The default value should be enclosed in double quotation marks.
Specify whether you want to skip the variable when prompting the user for input if the expression evaluated successfully.
Predefined template variables
JetBrains Rider supports the following predefined live template variables that cannot be modified:
$END$indicates the position of the caret when the code snippet is complete, and you can no longer press Tab to jump to the next variable.$SELECTION$is used in surround templates and denotes the code fragment to be wrapped. After the template expands, it wraps the selected text as specified in the template. For example, if you selectEXAMPLEin your code and invoke the"$SELECTION$"template via the assigned abbreviation or by pressing Control+Alt+T and selecting the desired template from the list, JetBrains Rider will wrap the selection in double quotes as follows:"EXAMPLE".
Functions used in live template variables
The following functions can be used to define live template variables:
Function | Description |
|---|---|
| Converts a string into camelCase. For example, |
| Capitalizes the first letter of a string. For example, |
| Capitalizes all the letters of a string, and inserts an underscore between the parts. For example, |
| Invokes code completion at the position of the variable. |
| Invokes smart type completion at the position of the variable. |
| Returns a concatenation of all the strings passed to the function as parameters. For example, |
| Returns the current system date. By default, without a parameter, it returns the date in the current system format. To use a different format, provide a parameter according to the SimpleDateFormat specification. For example, the |
| Returns a list of columns for a table or a view. The |
| Returns a name of a table or a view. The |
| Replaces the first letter of a string with the corresponding lowercase letter. For example, |
| Returns the default value if the expression is used in the return statement. Uses the |
| Returns a list of strings suggested for completion when the template expands. For example, |
| Escapes special characters so that the result can be used in a Java string. For example, it replaces the tab character with |
| Returns the expected type of the expression where the template expands (in the right part of an assignment, after |
| Returns the name of the current file with its extension. |
| Returns the name of the current file without its extension. |
| Returns the absolute path to the current file. |
| Returns the current file path relative to the current project. To check what the relative path is for a given file, right-click it and select Copy Reference, or press Control+Alt+Shift+C. |
| Returns the first word of the string passed as the parameter. For example, |
| Returns the current line number. |
| Converts a string into lower case and inserts n-dashes as separators. For example, |
| Finds all occurrences of For example, the |
| Converts a string into snake_case. For example, |
| Returns the specified string with spaces as separators. For example, |
| Replaces spaces with underscores in the string passed as the parameter. For example, |
| Returns the substring up to the specified delimiter. This is helpful for removing the extensions in test file names. For example, |
| Returns the current system time. By default, without a parameter, it returns the time in the current system format. To use a different format, provide a parameter according to the SimpleDateFormat specification. For example, the |
| Transforms a string with underscores (like snake_case) into camelCase. For example, |
| Transforms underscores in a string to spaces. For example, |
| Returns the name of the current user. |
Example
Let’s create an ngcomp template for an Angular component, similar to the default a-component. The template will have 3 variables:
The first one,
$ComponentName$, will become a placeholder for the name of the new component class.The second one,
$selector$, will become the name of the component selector.The third one,
$END$, indicates where the caret should be at the end after the template is expanded and the $ComponentName$ and$selector$placeholders are filled in.
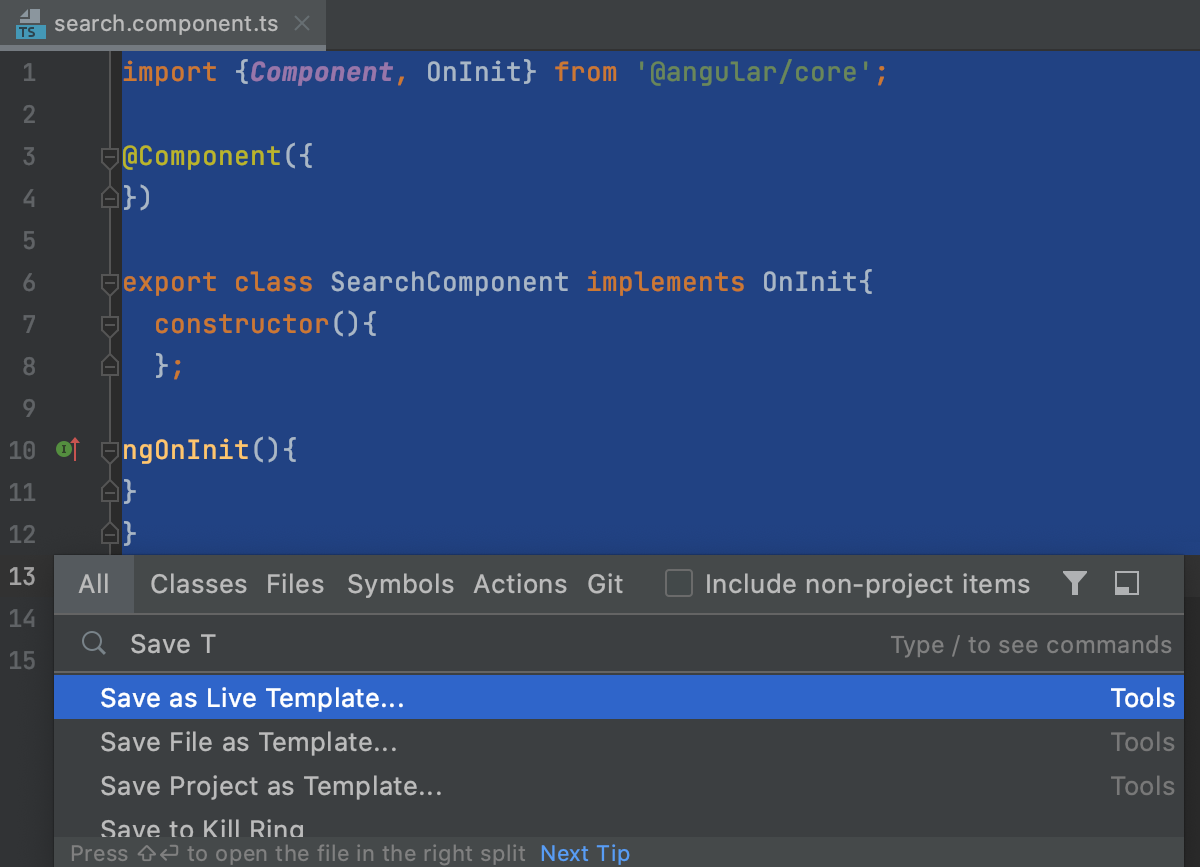
In the editor, select the code you want to use in the template, press Control+Shift+A, and invoke the Save as Live Template… action.
Enter the abbreviation that you’ll be using to invoke the template, for example,
ngcomp, and add a template description, for example, New Angular component.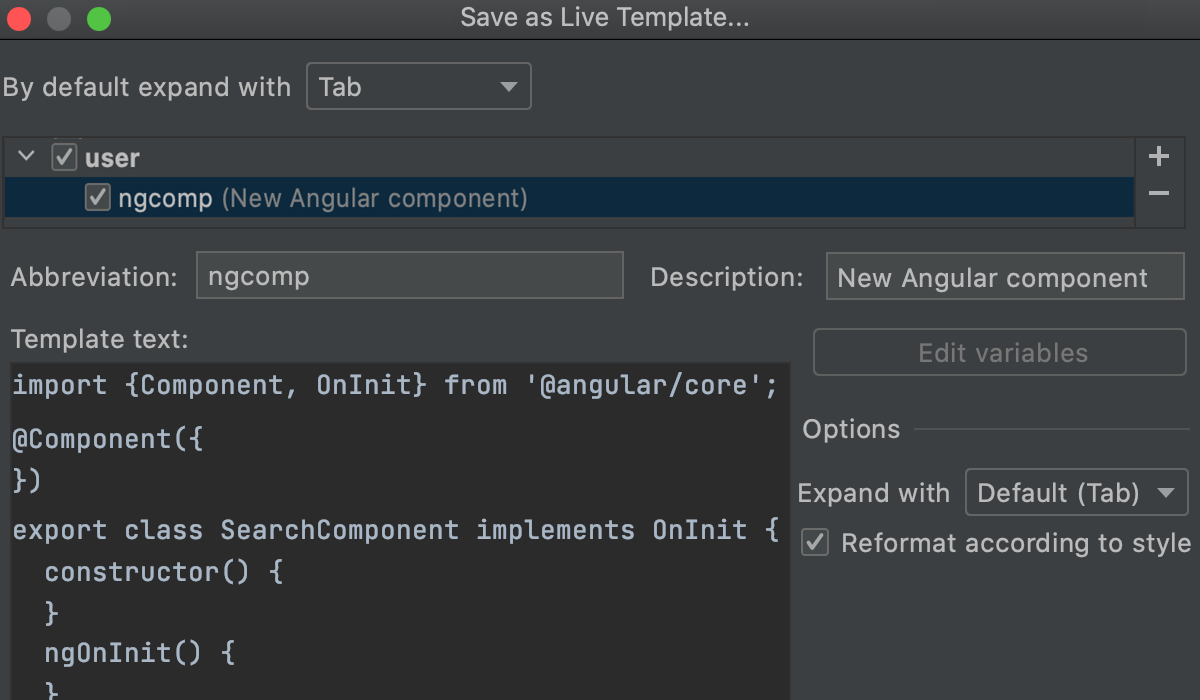
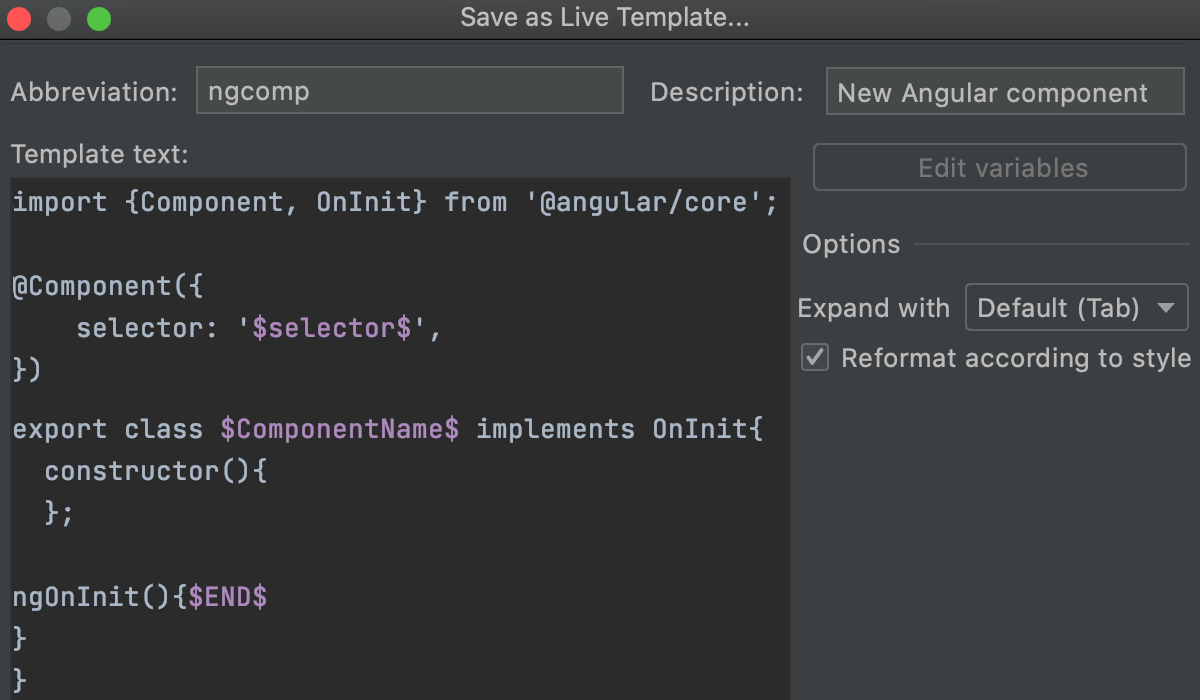
Add the variables to the template.
Replace
SearchComponentwith$ComponentName$.Add
selector: $selector$,insideComponent({}).Add
$END$tongOnInit(){}.
According to the Angular Style Guide, selector names are usually a dashed-case version of the component name, so it would make sense to specify the component name first. However, the selector comes first in the code.
To solve the problem, click Edit Variables… and adjust the order of variables using the arrow icons. Now
ComponentNamecomes first and the caret will jump to it first on template expansion.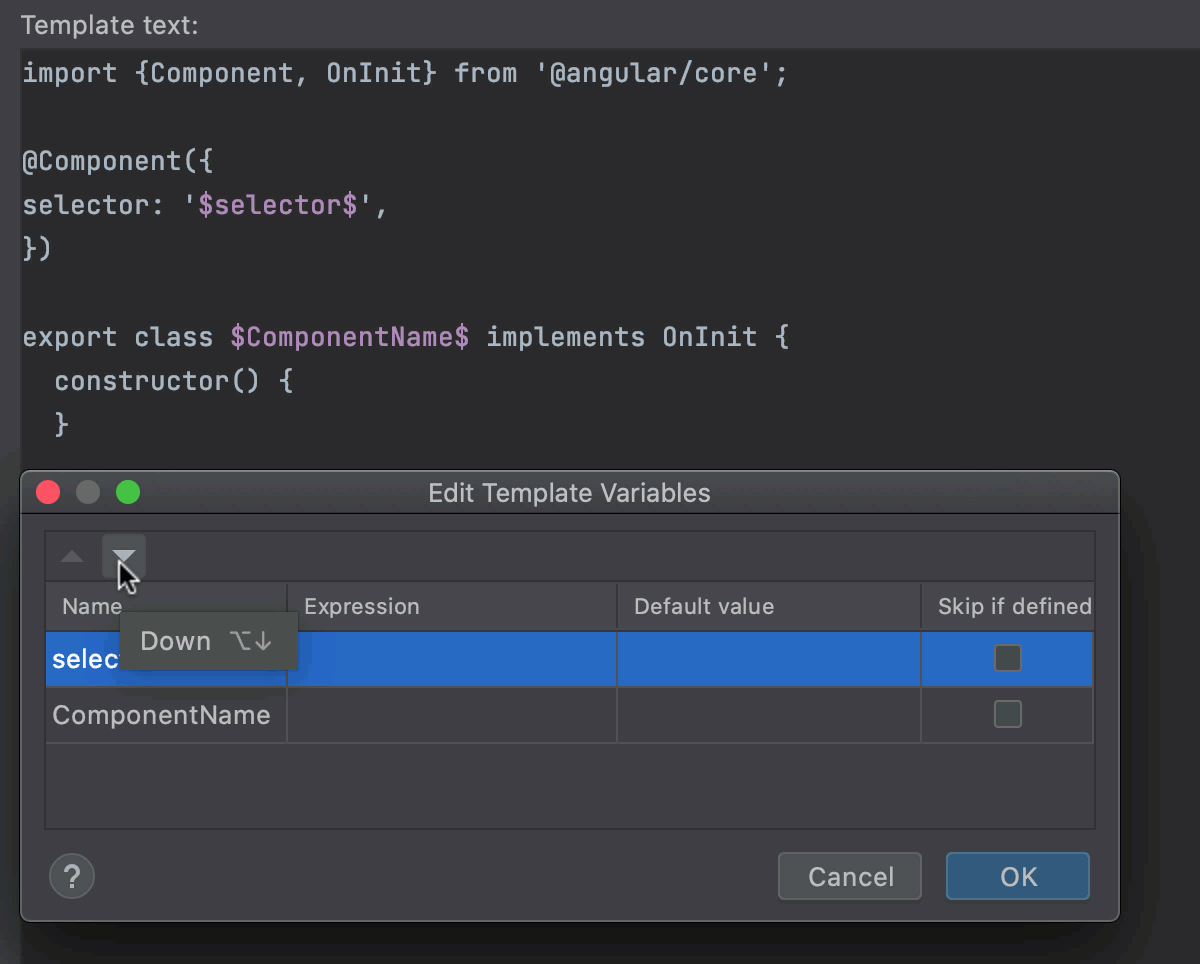
It would be great if we could specify only the class name and have the selector name filled in automatically through the class name transformation. To do this, click the Expression field next to the
selectorvariable, select thelowercaseAndDashfunction from the list, and then typeComponentNameas its parameter.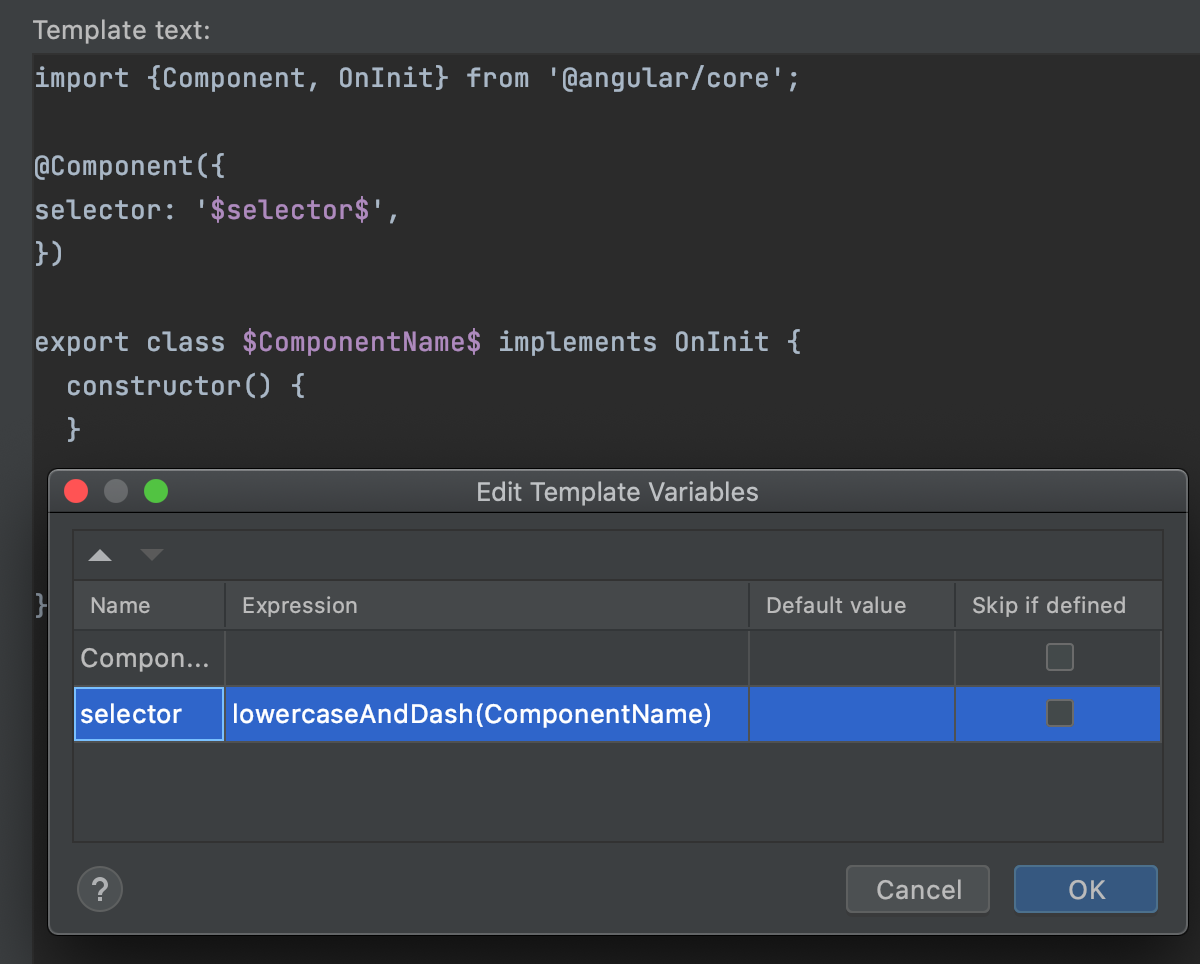
Optionally:
You can select Skip if defined next to
selector. In that case, after you edit the component name and press Enter, the caret will move to the$END$position and not to$selector$.
Let’s see our new template in action:
