Start Dev Container for a remote project
You can start a Dev Container on the remote machine for the project with the .json file located in the remote file system or for the project cloned from a Git repository.
Start Dev Container on a remote server
Launch JetBrains Rider.
From the welcome screen, click Remote Development, and from the options on the right, click Create Dev Containers.
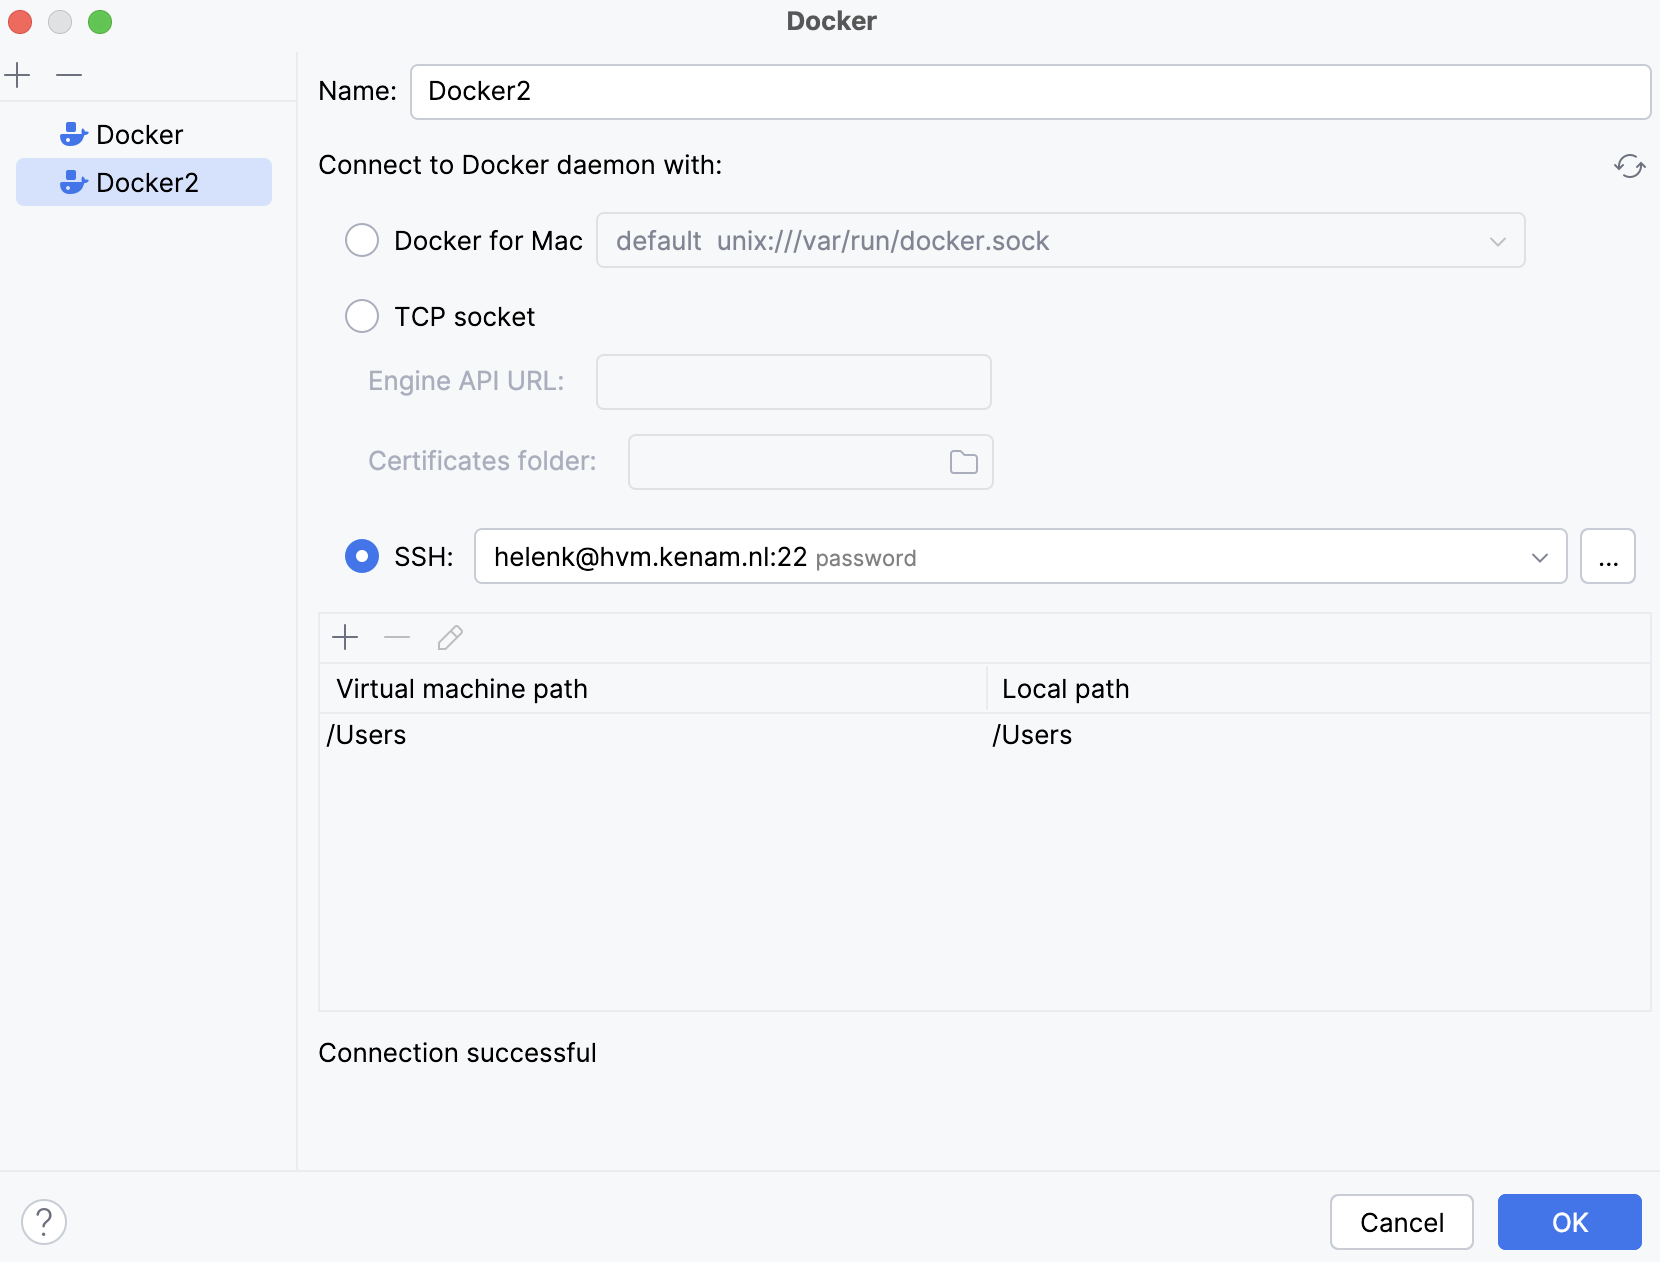
On the page that opens, click
to connect to Docker on a remote machine by SSH.

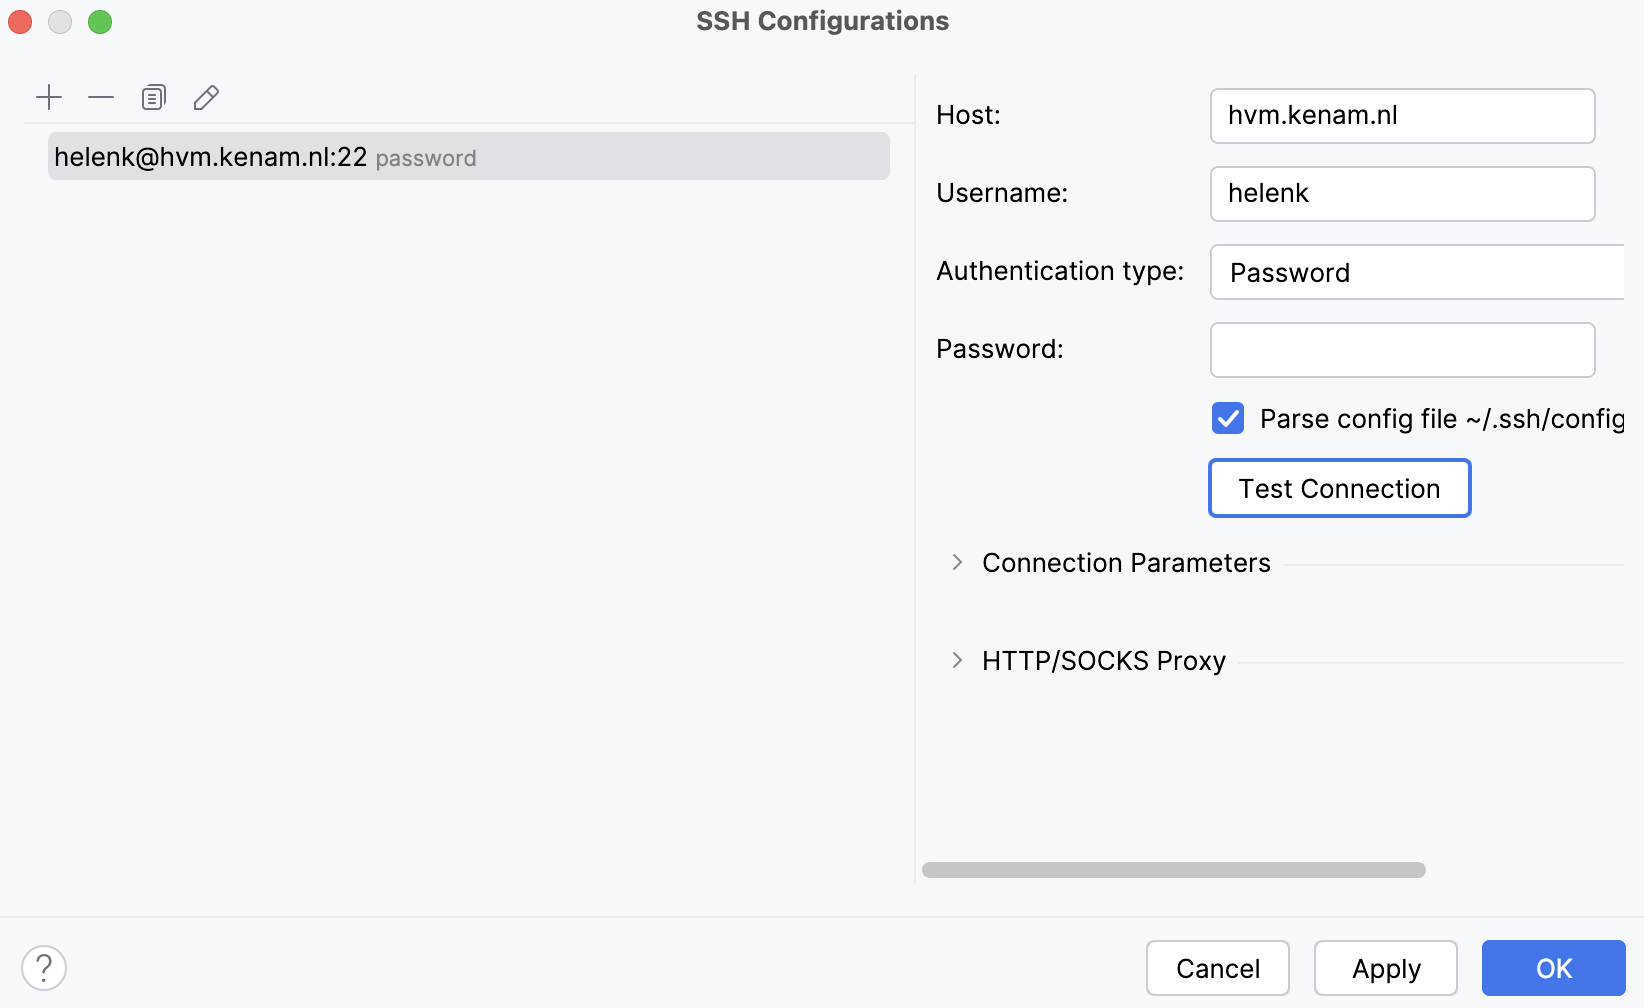
If your remote server is not configured, click
and on the page that opens add the necessary options.

Select the IDE backend that you want to use for the project.
If you want to change the selected IDE, click
and select the one you need from the list.
Select a project for which you want to build a Dev Container by clicking the appropriate tab:
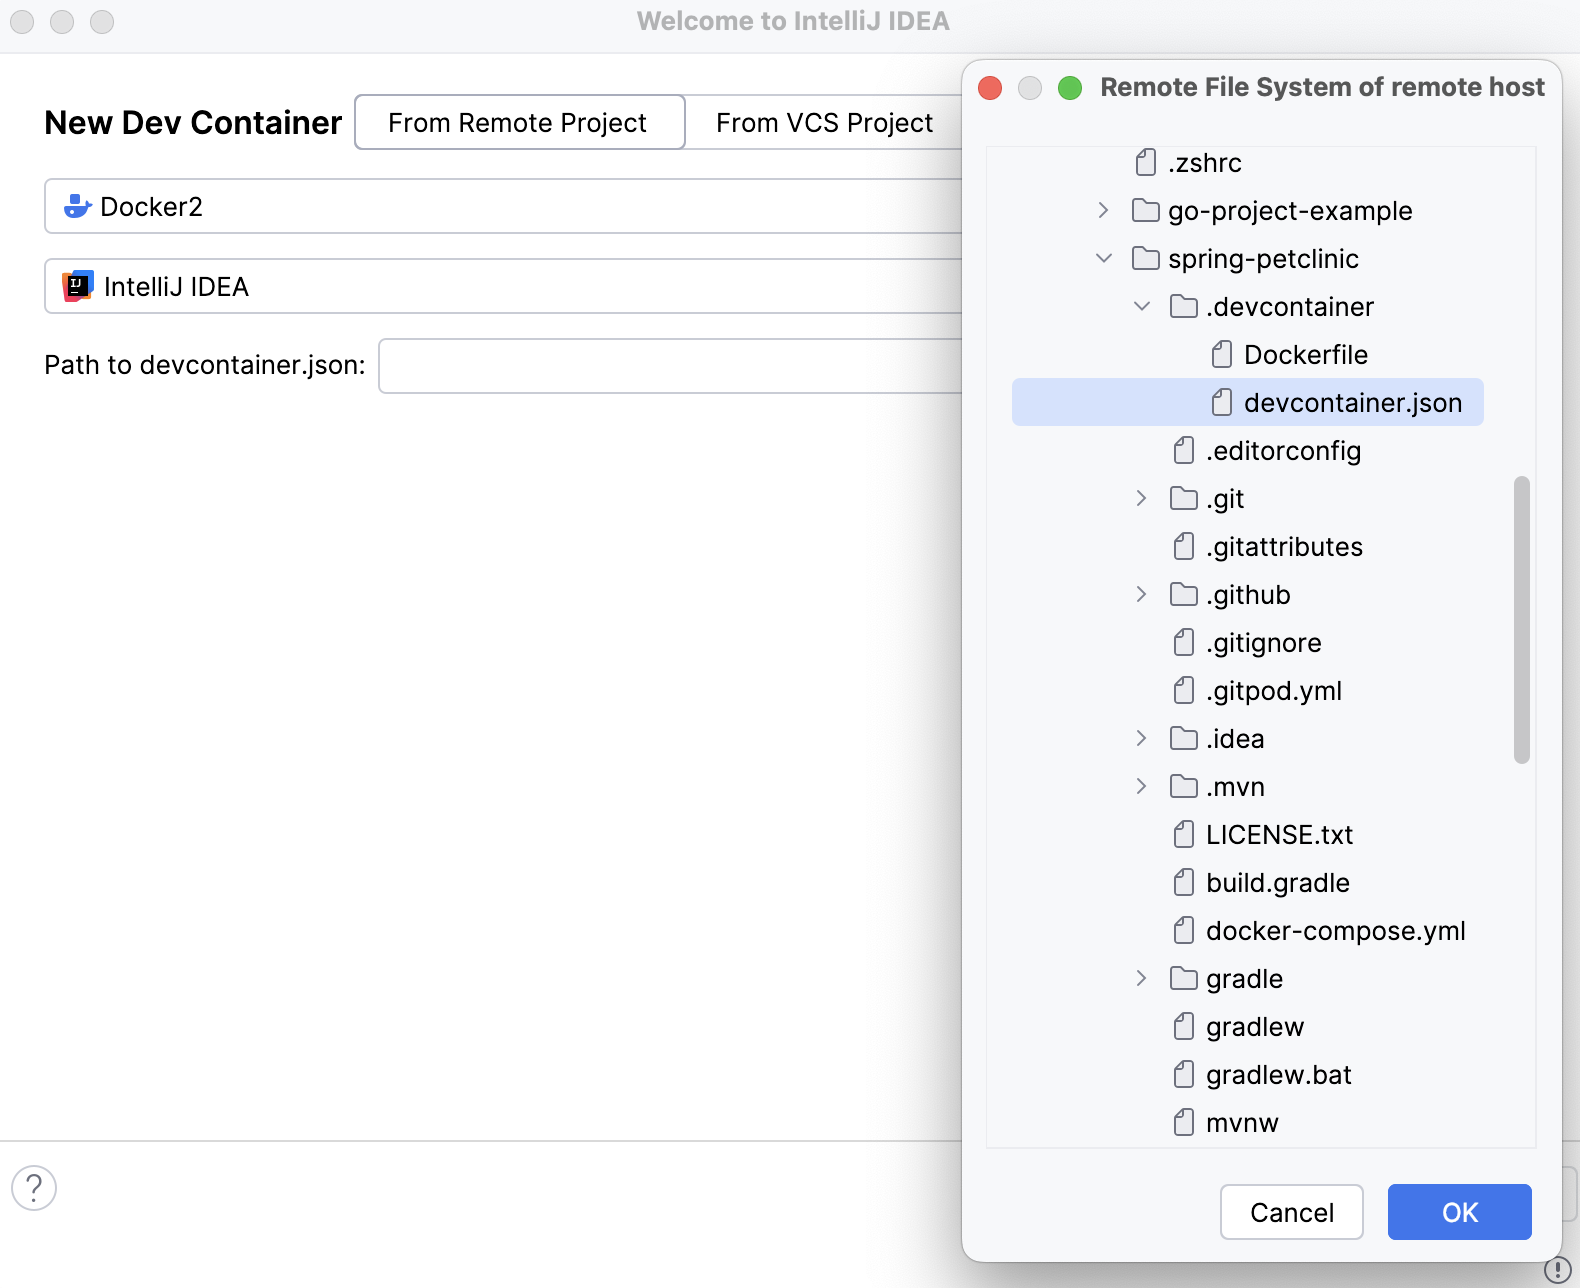
This option lets you choose a project residing on your remote machine.
Specify a path to the
.jsonfile of the project.
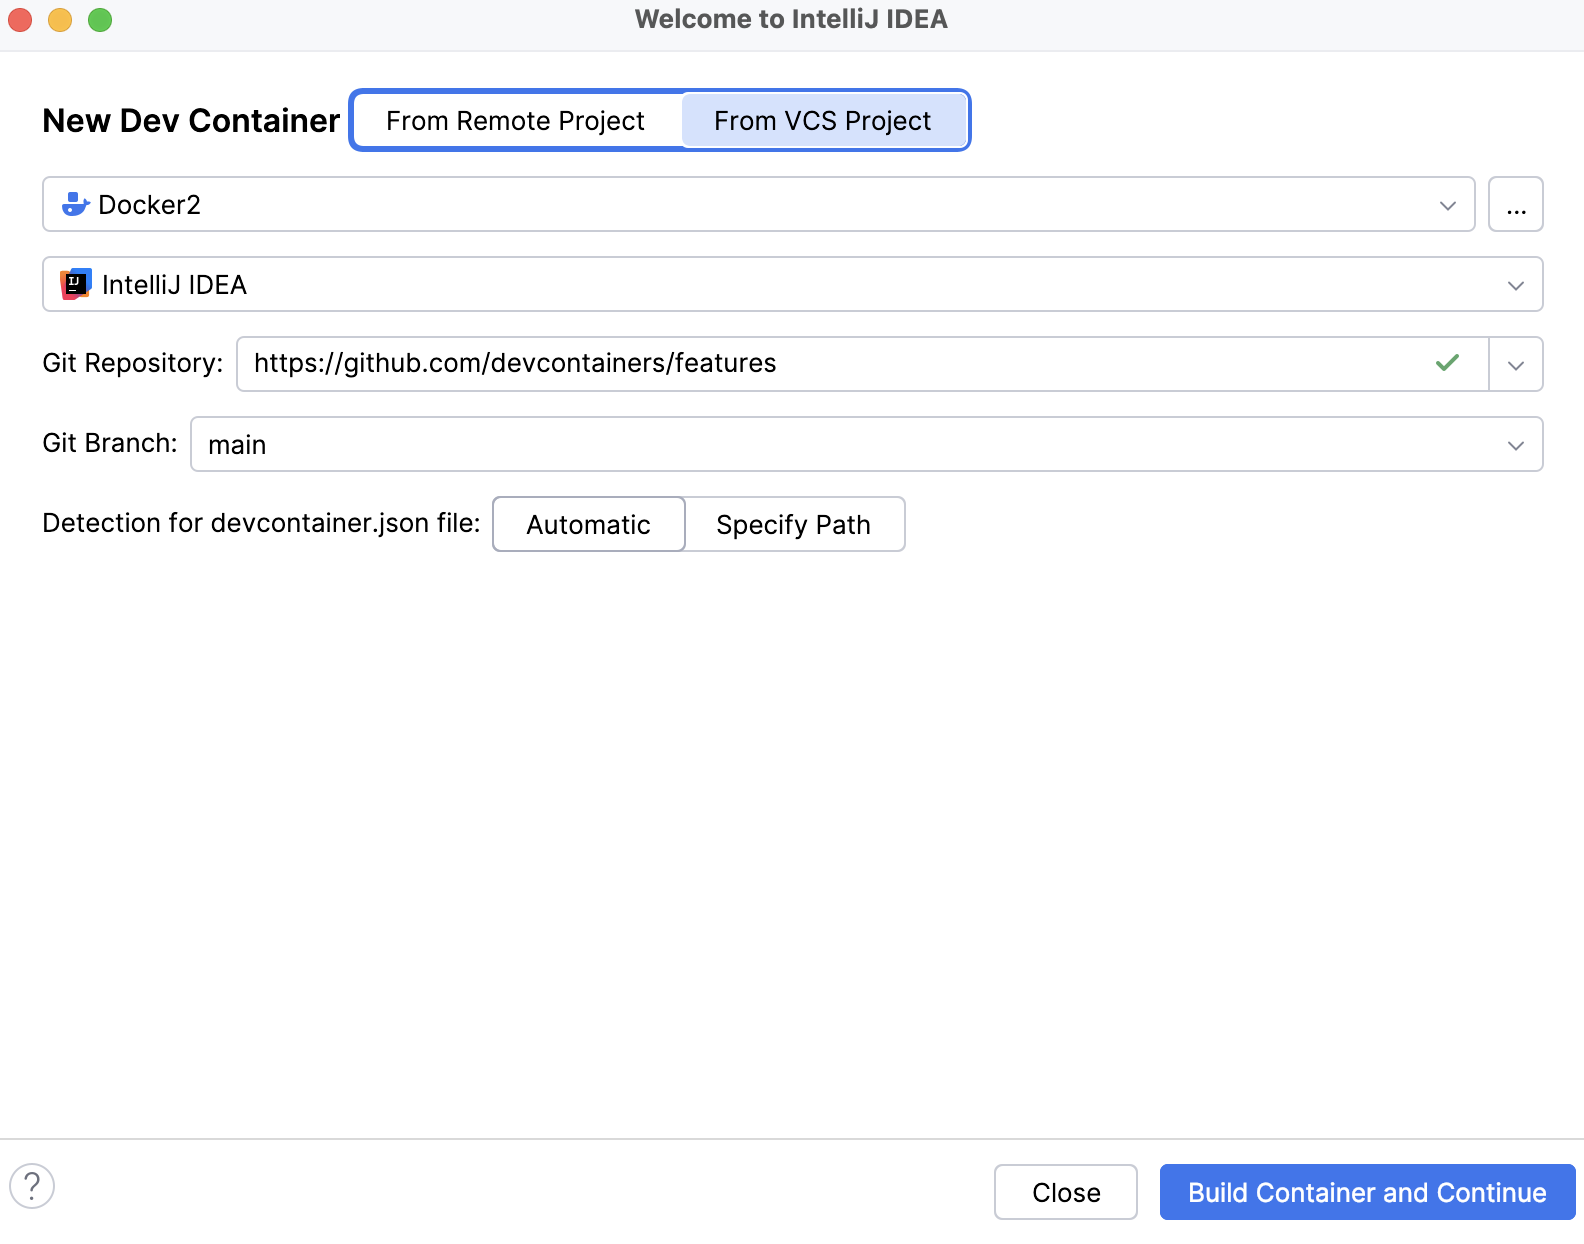
This option lets you specify a project residing on GitHub. Specify the following options:
Git Repository: specify the path to your project on GitHub.
Automatic: select this option if you want JetBrains Rider to detect the
.jsonfile automatically.Specify Path: select this option if you prefer to specify the path to the
.jsonfile manually.

Click Build Container and Continue.
After the Dev Container is built, the project opens in the JetBrains Client.
At this point, you can work with your project further.