Command-line interface
Use JetBrains Rider features from the command line: open files and projects, view diffs, merge files, apply code style, formatting, and inspect the source code.
Launcher for a standalone instance
The installation directory contains batch scripts and executables for launching JetBrains Rider, formatting the source code, and running inspections. To use them from the Command Prompt cmd.exe, add the location of the JetBrains Rider bin folder to the PATH environment variable. For example, if you installed JetBrains Rider to C:\Program Files\JetBrains\JetBrains Rider, you can use the following command:
This command changes the PATH environment variable for the current shell only (the current instance of cmd.exe). If you want to update it permanently for the current user, run setx:
To update it system-wide for all users, run setx /M instead of setx.
After you configure the PATH variable, you can run the executable from any working directory in the Command Prompt:
Alternatively, you can use the batch script:
To run JetBrains Rider from the shell, use the open command with the following options:
-aSpecify the application.
-nOpen a new instance of the application even if one is already running.
--argsSpecify additional arguments to pass to the application.
For example, you can run Rider 2025.3.app with the following command:
You can create a shell script with this command in a directory from your PATH environment variable. For example, create the file /usr/local/bin/rider with the following contents:
Make sure you have permissions to execute the script and since /usr/local/bin should be in the PATH environment variable by default, you should be able to run rider from anywhere in the shell.
If you do not have permissions to execute the script, run the following:
On Linux, the installation directory contains the launcher shell script rider.sh under bin. For example, if you installed JetBrains Rider to /opt/rider, you can run the script using the following command:
You can create a symbolic link to the launcher script in a directory from the PATH environment variable. For example, if you want to create a link named rider in /usr/local/bin, run the following command:
Since /usr/local/bin should be in the PATH environment variable by default, you should be able to run the rider command from anywhere in the shell.
Shell scripts generated by the Toolbox App
If you are using the Toolbox App to install and manage JetBrains products, you can use shell scripts for launching your IDEs from the command line.
Toolbox App generates shell scripts automatically and places them to the following folders:
By default, the Toolbox App puts shell scripts in a directory from the system PATH environment variable, so you can run the name of the script as a command to launch JetBrains Rider from any working directory.
Change shell scripts location
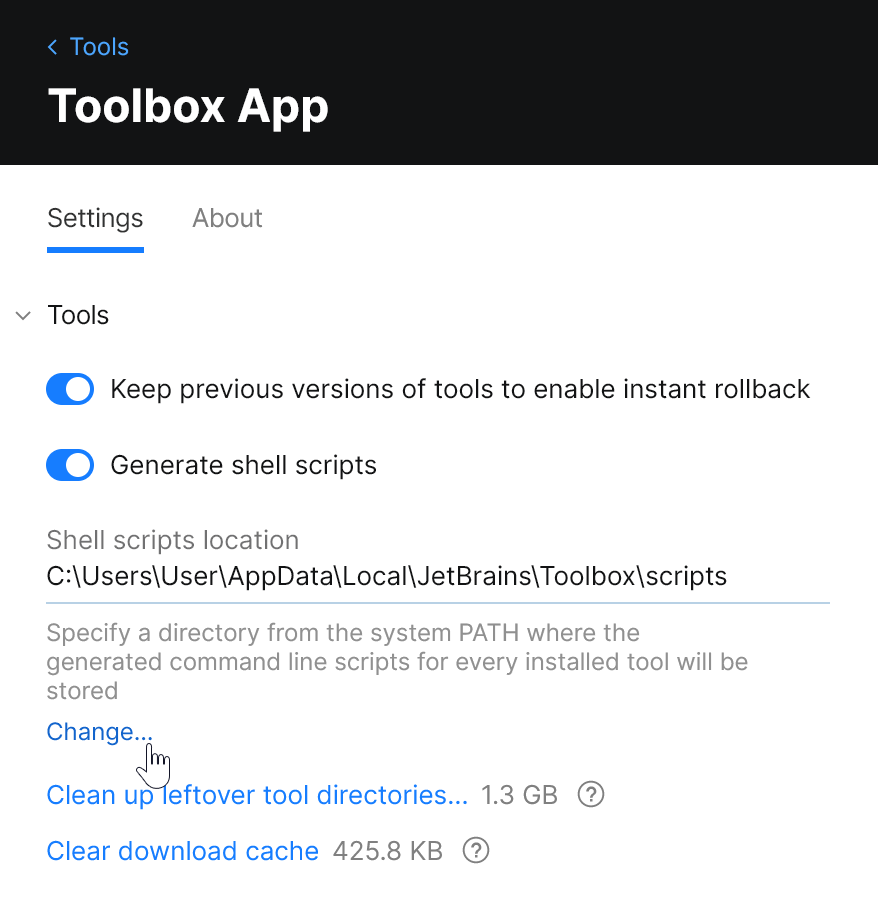
Open the Toolbox App, click the Toolbox App menu icon in the top right corner, and select Settings.

On the Settings tab, expand the Tools section, and specify another folder in the Shell scripts location field.
Rename shell scripts
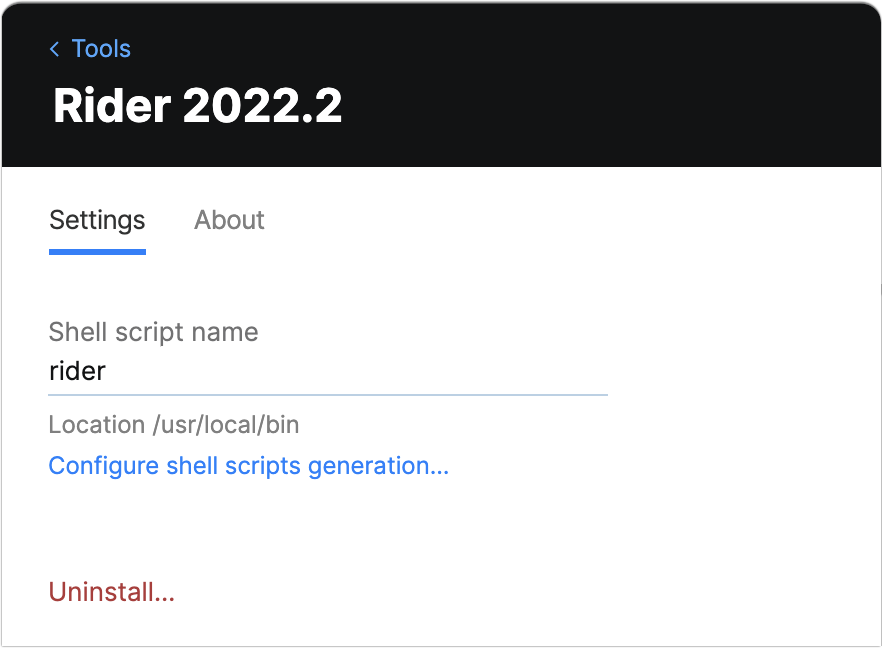
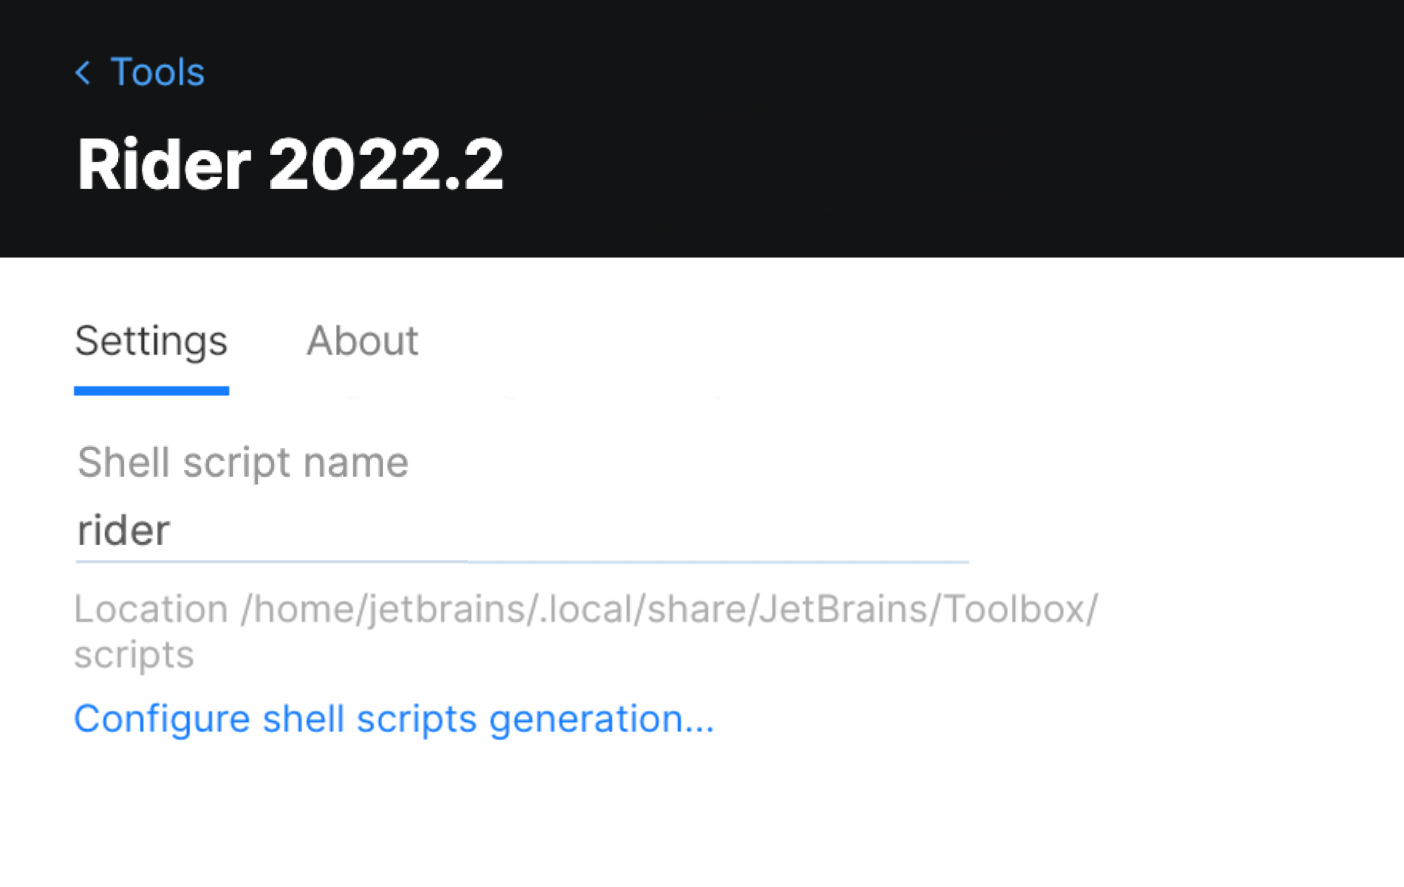
If you have several versions of the same IDE, the Toolbox App generates a shell script for each version with a unique name. You can change the name of the shell script for an IDE instance in the settings for this specific instance.
Open the Toolbox App.
Click
next to an IDE instance and select Settings.
At the bottom of the Configuration section, change the Shell script name field.

or
By default, the Toolbox App puts shell scripts in a directory from the system PATH environment variable, so you can run the name of the script as a command to launch JetBrains Rider from any working directory.
Change shell scripts location
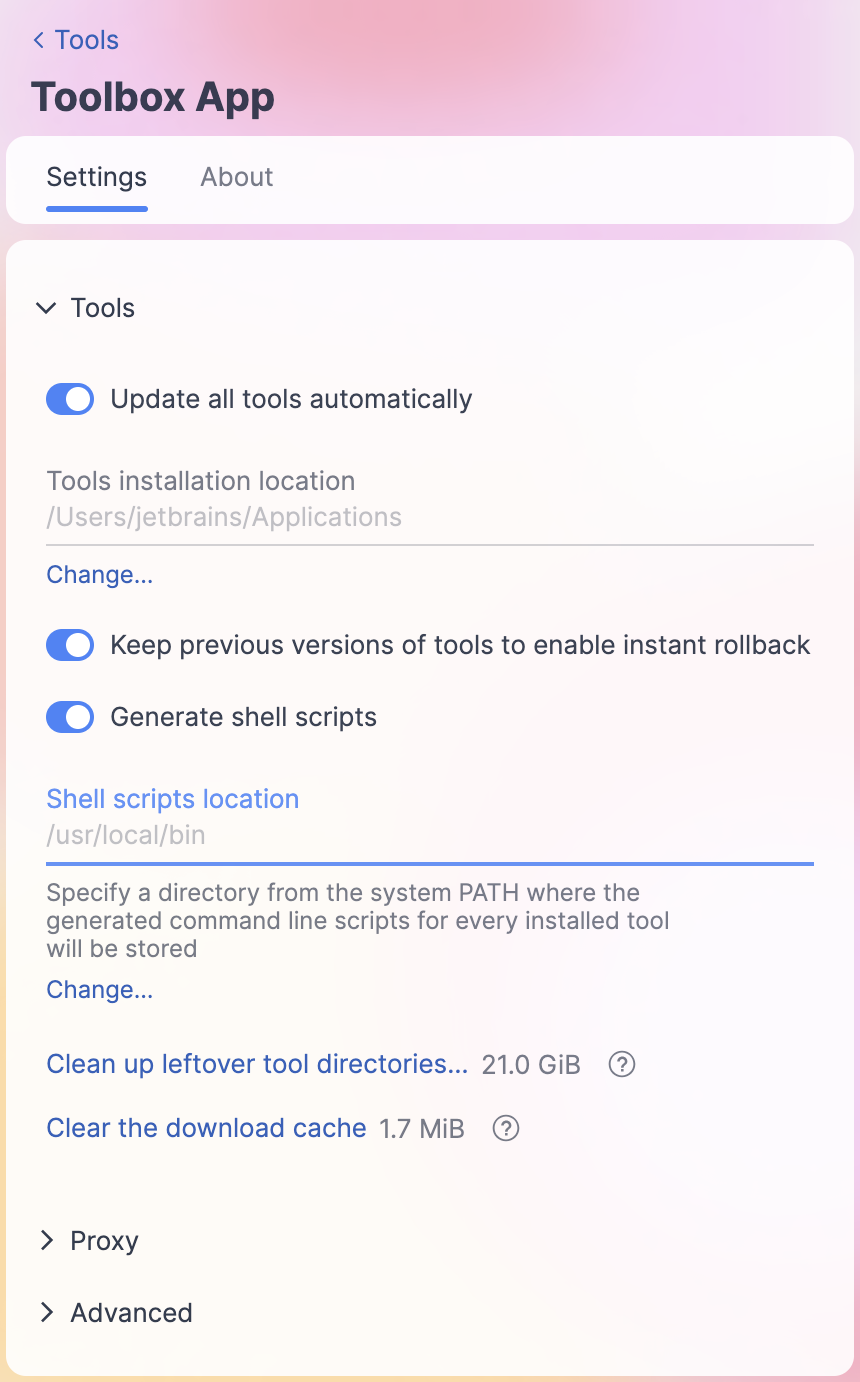
Open the Toolbox App, click the Toolbox App menu icon in the top right corner, and select Settings.

On the Settings tab, expand the Tools section, and specify another folder in the Shell scripts location field.
Rename shell scripts
If you have several versions of the same IDE, the Toolbox App generates a shell script for each version with a unique name. You can change the name of the shell script for an IDE instance in the settings for this specific instance.
Open the Toolbox App.
Click
next to an IDE instance and select Settings.
At the bottom of the Configuration section, change the Shell script name field.
By default, the Toolbox App puts shell scripts in a directory from the system PATH environment variable, so you can run the name of the script as a command to launch JetBrains Rider from any working directory.
Change shell scripts location
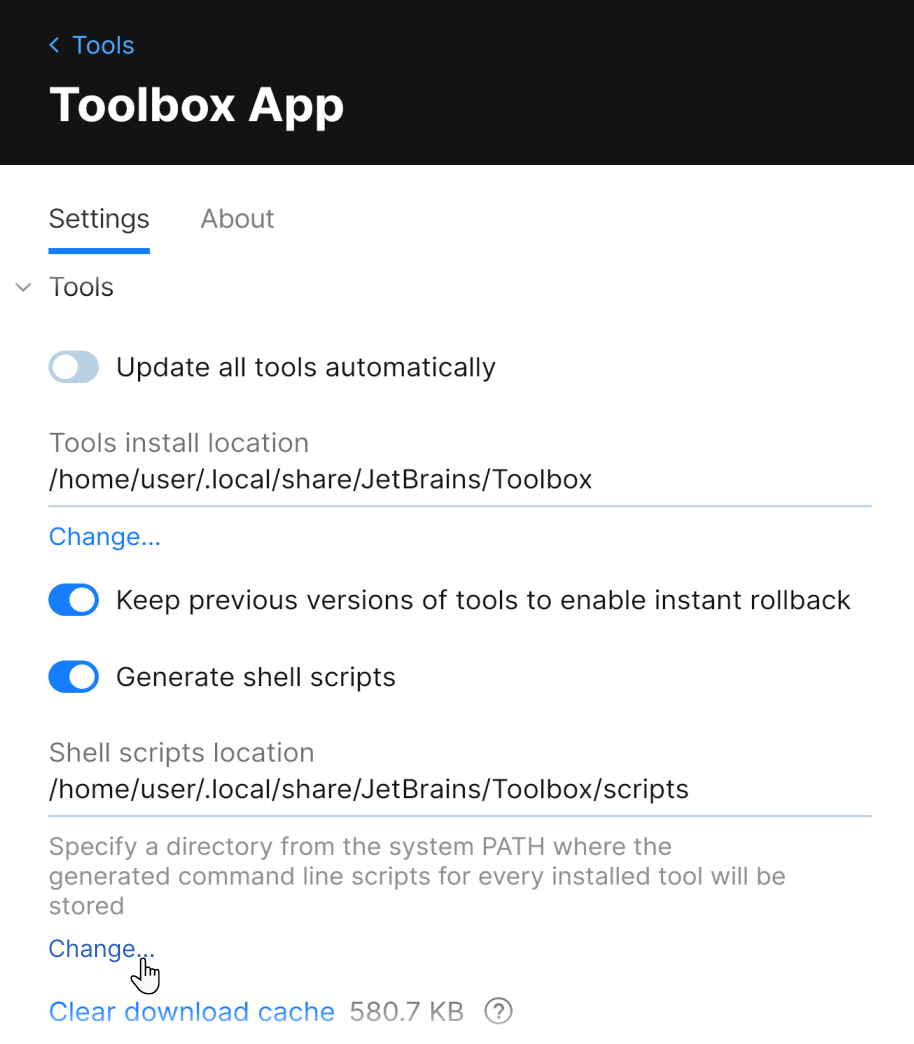
Open the Toolbox App, click the Toolbox App menu icon in the top right corner, and select Settings.

On the Settings tab, expand the Tools section, and specify another folder in the Shell scripts location field.
Rename shell scripts
If you have several versions of the same IDE, the Toolbox App generates a shell script for each version with a unique name. You can change the name of the shell script for an IDE instance in the settings for this specific instance.
Open the Toolbox App.
Click
next to an IDE instance and select Settings.
At the bottom of the Configuration section, change the Shell script name field.
Command-line arguments
The launcher script accepts commands, options, and other arguments to modify its behavior. Without any arguments, the script launches JetBrains Rider. If you specify the path to a file or directory, JetBrains Rider will open the specified file or directory. For more information, refer to Open files from the command line.
Commands
diffOpen the diff viewer to see the differences between two specified files.
For more information, refer to Compare files from the command line.
mergeOpen the Merge dialog to merge the specified files.
For more information, refer to Merge files from the command line.
attach-to-processStart JetBrains Rider, open the specified solution, and create a new debugger session that will attach to the specified PID.
Syntax:
rider attach-to-process [<debugger-key>] <pid> [<path-to-solution>]Where:
debugger-key— optional parameter that lets you specify which debugger should be used when attaching. Available keys are:netcore— use the .NET debugger (formerly known as .NET Core)netframework— use the classic .NET Framework debugger (Windows-only)native— use the LLDB debugger
If no debugger key is specified, JetBrains Rider will look into the runtimes loaded in the target process to determine the correct debugger to use for attaching.
pid— process id to attach topath-to-solution— non-mandatory path to the solution that should be opened.You can specify either the path to the .sln file or just a directory.
If not specified, a new empty solution will be generated automatically. This may be helpful for projects without sources, when you just need to attach to some external process.
Options
nosplashDo not show the splash screen when loading JetBrains Rider.
dontReopenProjectsDo not reopen projects and show the welcome screen. This can help if a project that was open crashes JetBrains Rider.
disableNonBundledPluginsLaunch JetBrains Rider without loading manually installed plugins. This option doesn't remove or permanently disable plugins. This can help if a plugin that you installed crashes JetBrains Rider. You will be able to start the IDE and either disable or uninstall the problematic plugin.
--waitWait for the files to be closed before returning to the command prompt.