Run Rack applications
Rack is an interface for developing web applications in Ruby. It provides the API for interaction between web servers and web frameworks. For example, Rails and Sinatra use Rack under the hood for logging, session handling, and so on.
RubyMine provides the dedicated Rack run/debug configuration for running Rack applications using the rackup tool. For instance, you can specify a server type (for example, Thin), IP address and port, and the Rack configuration file.
Before running the Rack application, make sure that the following prerequisites are met:
The 'rack' gem is installed to the project SDK.
The required web server gem (for example, 'thin') is installed to the project SDK.
To run the Rack application that uses config.ru file, follow the steps below:
Open the Project view Alt01.
Right-click the config.ru and select Run 'config.ru'.
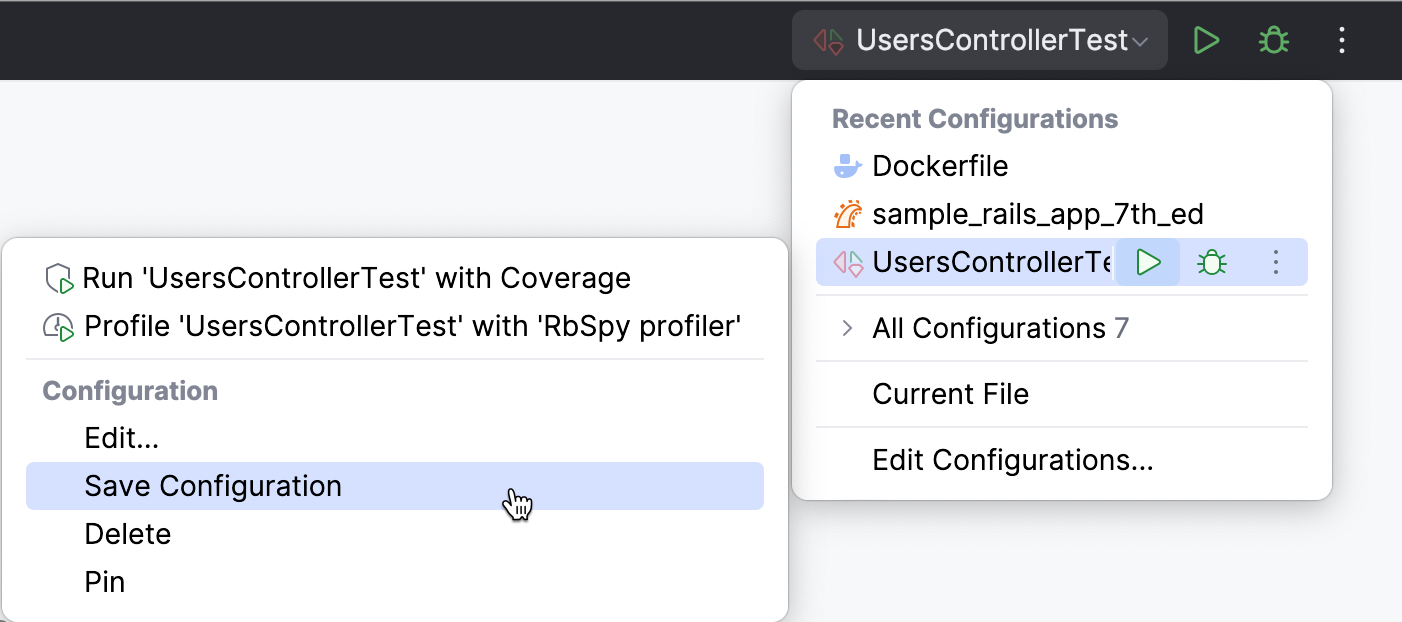
After you've run the Rack application, RubyMine automatically creates a temporary Rack run/debug configuration. You can customize settings of this configuration, for example, a server type, IP address and port, and so on. Then, you can save the customized configuration to quickly run this configuration in the future.
To create the run/debug configuration for running the Rack application, follow the steps below:
Open the Run/Debug Configuration dialog in one of the following ways:
Select Run | Edit Configurations from the main menu.
With the Navigation bar visible (View | Appearance | Navigation Bar), choose Edit Configurations from the run/debug configuration selector.

Press AltShiftF10 and then press 00.
In the Run/Debug Configuration dialog, click
AltInsert in the top left corner and select Rack.
Specify the following settings:

Server: Specify a web server for running an application. You might need to install a corresponding gem to the project SDK (for example, the 'thin' gem for the Thin server).
IP Address: Specify the IP address where the Rails server will be accessible.
Port: Specify the port used to run the selected server.
Rack config file: Specify a path to the Rack configuration file. For example, this can be the config.ru file.
Run browser: Use this option to enable opening an application automatically in a default browser.
Start JavaScript debugger automatically: Enable this option to start the JavaScript debugger. Note that JavaScript debugging is available only in Chrome and other browser of the Chrome family.
Environment variables: Specify the list of environment variables as the name-value pairs, separated with semi-colons. Alternatively, click the ellipsis button to create variables and specify their values in the Environment Variables dialog.
Ruby arguments: Specify the command-line arguments to be passed to the Ruby interpreter.
Ruby SDK: Specify the Ruby interpreter used to run the server. You can choose the project default Ruby SDK, or select a different one from the list of configured Ruby SDKs.
Click OK to save the created configuration.
You can run the Rack application using the created configuration in one of the following ways:
Press Ctrl twice to invoke the Run Anything popup. Start typing the required configuration name, select it from the list, and press Enter.
Select the desired configuration on the toolbar and click
ShiftF10.
Go to Run | Run... AltShiftF10 and select the desired configuration from the list and press Enter.
tip
You can also use the Services tool window to manage multiple run/debug configurations at once in a dedicated tool window.
Thanks for your feedback!