Create files and directories
RubyMine enables you to create arbitrary files or language-specific files. You can create Ruby files, classes or modules, tests, HTML files, stylesheets, JavaScript/TypeScript files, and so on. Such language-specific files can be created with initial content using templates. For example, the RSpec test created from a template contains a skeleton for an example group. If necessary, you can customize these templates or add new ones.
In this topic, we'll show you how to create files and directories, and how to use templates.
RubyMine enables you to create Ruby files or generate classes and modules. To create a new Ruby file, class, or module, do the following:
In the Project view Alt01, select the directory where you want a class to be created, and press AltInsert.
From the popup menu, select Ruby Class/File.
In the New Ruby Class/File popup, do one of the following:
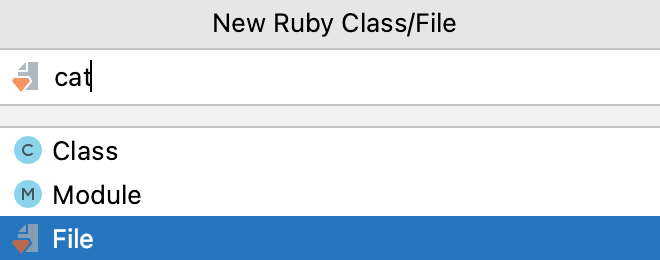
To create a new Ruby file, enter its name and make sure that File is selected.

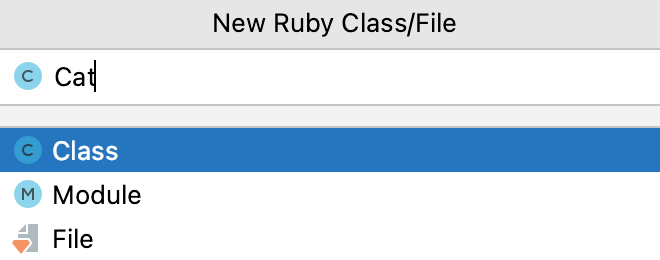
To create a Ruby class, switch to Class and specify the class name.

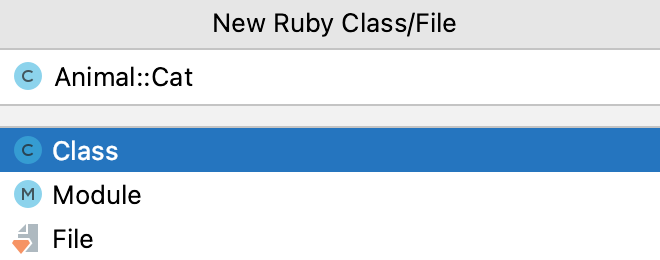
RubyMine allows you to create classes prepended by modules. If required, prepend the class name with the module name:

In this case, the created file will look as follows:

tip
Note that names of Ruby classes and modules should start with an uppercase letter.
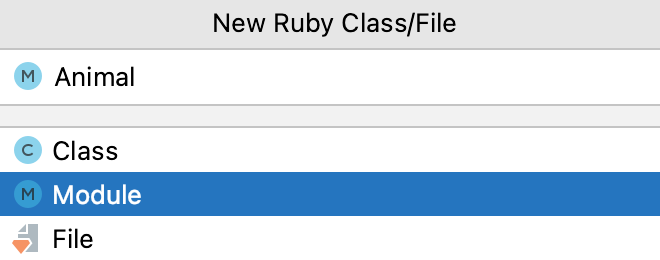
To create a Ruby module, switch to Module and specify the module name.

Press Enter.
To create a directory:
In the Project view Alt01, right-click the directory where you want to create a new one and select New | Directory from the context menu. Alternatively, click the parent directory, press AltInsert, and then select Directory from the list.
In the popup that opens, specify the directory name. To create several nested directories, use slashes as separators, for example, views/shared.
To create an empty file with an arbitrary extension:
In the Project view Alt01, select the directory where you want to create a file, press AltInsert, and then select File from the list.
In the New File dialog that opens, type the filename and extension. You can type the whole directory structure before the new filename. If the nested directories do not yet exist, they will be created.
If the specified extension is not associated with any file type recognized in RubyMine, the Register New File Type Association dialog opens where you can associate the extension with one of the recognized file types. For more information, refer to File type associations.
tip
If there are no appropriate file types for the new extension, most likely, you need to install the corresponding repository plugin as described in Install plugins.
RubyMine allows you to create new files with initial content using templates. You can customize these templates or add new ones.
Press CtrlAlt0S to open the IDE settings and then select Editor | File and Code Templates.
On the Files tab, select the desired template and modify it:
Edit the template contents. Since file templates use the Velocity Template Language, you can use a fixed text, variables, or various directives, including #parse,
#set,#if, and others.Reformat according to style: Enable this option to reformat the generated code according to the style defined on the Code Style page.
Enable Live Templates: Enable this option if you want to use a live template inside a file template. For example, to specify the caret position in the created HTML file inside
body, put the$END$live template variable into Velocity escape syntax:<!DOCTYPE html> <html lang="en"> <head></head> <body> #[[$END$]]# </body> </html>
Click Apply to save the customized template. If necessary, click
to revert the selected template to its original state.
To copy the existing template or create a new one, use the
or
buttons, respectively.
Include templates allow you to create reusable pieces of code, for example, require statements. Let's see on how to create the include template shared between the Minitest templates:
In the Settings dialog (CtrlAlt0S) , select Editor | File and Code Templates.
Open the Includes tab.
Click the
button on the toolbar and specify the template settings in the following way:
Name: Specify the template name as Minitest File Header.
Extension: Leave the default rb extension.
Add the following template body:
require 'minitest/autorun'
Click Apply.
Go to the Files tab.
For the MiniTest and MiniTest Spec templates, replace the
require 'minitest/autorun'line with the following code:#parse("Minitest File Header.rb")Click Apply.
A file template can contain variables, which are replaced by their values when the template is applied. A variable is a string that starts with a dollar sign $ followed by the variable name. The variable name may optionally be enclosed in curly braces. For example, $MyVariable and ${MyVariable} are different notations of the same variable.
The following predefined variables can be used in file templates:
Variable | Description |
|---|---|
| Current system date |
| Current day of the month |
| Path to the directory of the new file (relative to the project root) |
| Dollar sign |
| Name of the new file |
| Current hour |
| Current minute |
| Current second |
| Current month |
| Full name of the current month (January, February, and so on) |
| First three letters of the current month name (Jan, Feb, and so on) |
| Name of the new entity (file, class, interface, and so on) |
| Name of the IDE (for example, RubyMine) |
| Name of the current project |
| Current system time |
| Login name of the current user |
| Current year |
Besides predefined template variables, it is possible to specify custom variables. If necessary, you can define the values of custom variables right in the template using the #set directive. Write the directive before the corresponding variable is used.
For example, if you want to use your full name instead of your login name defined through the predefined variable ${USER}, add the following construct before your custom variable:
#set( $MyName = "John Smith" )If the value of a variable is not defined in the template, RubyMine will ask you to specify it when the template is applied.
Thanks for your feedback!