Dev Containers
A Development Container (Dev Container) is a Docker container configured to be used as a fully functional development environment.
RubyMine lets you use such containers to edit, build, and run your projects. If you need to see a specification for a development container, refer to Dev Container properties.
RubyMine also supports multiple container connections that can be configured with Docker Compose properties.
There are several scenarios that you can use to start a Dev Container:
From an opened project inside the IDE.
From the IDE Welcome screen.
From a remote server.
Start Dev Container inside the IDE
You can open a project that has the .devcontainer folder with the devcontainer.json file in the root inside RubyMine and start a Dev Container from the IDE by using Docker.
Create Dev Container from the IDE
Open your project with the
devcontainer.jsonfile inside the IDE.Open the
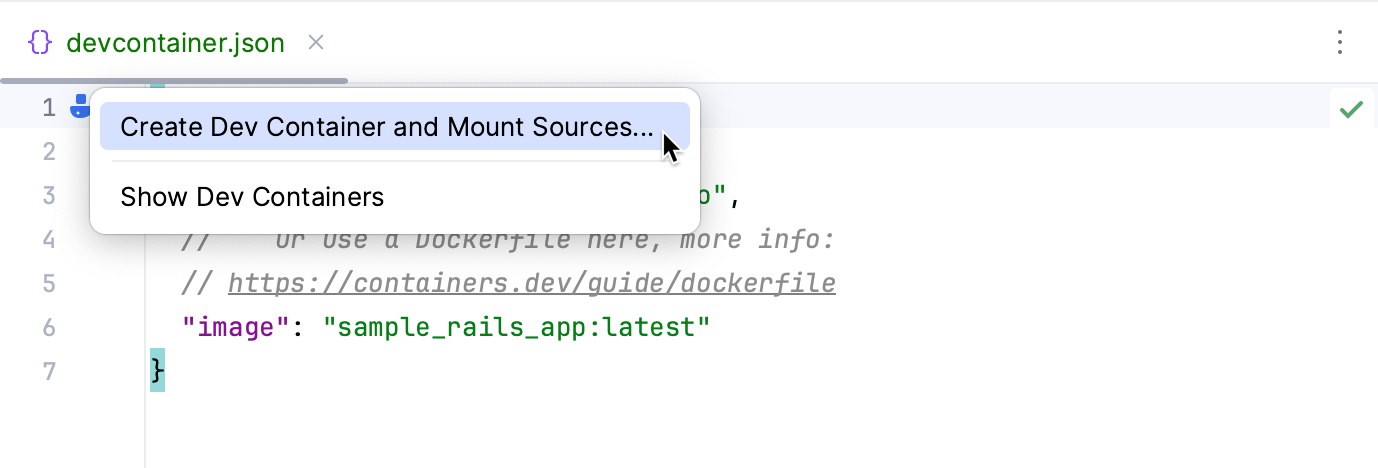
devcontainer.jsonfile in the editor.In the left gutter, click
, select Create Dev Container and Mount Sources and select the backend IDE with which you want to work inside the container.

The following options are also available in the context menu:
Create Dev Container and Clone Sources: use this option to clone your project into a Dev Container.
Show Dev Containers: use this option to check a list of existing dev containers. You can see which ones are active and running, stop them, or restart them.

Manage Dev Container Backends: use this option to remove the unnecessary ones from Docker shared volumes.

Add Modified Settings from IDE: use this option to add your IDE settings to the IDE backend that is running inside your Dev Container. The settings are added to the
devcontainer.jsonfile as acustomizationssection. It might be useful if you want to synchronize both settings or choose some other customization option.
You can also add the non-default application-level settings, modify the added settings options, sort them, or add properties from the JSON schema. Press Alt+Enter in the
settingssection of thedevcontainer.jsonfile and select the appropriate option.
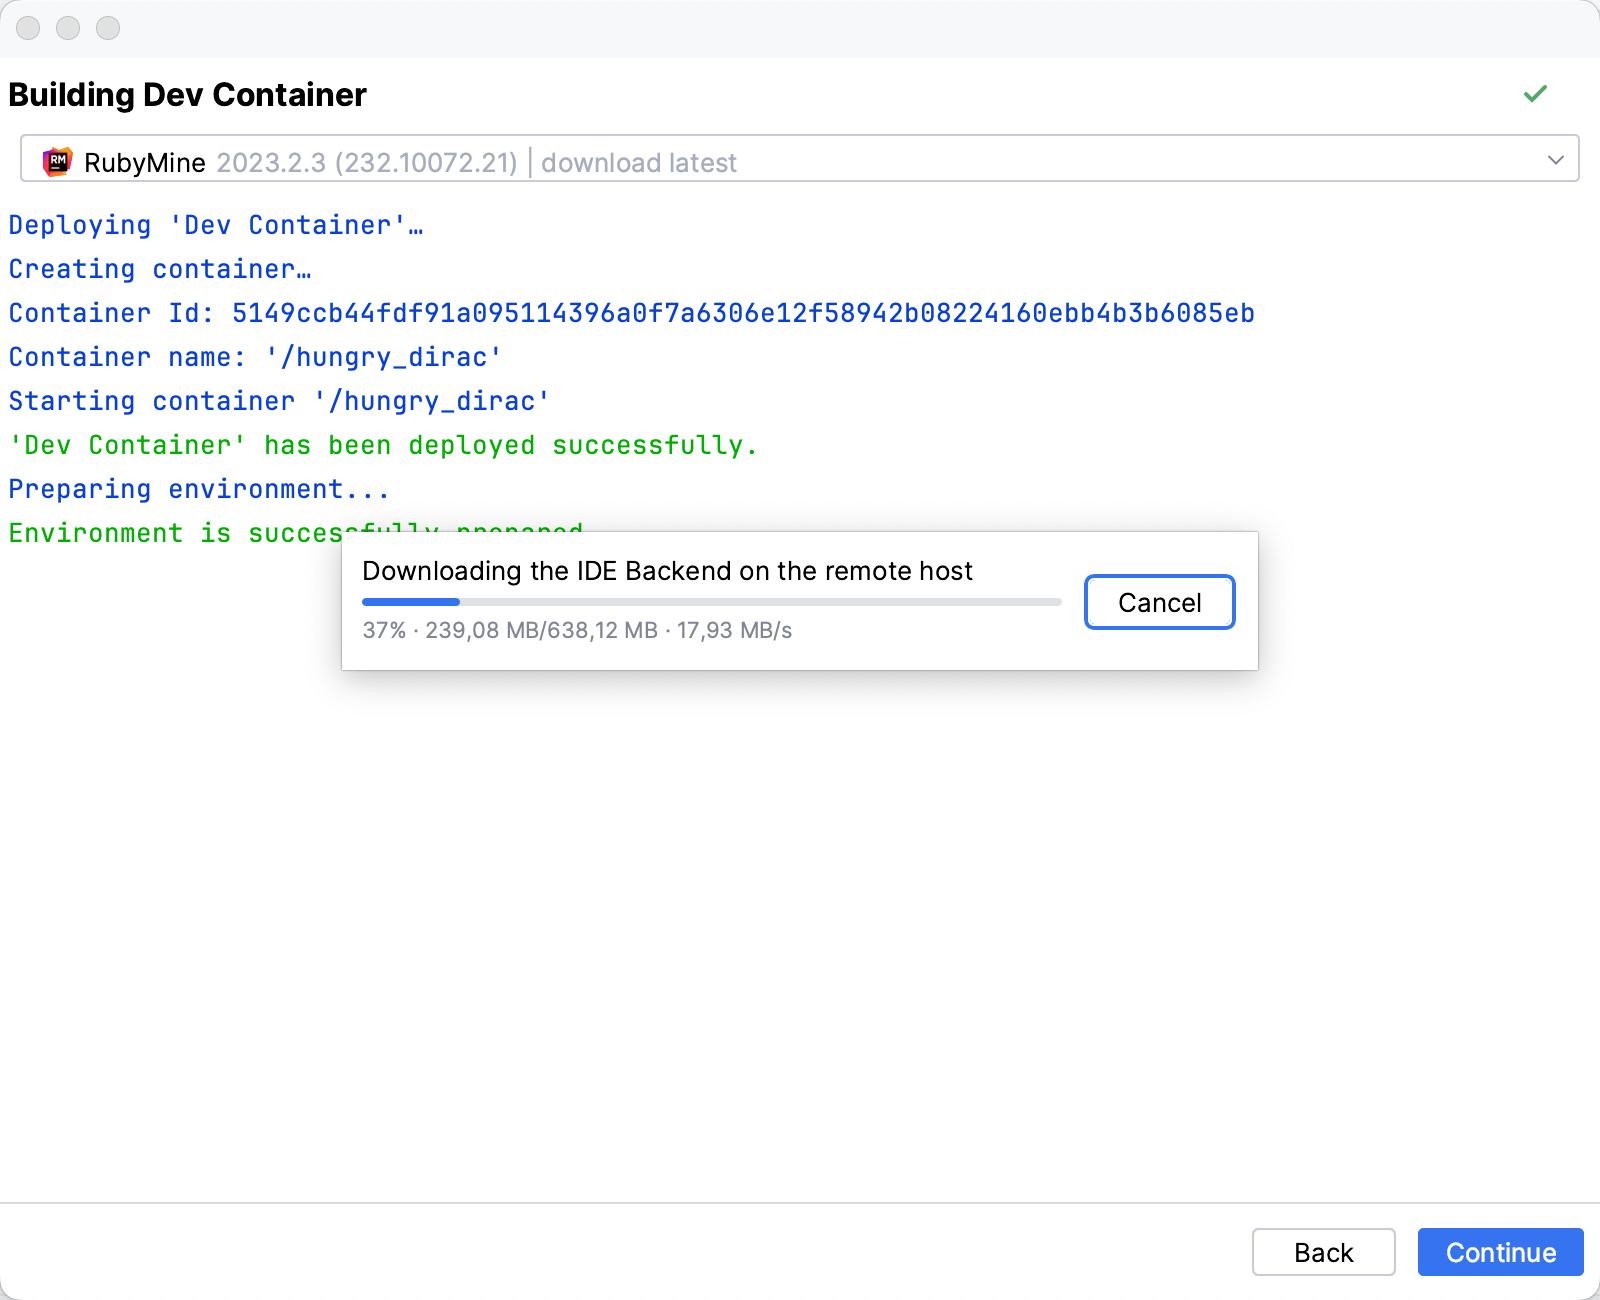
The process of creating a Dev Container is displayed in the Services tool window.
After the Dev Container is created, click Connect.

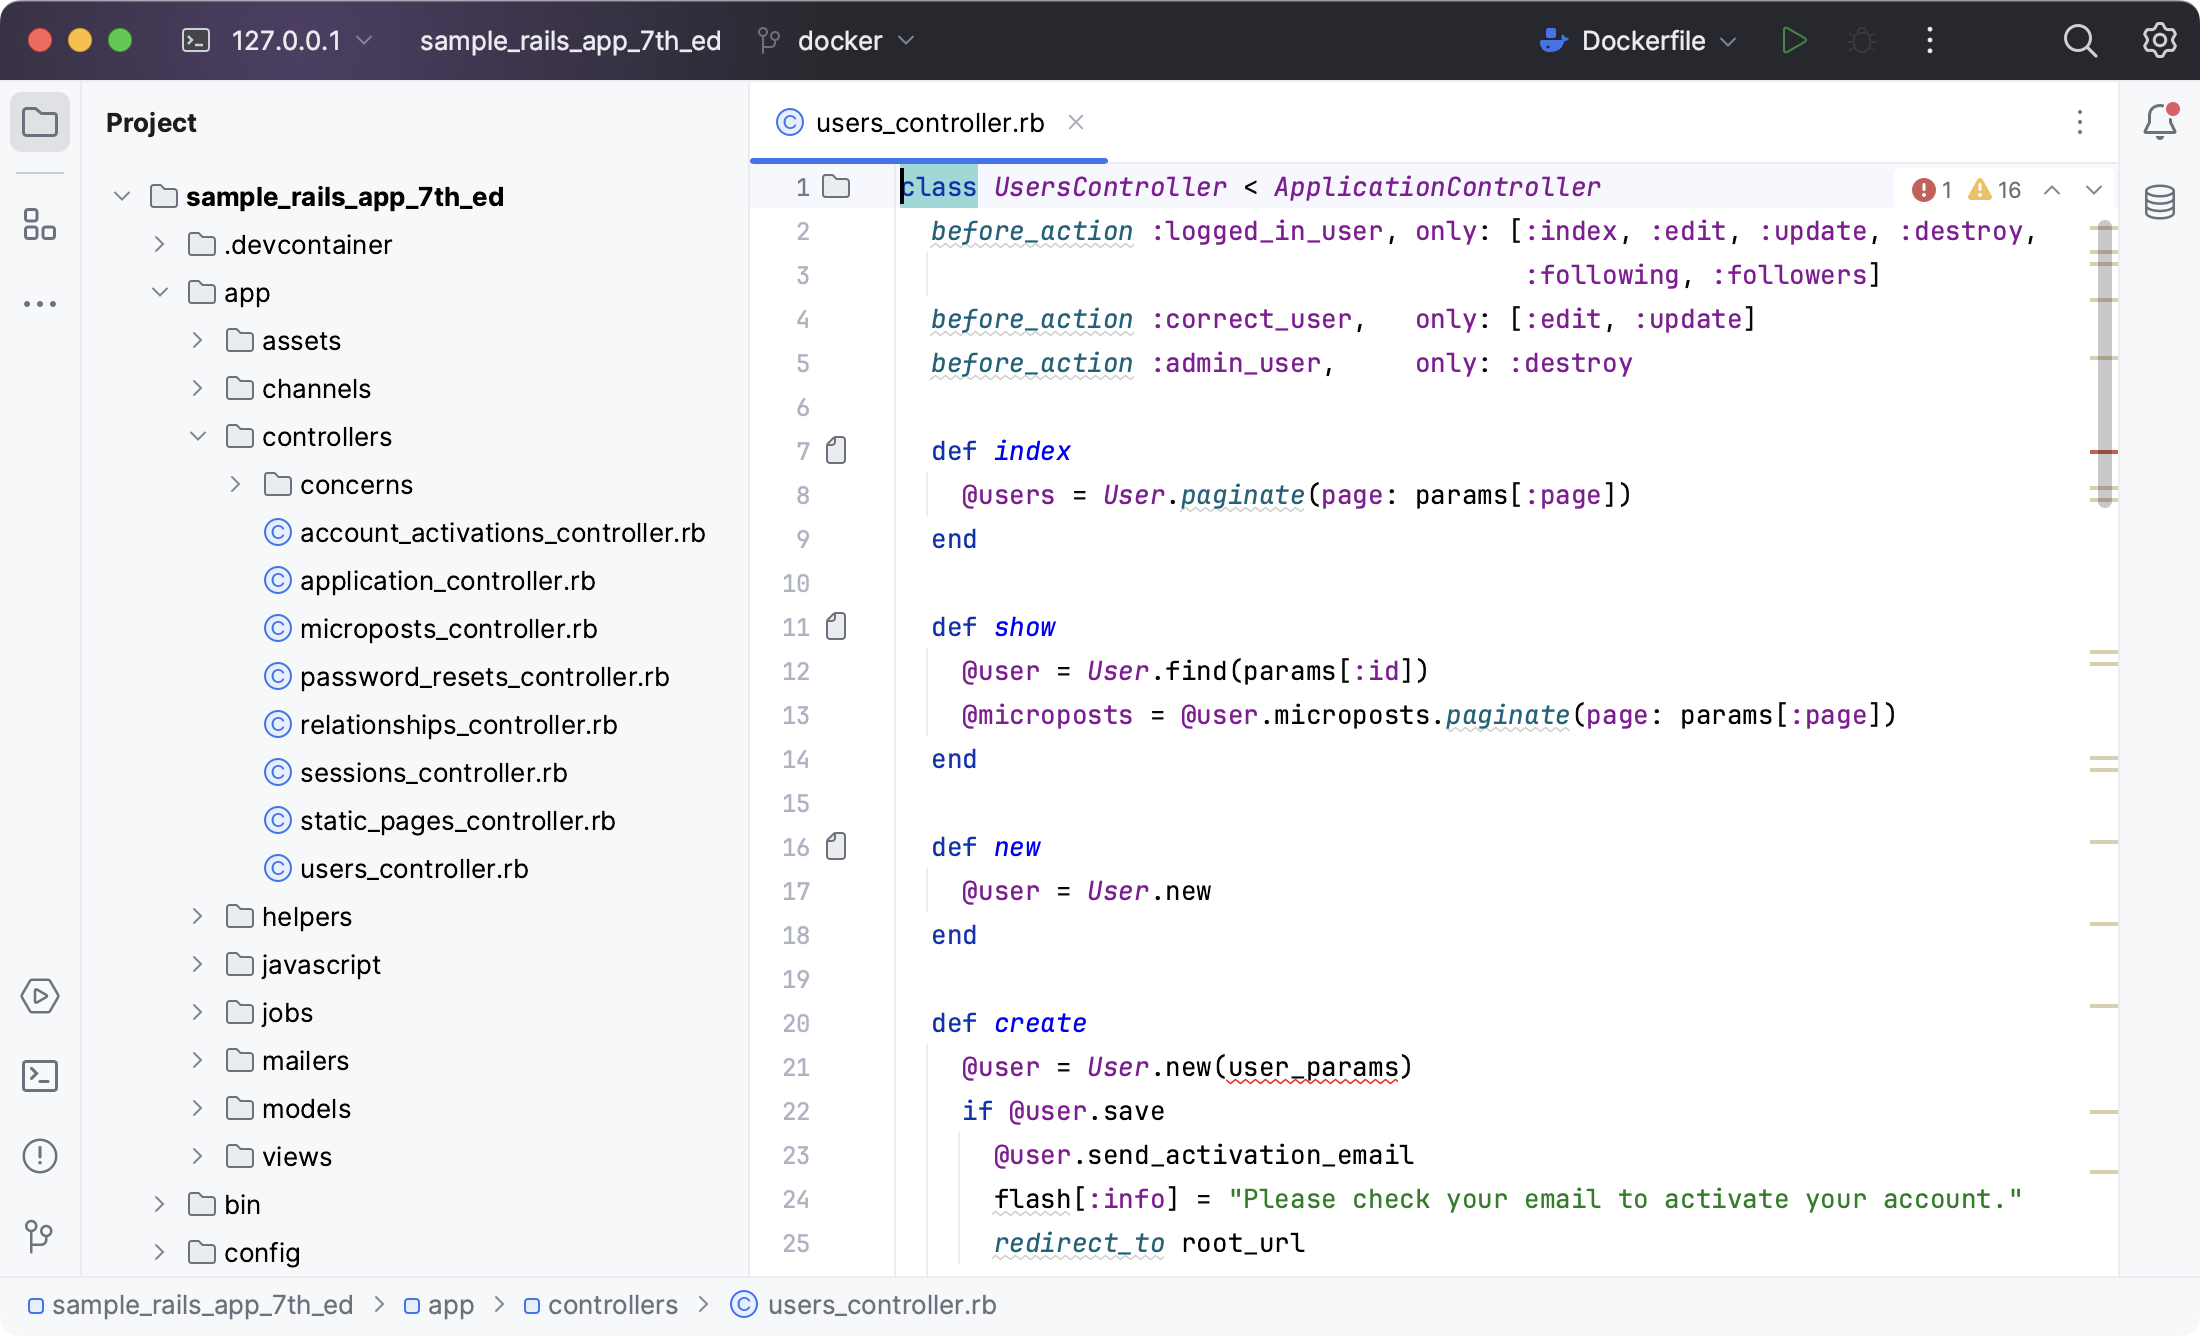
The container is created and the project is opened in JetBrains Client.

Start a Dev Container from scratch
You can create a new Dev Container using a devcontainer.json file and the configuration options it offers.
The easiest way to start is to pull an image (a predefined template) for your devcontainer.json file from a container registry (the collection of repositories with the predefined images).
Create a Dev Container
Open a project in RubyMine.
In the Project view, right-click the name of your project and select New | Dev Container Config.
In the dialog that opens, select the necessary template in the Dev Container Template field.

Click OK.
RubyMine generates the .devcontainer directory with the devcontainer.json file that contains the container description. You can customize the configuration as needed.

In the left gutter, click
and select Create Dev Container and Mount Sources to build your Dev Container.
Start Dev Container from the IDE welcome screen
You can start a Dev Container from the IDE welcome screen to clone a project right into a Dev Container, or to open one from your local file system.
Start Dev Container from Welcome Screen
On the IDE Welcome Screen, click the Remote Development node.
From the available options on the right, click Create Dev Container.
On the page that opens, the connection to the local Docker is found automatically. If there is no connection, check whether your local Docker is active.
Specify the name of the backend IDE that will be used for the Dev Container.
By default, it is the IDE that you currently use. If you want to change the selected IDE, click
and select the one you need from the list.
Select which project you want to use either from the VCS or from the local file system and fill out the necessary fields.
Path to devcontainer.json: specify a path to the project's devcontainer.json file that you want to open from your local machine.
Git Repository: In this field, specify the path to your project on GitHub.
The project to which you are referring should have a
devcontainer.jsonfile that contains the Dev Container configuration.Detection for devcontainer.json file: select whether you want to specify the path to a
devcontainer.jsonfile manually or let it be detected automatically.
Click Build Container and Continue.
After the Dev Container is built, the project is opened with JetBrains Client.
Start Dev Container for a remote project
You can start a Dev Container on the remote machine for the project with the .json file located in the remote file system or for the project cloned from a Git repository.
Start Dev Container on a remote server
Launch RubyMine.
From the welcome screen, click Remote Development, and from the options on the right, click Create Dev Containers.
On the page that opens, click
to connect to Docker on a remote machine by SSH.

If your remote server is not configured, click
and on the page that opens add the necessary options.

Select the IDE backend that you want to use for the project.
If you want to change the selected IDE, click
and select the one you need from the list.
Select a project for which you want to build a Dev Container by clicking the appropriate tab:
This option lets you choose a project residing on your remote machine.
Specify a path to the
.jsonfile of the project.
This option lets you specify a project residing on GitHub. Specify the following options:
Git Repository: specify the path to your project on GitHub.
Automatic: select this option if you want RubyMine to detect the
.jsonfile automatically.Specify Path: select this option if you prefer to specify the path to the
.jsonfile manually.

Click Build Container and Continue.
After the Dev Container is built, the project opens in the JetBrains Client.
At this point, you can work with your project further.
Recent projects
When you close your project, you can choose how to handle the Dev Container. You can close the project and keep the Dev Container active, or you can close the project and also stop running the Dev Container.
All the recent Dev Containers are displayed on the welcome screen under the Dev Containers node for local projects or under the remote server name. You can rebuild, stop, and delete recent Dev Containers right from the welcome screen of RubyMine. You can also collect logs for the selected Dev Container.