WSL
WSL (WSL 2) – Windows Subsystem for Linux – is a compatibility layer for running Linux binary executables natively on Windows 10 and later. Currently, it supports several Linux distributions, such as Ubuntu, OpenSUSE, and SLES.
Configure WSL
Download and install a WSL distribution (for instance, Ubuntu) from Microsoft Store.
For this step, be sure to use at least Windows 10 or later with the latest “Fall Creators Update” (minimum version 1709, build 16299.15). See the official guide Install the Windows Subsystem for Linux for instructions.
To work with WSL 2, your Windows version should be 10 build 18917 or later. Follow these instructions to switch the distributive.
Run the Linux distribution.
Upon the first launch, the system may prompt you to enable the Windows optional feature. In this case, you need to do the following:
Open Windows PowerShell as Administrator and run
Enable-WindowsOptionalFeature -Online -FeatureName Microsoft-Windows-Subsystem-LinuxRestart your computer.
(Optional) If your Linux distribution doesn't come with
rsync, you need to install it, for example:apt-get install rsyncyum install rsync
Configure WSL as a remote interpreter
RubyMine allows you to use the remote Ruby interpreter installed on Windows Subsystem for Linux (WSL and WSL 2) for your local projects.
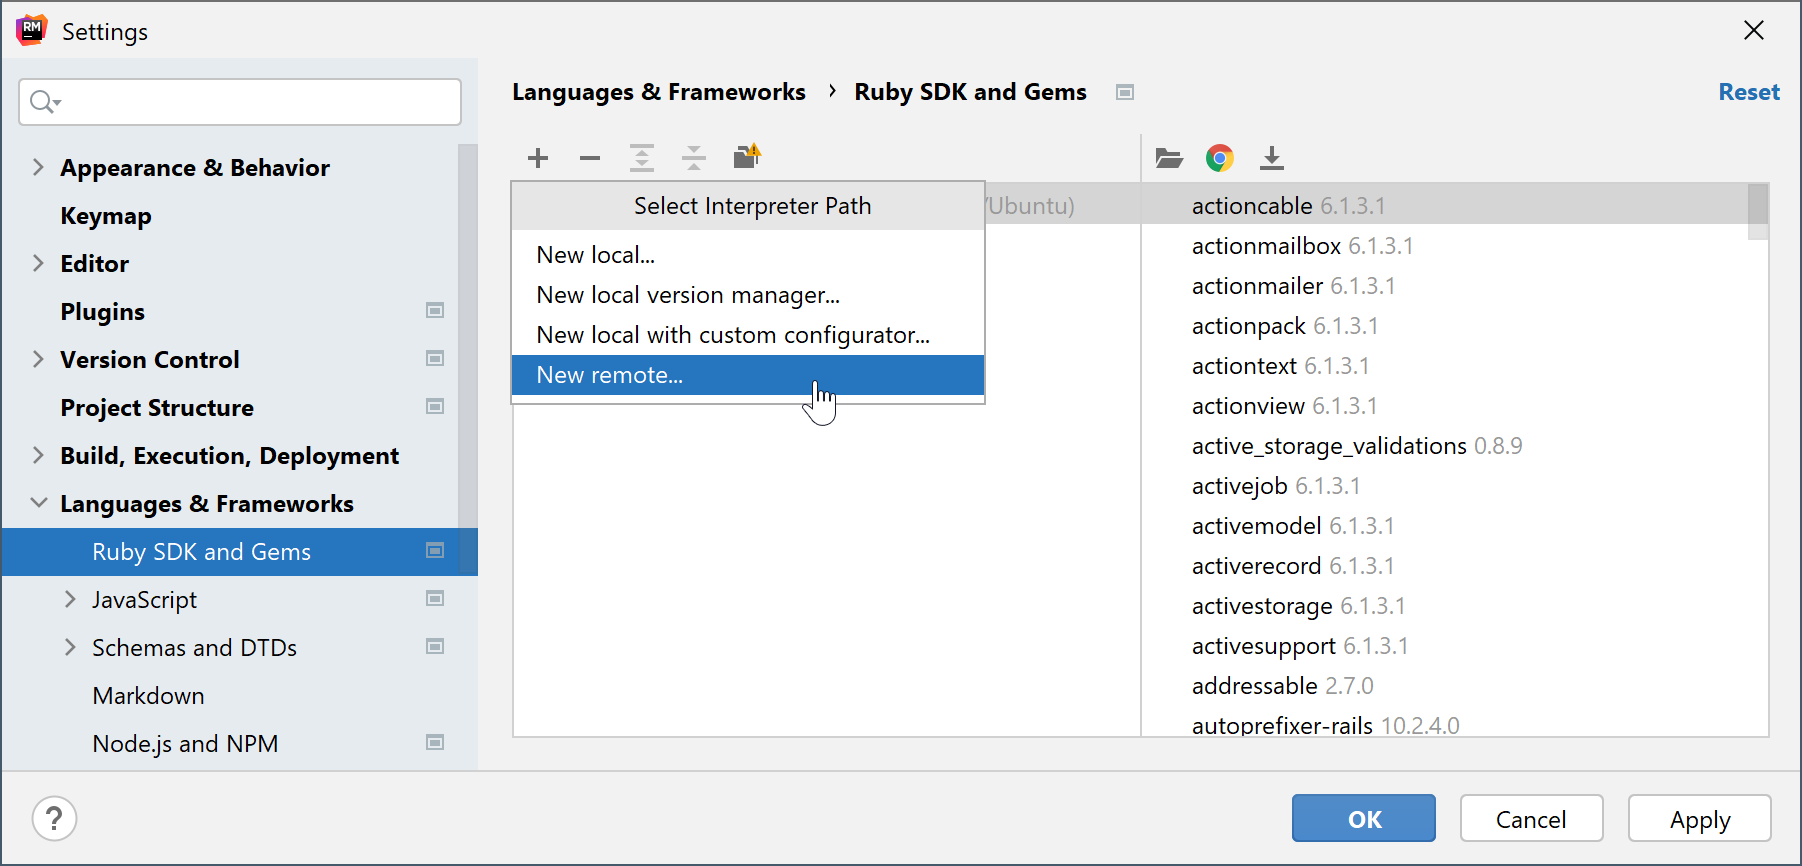
Open the Settings dialog Ctrl+Alt+S, go to the Language & Frameworks | Ruby SDK and Gems page.
Click
on the toolbar and select New remote in the drop-down:
In the invoked dialog, select WSL:
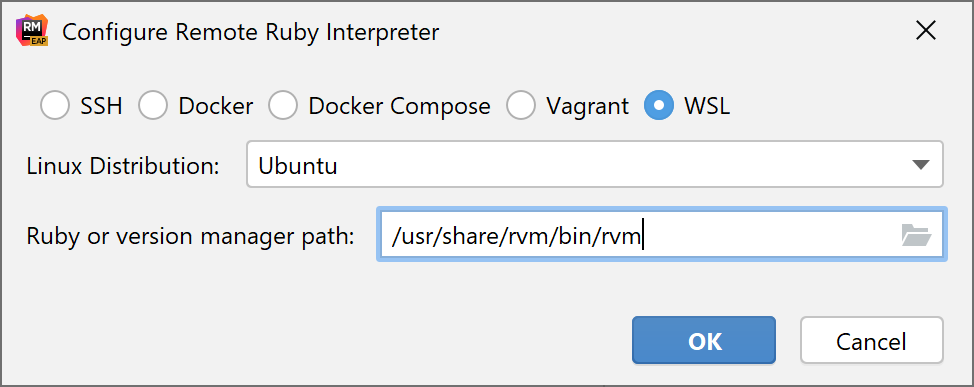
Choose the desired Linux distribution.
In Ruby or version manager path, specify the path to the Ruby interpreter or the version manager executable. Click OK.
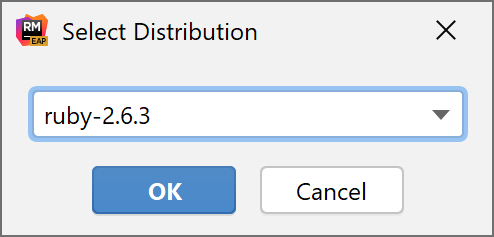
(Optional) If you specified a path to the version manager executable in the previous dialog, RubyMine suggests selecting the Ruby interpreter used to run a remote application:
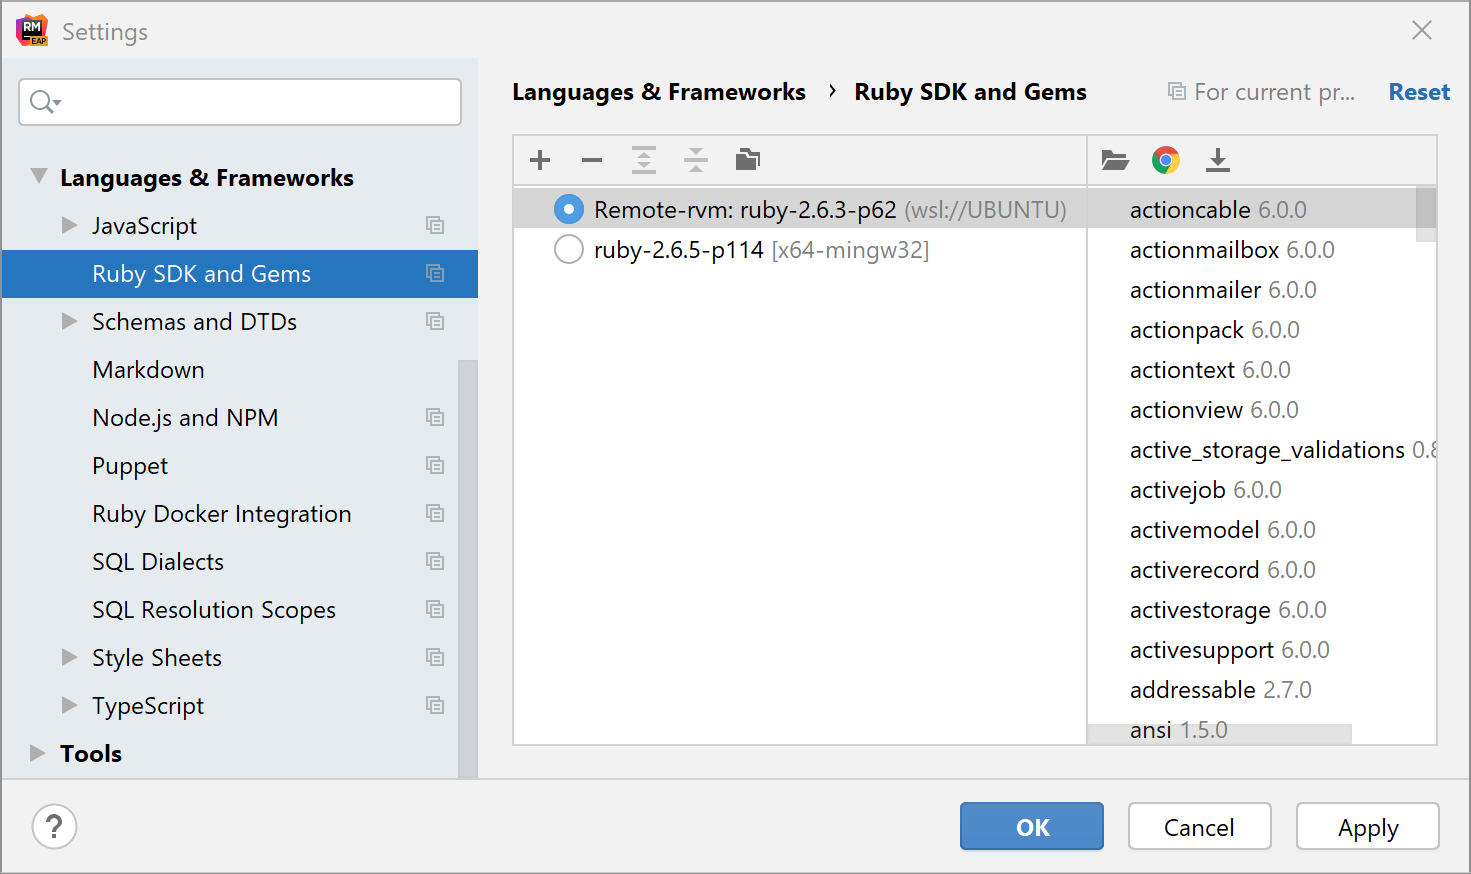
Select the added SDK in the Ruby SDK and Gems page:
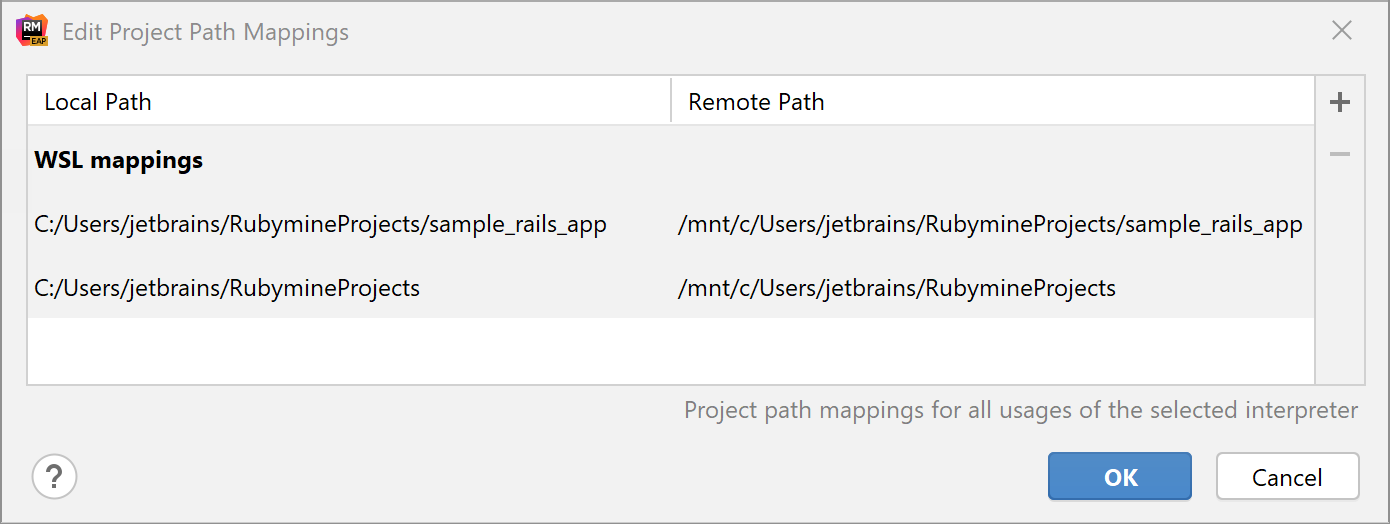
(Optional) If you want to use the added SDK to debug a remote process, specify mappings between files of a local and remote project. To do this, click the Edit Path Mappings
button. In the Edit Project Path Mappings dialog, specify the local and remote project root paths:
Custom WSL distributions
RubyMine allows you to use custom Linux distributions run on WSL. This can be done by editing the wsl.distributions.xml configuration file created by RubyMine automatically after detecting WSL.
Add a custom distribution
Open the %APPDATA%\JetBrains\<product><version>\config\options\wsl.distributions.xml file.
Add the
descriptorelement and provide settings to access your custom distribution. Note that theidvalue should be unique. For example:<!-- ... --> <descriptor> <id>DEBIAN_CUSTOM</id> <microsoft-id>Debian</microsoft-id> <executable-path>debian-custom.exe</executable-path> <presentable-name>Debian GNU/Linux - Custom</presentable-name> </descriptor> <!-- ... -->You can specify
executable-pathin two ways:Specify the executable name of a custom distribution. In this case, RubyMine will find a custom distribution in %LOCALAPPDATA%\Microsoft\WindowsApps.
Specify the absolute path to the custom distribution executable.
Restart RubyMine and add your custom distribution as a remote interpreter.
Firewall configuration
You need to perform the following steps to ensure that the building of a project works properly.
Configure firewall settings
Run the Windows PowerShell as administrator.

Execute the following command to allow connections using WSL:
New-NetFirewallRule -DisplayName "WSL" -Direction Inbound -InterfaceAlias "vEthernet (WSL)" -Action AllowThen execute the command to renew the firewall rules:
Get-NetFirewallProfile -Name Public | Get-NetFirewallRule | where DisplayName -ILike "IntelliJ IDEA*" | Disable-NetFirewallRuleNow start the debugger session. When the Windows Firewall popup appears, select the Public networks checkbox.
