JSON
The JSON format is commonly used for storing data and for configuration files. RubyMine helps you work with JSON files — it checks their syntax and formatting. In popular types of configuration files, RubyMine provides code completion, thanks to the JSON Schema, which is a special format for describing the structure and contents of such files. You can also use custom JSON Schemas to enable code completion in your JSON files and validate them.
Enabling JSON5
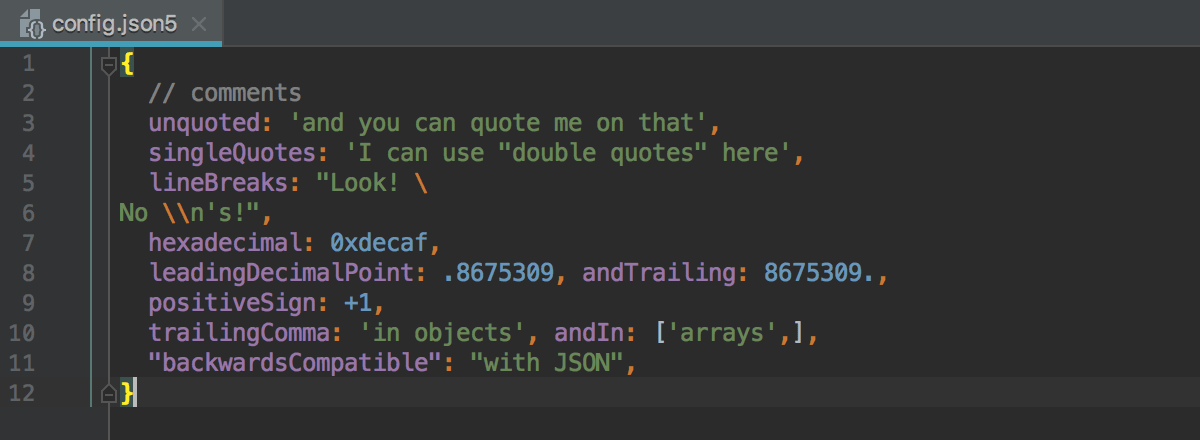
RubyMine recognizes a number of most popular JSON standards including JSON5. RubyMine by default treats files with the json5 extension as JSON5 files and supports this new syntax in them.

Extend the JSON5 syntax to all JSON files
In the Settings dialog (Ctrl+Alt+S) , go to .
In the Recognized File Types list, select JSON5.
In the File Name Patterns area, click
and type
*.jsonin the Add Wildcard dialog that opens.
Using schemas from JSON Schema Store
RubyMine can automatically download and use schemas from the JSON Schema Store that hosts schema files for many popular configuration files. As soon as you open a file whose name is associated with one of the available schemas (for example, tslint.json), RubyMine downloads and uses this schema for it. The name of the applied schema is shown on the Status bar.

If your configuration file has a custom name, or you are working with a scratch file, click No JSON schema on the Status bar and select the required schema from the list or click New Schema Mapping to open the JSON Schema Mappings page and configure a new custom schema.

By default, automatic download of Schemas from the JSON Schema Store is enabled. If it was turned off, you can enable it again at any time.
Enable automatic download schemas from the JSON Schema Store
In the Settings dialog (Ctrl+Alt+S) , go to .
Select the Allow downloading JSON schemas from remote sources and the Use schemastore.org JSON Schema catalog checkboxes.
RubyMine comes bundled with a number of popular schemas. Although these schemas are automatically updated on a regular basis they still may happen to be outdated.
Use the up-to-date versions of bundled schemas
In the Settings dialog (Ctrl+Alt+S) , go to .
Select the Always download the most recent version of schemas checkbox.
Using custom JSON schemas
Besides schemas from JSON Schema Store, RubyMine lets you configure and use custom schemas from other storages. You can download the required schema and store it under the project root or specify the URL of the resource so RubyMine can download the schema automatically.
Configure a custom JSON schema
In the Settings dialog (Ctrl+Alt+S) , go to .
In the central pane, that shows all your previously configured custom Schemas, click
on the toolbar.
Specify the name of the Schema and the Schema Specification version with which your Schema complies. In the Schema file or URL field, specify the location of a previously downloaded Schema file or type the URL at which the required schema is available.
Create a list of files or folders that you want to be validated against this Schema. Based on the list, RubyMine internally detects the files to be validated.
The list may contain the names of specific files, the names of entire directories, and filename patterns. Use the following rules to specify filename patterns:
role-*matches all files with the names that start withrole-.role-*/**/*.yamlmatches all .yaml files with names that containrole,/, and/.role-**.yamlmatches all .yaml files with names that start withrole-.
To add an item to the list, click
and specify the path to a file or folder or type a file pattern.
Enable automatic download of JSON schemas from remote sources
In the Settings dialog (Ctrl+Alt+S) , go to .
Select the Allow downloading JSON schemas from remote sources.
When the checkbox is cleared, any network activity around JSON Schemas, including schemas from the JSON Schema Store, is disabled.
Handling conflicts among scopes of schemas
A conflict arises when a file, or a folder, or a pattern belongs to the scopes of two or more schemas. RubyMine analyzes scopes in two modes:
Static Analysis detects conflicts in scopes of custom schemas. If a conflict is detected, RubyMine displays a warning in the Schema Details pane. To view the overlapping scopes, click the Show details link. RubyMine shows a popup with a message where the conflicting scopes and schemas are listed:

Dynamic Analysis detects conflicts in scopes of both system and custom schemas. This type of analysis is started when you open a file that belongs to a certain scope. If a conflict is detected, RubyMine displays a warning at the top of the editor tab:

Click the link to open the JSON Schema Mappings page and edit the scope of the conflicting custom schema. Note that you cannot edit the scope of system schemas.
Using HTML descriptions in JSON schema
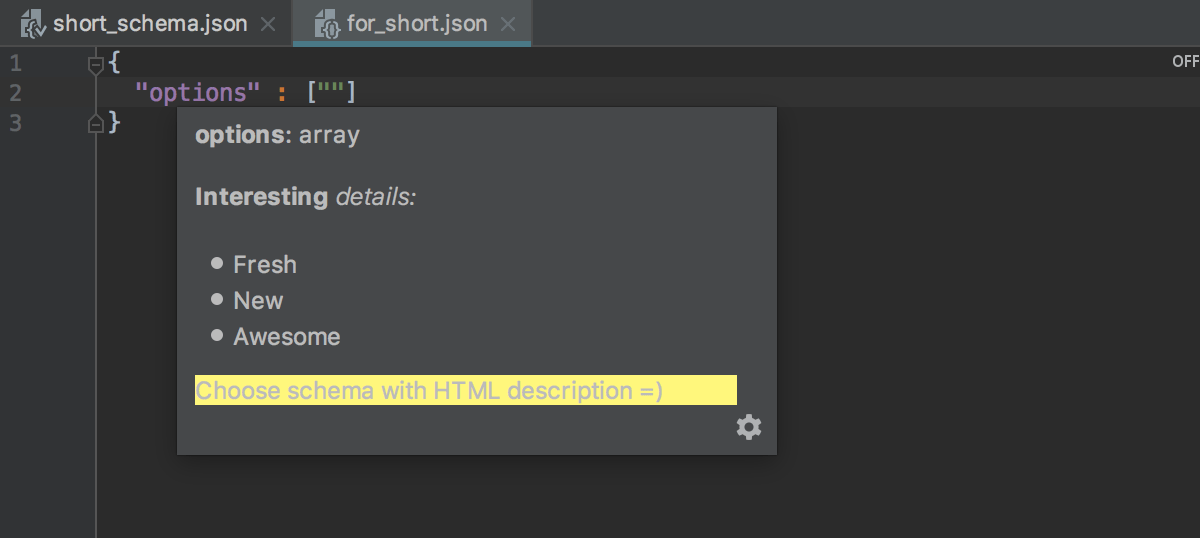
By default, RubyMine escapes HTML characters when displaying documentation for JSON schema definitions in documentation popups. To get nice looking documentation with rich HTML markup, store the HTML description in the x-intellij-html-description extension property instead of description.


Configuring syntax highlighting
You can configure JSON-aware syntax highlighting according to your preferences and habits.
In the Settings dialog (Ctrl+Alt+S) , go to .
Select the color scheme, accept the highlighting settings inherited from the defaults or customize them as described in Colors and fonts.