Solve Build Problems
Whenever you see a failed test or another problem in Build Results, you can assign it to any member of your team for further investigation. This guide explains how to:
Assign and resolve investigations.
Mute and unmute failed tests and build problems.
Browse the history of investigations.
You can perform these actions from any place the problem or test is visible in the TeamCity UI. For example, if you expand the failed build in the list of builds:

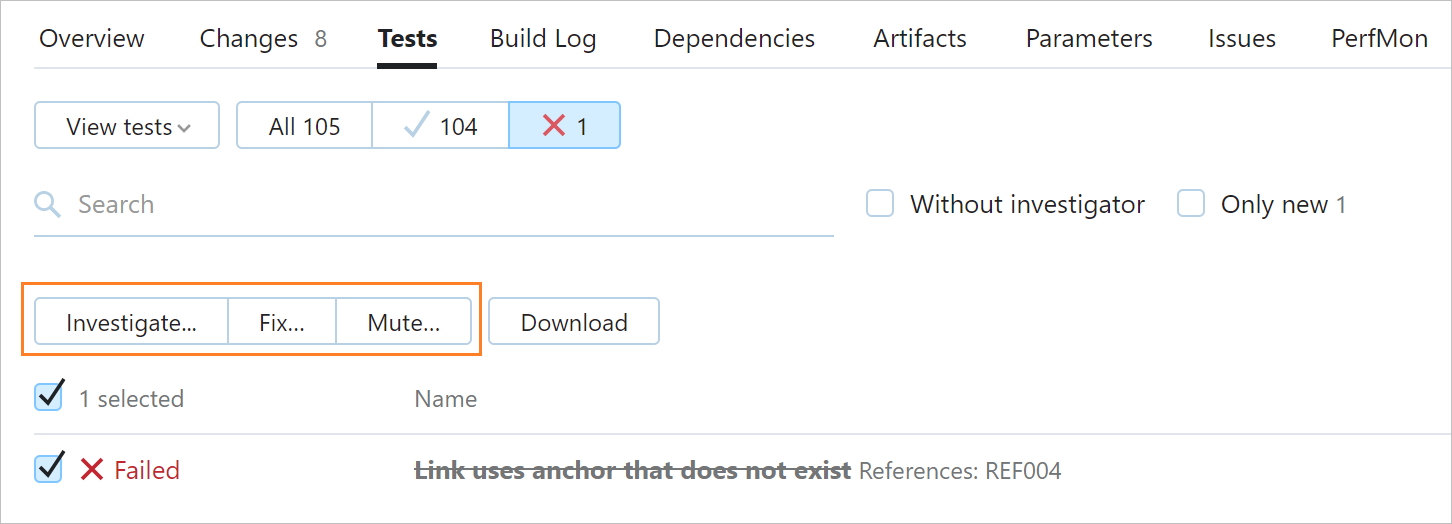
Or, in the Overview and Tests tabs of Build Results. Besides, the Tests tab allows you to filter and select multiple tests, so you can apply a certain action to the whole selection.

An investigator will be able to explore the build results, view the related stacktrace in the build Overview, and identify the cause of the problem.
tip
If you want to try this on your server, make sure there is at least one failed build available. You can use the sample project from the pipeline tutorial.
Let's begin with opening Build Results of our failed build. Find the failure on the Overview tab and open its context menu, as shown on the above screenshot. Select either Assign investigation or Mute problem/test.
The investigation/mute menu is equal for both tests (from your source project) and build problems (other failures, mostly related to the build environment). It consists of four parts:
Project scope: select in what projects this problem should be investigated.
Investigation options: select an investigator from users of your TeamCity instance (including yourself). You can choose if this failure should be resolved automatically (that is, as soon as it's no longer reproduced during any of the next builds), or wait until the responsible developer solves its cause and marks it as fixed in this very menu.
This is also where you can remove the existing investigation without fixing — by selecting No investigation.
Mute options: control how to mute this failure. A muted problem or test has a special mark in the build results and does not affect the build status. This allows temporarily taking out of the picture any complex problem that isn't critical to your builds.
To remove the "mute" status from a failure, open this menu and choose Not muted.
Comment: leave any hints related to the failure.
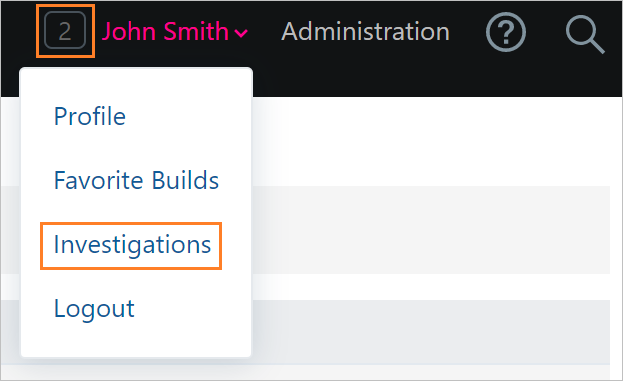
To see all investigations that have been assigned to you, open your user profile menu in the header and select Investigations. If there are any active investigations, you will see their number to the left of your username. In this case, you can simply click it, with no need to open the user menu.

The My Investigations page shows a tree of all your investigations. Here, you can manage any failure manually, or mark them all as fixed.
See how to set up notifications about new investigations, so you can learn about them as soon as possible.
You can see the investigation history of a recurring test or problem anytime. This helps identify who and when changed its status and how it could have affected the build statuses.
To see the investigation history, open the context menu of a failure and select Show investigation history.
Read more about investigating and muting failures in this article.
Thanks for your feedback!