Templates with multiple files
Some programming patterns and frameworks require a set of related files, usually with a very specific structure. For example, for a component, you often need a bunch of files - one for the template, another for logic, and the third one for styles.
In WebStorm, you can create sets of related files by adding child templates to a file template. When you create a file from such a template, it will also create files from child templates.
Create a template with multiple files
In the Settings/Preferences dialog Ctrl+Alt+S, select .
Create the main file template.
On the Files tab, click
and specify the name, file extension, and body of the template.
Select the new template in the list and click
on the toolbar. Specify the name, file extension, and body of the child template.
Example: Template for component files
Suppose you want to create a Header folder with a bunch of component files, for example, Header.js, Header.test.js, and Header.css.
Open the Settings/Preferences dialog Ctrl+Alt+S and go to .
First create a template for a JavaScript component file.
In the Files tab, click
on the toolbar. A new, Unnamed, template is added to the list.
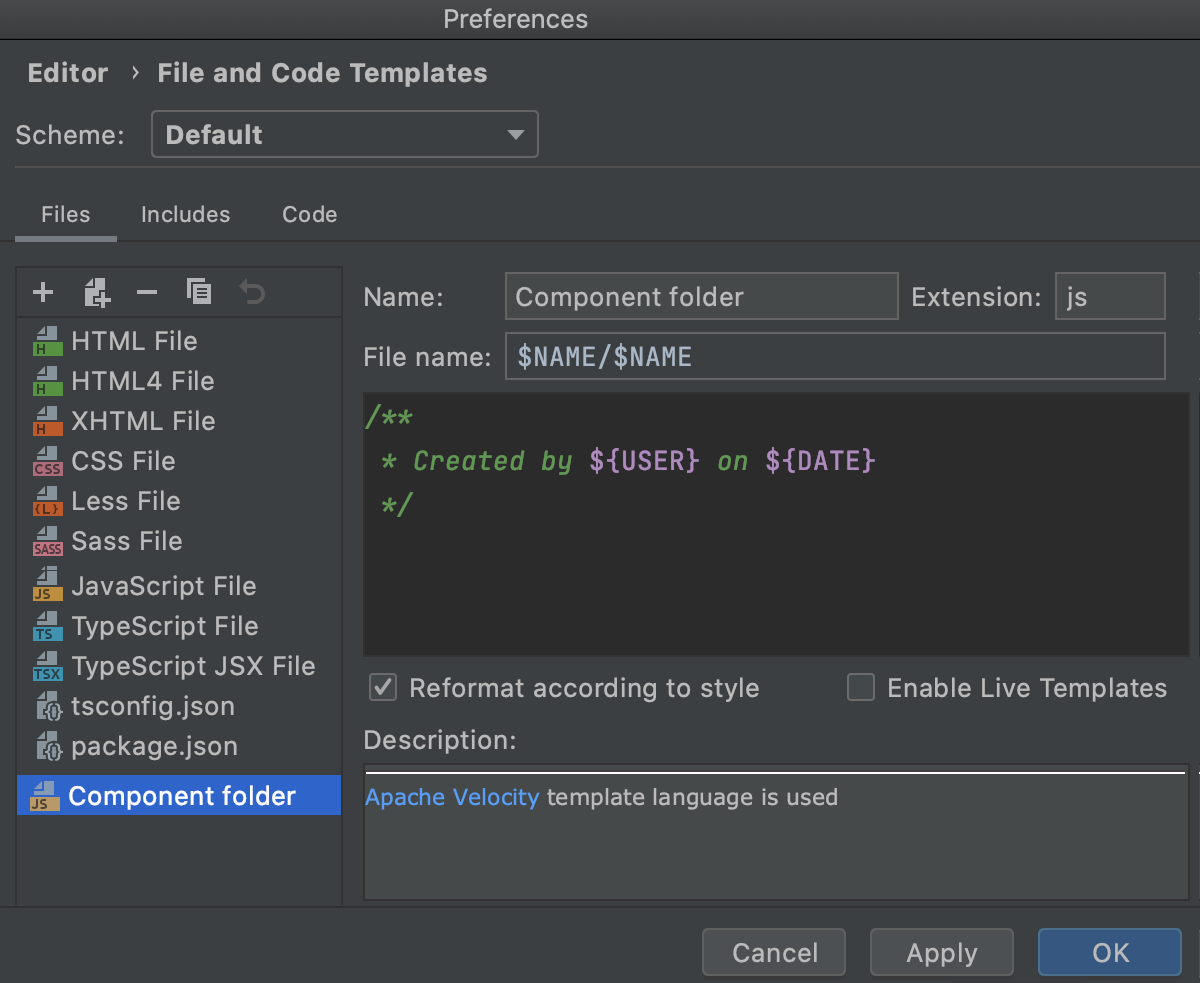
In the right-hand pane, specify the template name, let it be Component folder, and
jsas the file extension.In the File name field, type
$NAME/$NAME.Optionally, add a code template, for example, a timestamp.
/** * Created by ${USER} on ${DATE} */

Create a child template for the related test file.
Select the parent template Component folder and click
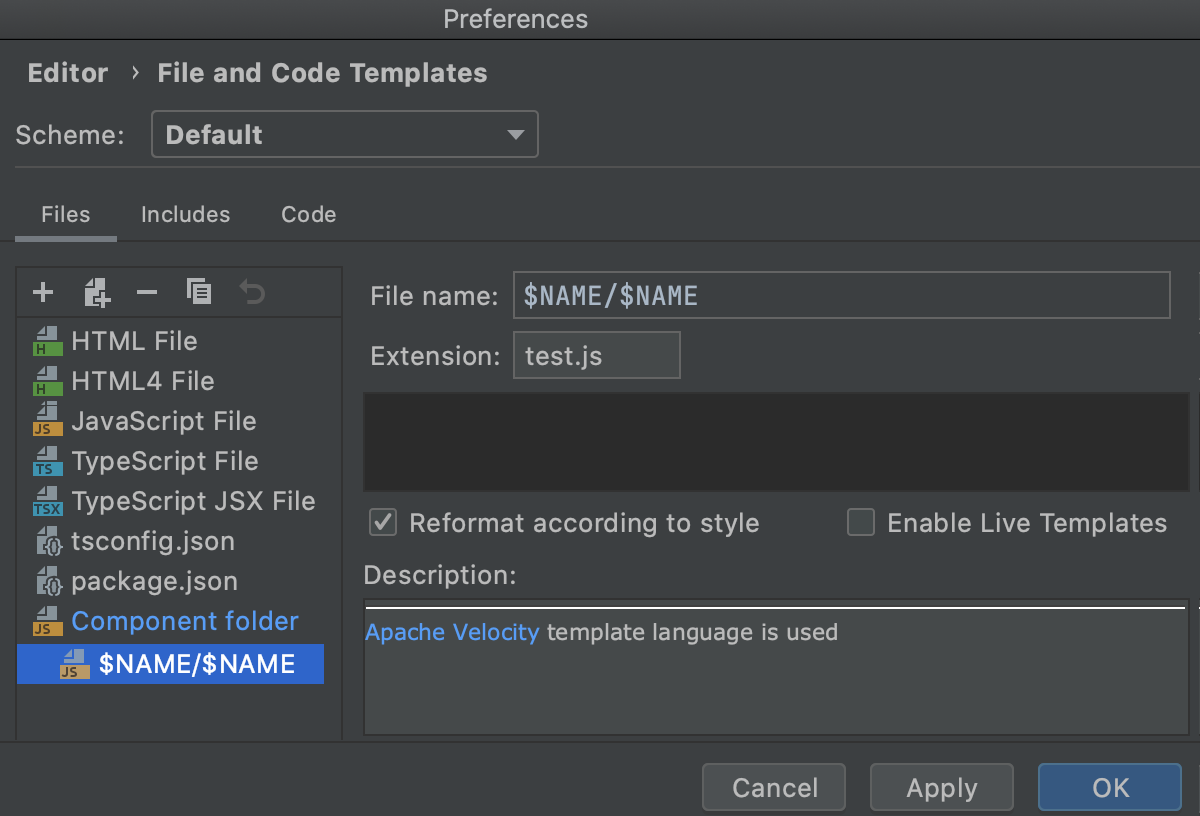
on the toolbar. A child template is added below the Component folder template.
In the right-hand pane, type
$NAME/$NAMEin the File name field and specify thetest.jsextension.

Create a child template for the related Style Sheet.
Select the parent template Component folder and click
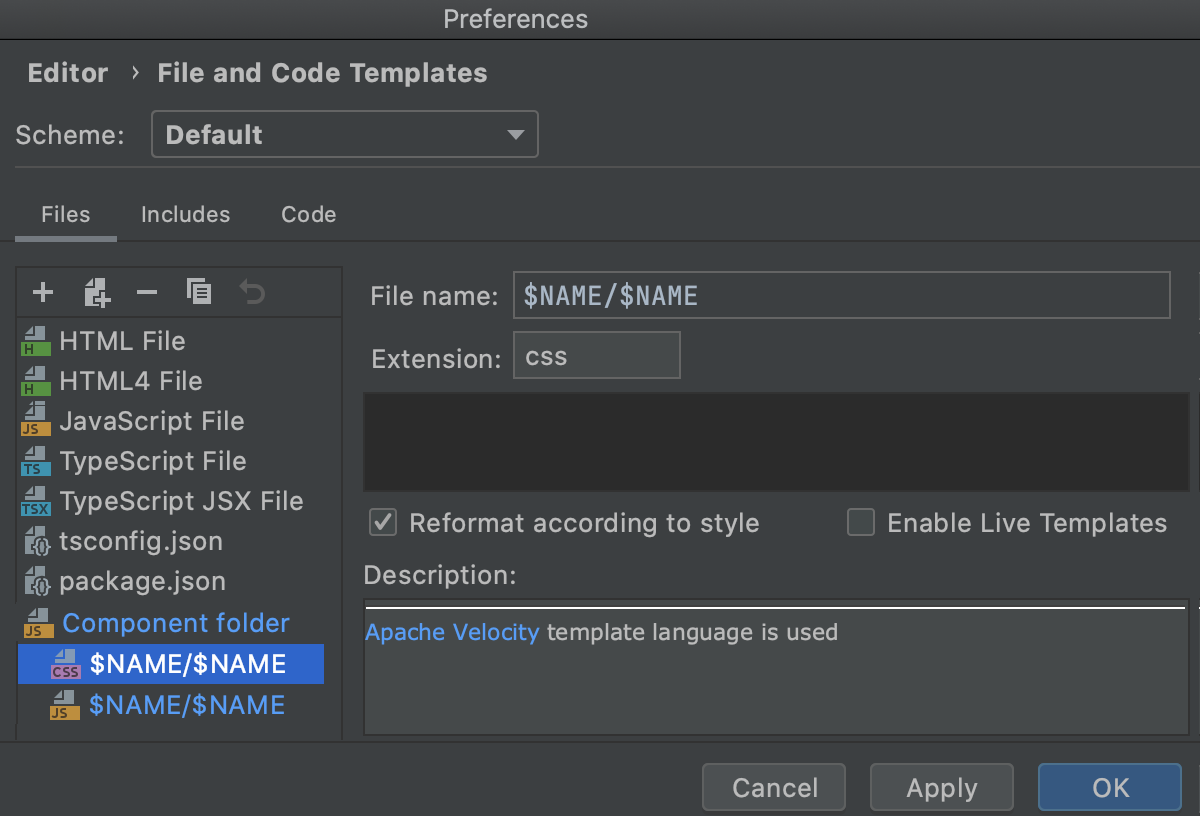
on the toolbar. A child template is added below the Component folder template.
In the right-hand pane, type
$NAME/$NAMEin the File name field and specify thecssextension.

Click OK to save the templates.
Create the component files.
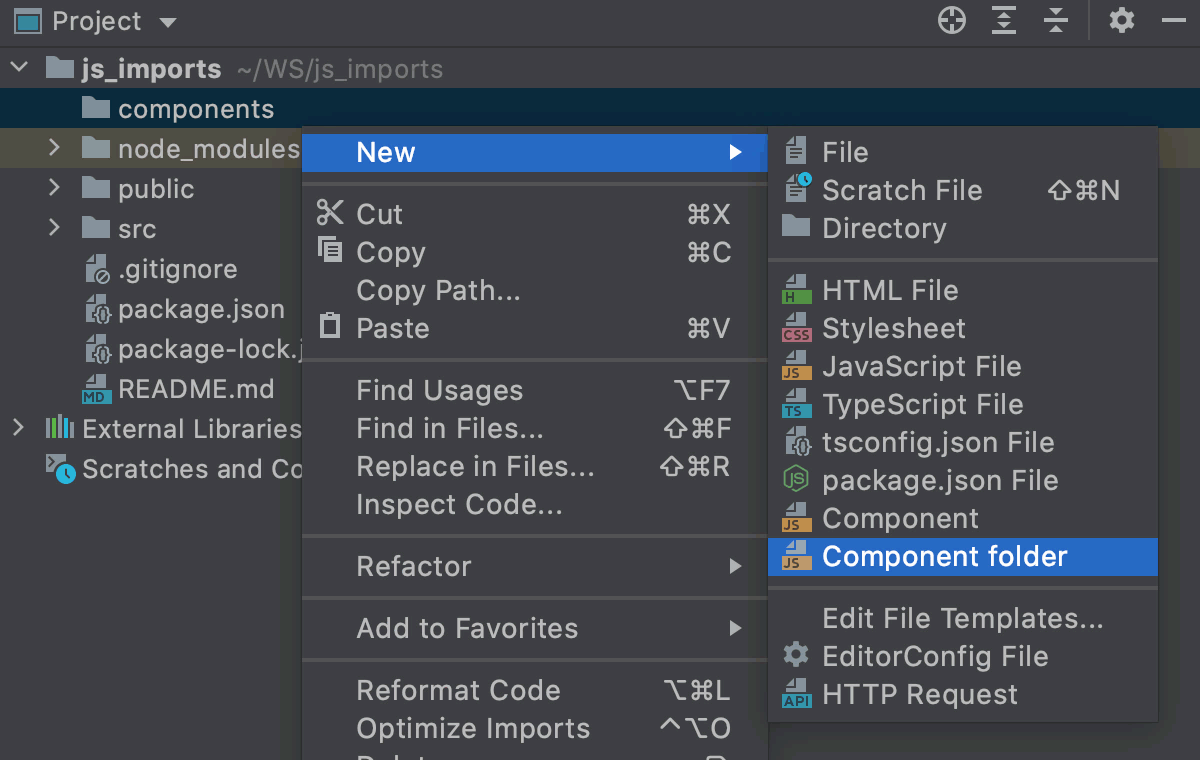
From the context menu of the folder where you want to store the component files, select . In the dialog that opens, specify the name that will be used for the folder and for the component files in it (Header in this example).
