JavaScript postfix templates
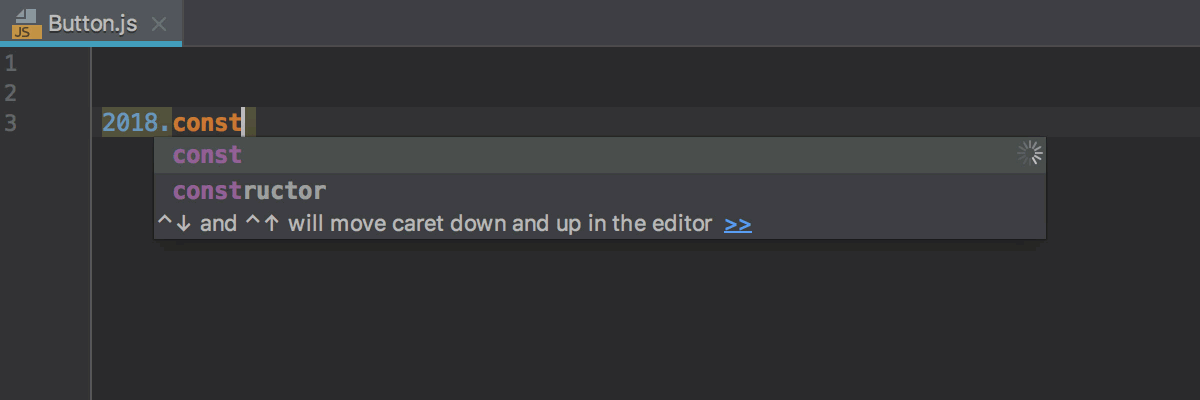
Postfix code completion lets you add template code around an expression you’ve just typed. A template expands when you type its abbreviation (postfix) after a dot and press the expansion key (Tab by default) or when you select the abbreviation in the code completion popup.

WebStorm is shipped with a set of predefined postfix templates and lets you define your own custom ones for JavaScript and TypeScript, see Creating custom templates. Note that JavaScript predefined templates work in TypeScript files as well.
Custom templates can be copied, updated, and removed. For predefined templates you can only change their postfixes, for example to replace a long key with a shorter one.
Press Ctrl+Alt+S to open IDE settings and select Editor | General | Postfix Completion.
On the Postfix Completion page, that opens, select the Enable postfix templates checkbox.
The page shows a list of available postfixes with the corresponding templates next to them. When you select a postfix, the Description pane illustrates the corresponding transformation showing the code snippet before and after the template is expanded.
To activate a postfix, select the checkbox next to it.
Apply a postfix template
Type your expression followed by a dot.
Type the postfix and press the expansion key (by default Tab) or select the postfix from the suggestion list. If necessary, choose an expression to be surrounded or replaced.
The default expansion key for all postfix templates is Tab. See Changing the default expansion key to learn how to choose another one.
Create a custom template
In the Settings/Preferences dialog Ctrl+Alt+S, go to .
On the Postfix Completion page that opens, click
, and choose the language where the template will work. You can choose JavaScript and TypeScript or TypeScript.
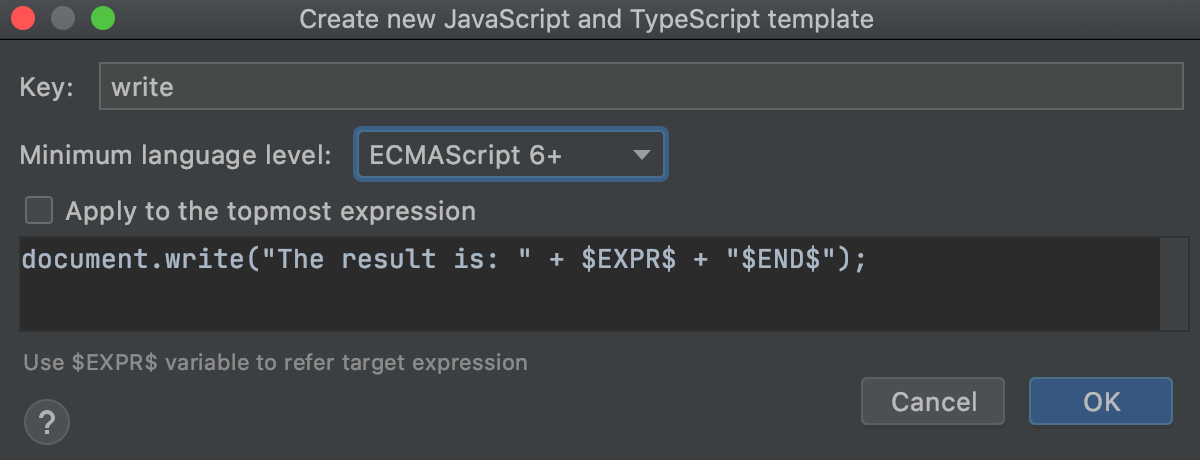
In the Create new template dialog that opens, type the template postfix, choose the language level, type the template code, and add
$EXPR$in the places where you need to insert the initial expression. Add$END$where you want the cursor to be at the end.
By default, if an invoked template is technically applicable to several expressions, WebStorm prompts you to select the one you need.

To have WebStorm automatically transform the topmost applicable expression when the template is invoked, select the Apply to the topmost expression checkbox.
Apply the newly created custom template in the same way as any predefined one: type the template expression followed by a dot and then type the postfix, for example,
sum.write, and then press the expansion key (Tab).
See another example of a custom template in Creating a React component template below.
You can also create a new template that slightly differs from an existing one, for example, in its language context or the final position of the cursor. WebStorm lets you copy the original template and make the necessary changes in that copy.
Create a new custom template from an existing one
In the Settings/Preferences dialog Ctrl+Alt+S, go to .
On the Postfix Completion page that opens, select the custom template from which you want to create a new one and click
on the toolbar.
In the Edit template dialog that opens, edit the template as necessary and type a new postfix.
Change the default expansion key
In the Settings/Preferences dialog Ctrl+Alt+S, go to , and choose a new key from the Expand templates with list.
Disable postfix completion
To suppress expanding all the configured postfix templates, clear the Enable postfix templates checkbox.
To suppress expanding a specific template, clear the checkbox next to its postfix.
Example: Creating a React component template
Below is an example of a template that will expand into a class for a new React component.
Create a new React component template
In the Settings/Preferences dialog Ctrl+Alt+S, go to .
On the Postfix Completion page that opens, click
, and choose JavaScript. The Create new template dialog opens.
In the Key field, type the
rcompabbreviation.From the Minimum language level list, choose ECMAScript 6+. That means that the template will only be used in JavaScript files with the language level ECMAScript 6+ or Flow.
Learn more from Choosing the JavaScript language version.
Type the template text with
$EXPR$where the initial expression (proceeded with.rcomp) will appear. Don't forget to put$END$at the place where you want the cursor to stop after the template is expanded:class $EXPR$ extends Component { render() { return ( <div> $END$ </div> ); } } export default $EXPR$;
Apply the new React component template
In the editor, type the name of the new component
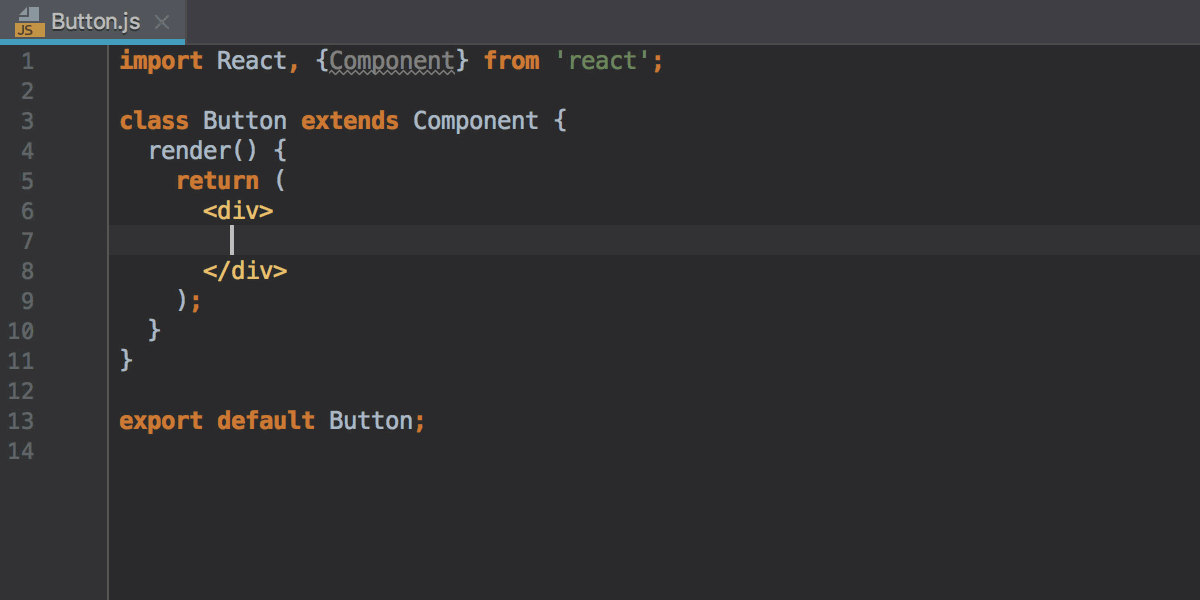
Buttonfollowed by a dot.From the suggestion list, choose rcomp. WebStorm generates a class
Buttonand places the cursor where the$END$variable was.