Create custom inspections
To create a custom inspection, you have to configure a search and replace templates. The IDE will search for code that matches the template and will highlight it in the editor.
In the Settings dialog (Ctrl+Alt+S), go to .
You can also press Ctrl+Alt+Shift+H and select Configure Inspections.
Select the profile in which you want to create a new inspection.
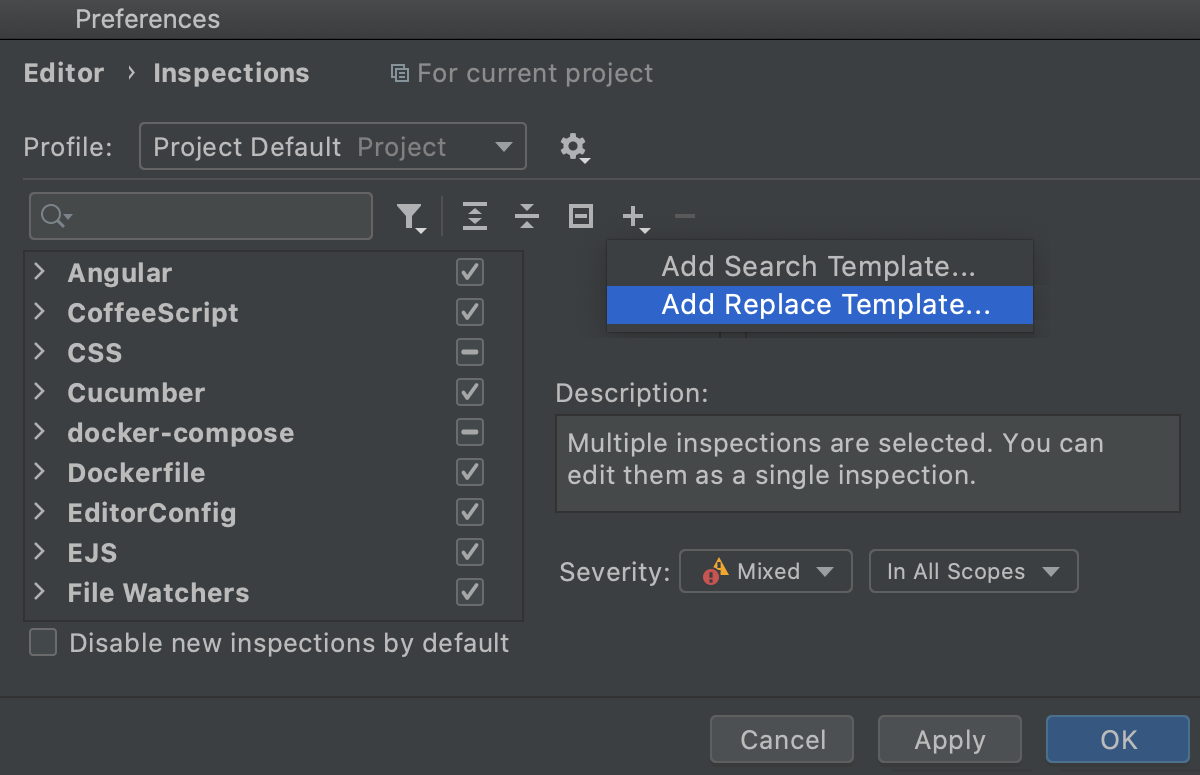
On the toolbar, click the Add Custom Inspection button (
) and select Add Structural Search Inspection… if you want your inspection only to highlight code. Alternatively, click Add Structural Replace Inspection… if you want your inspection to highlight code strings and suggest fixes.

Configure the templates.
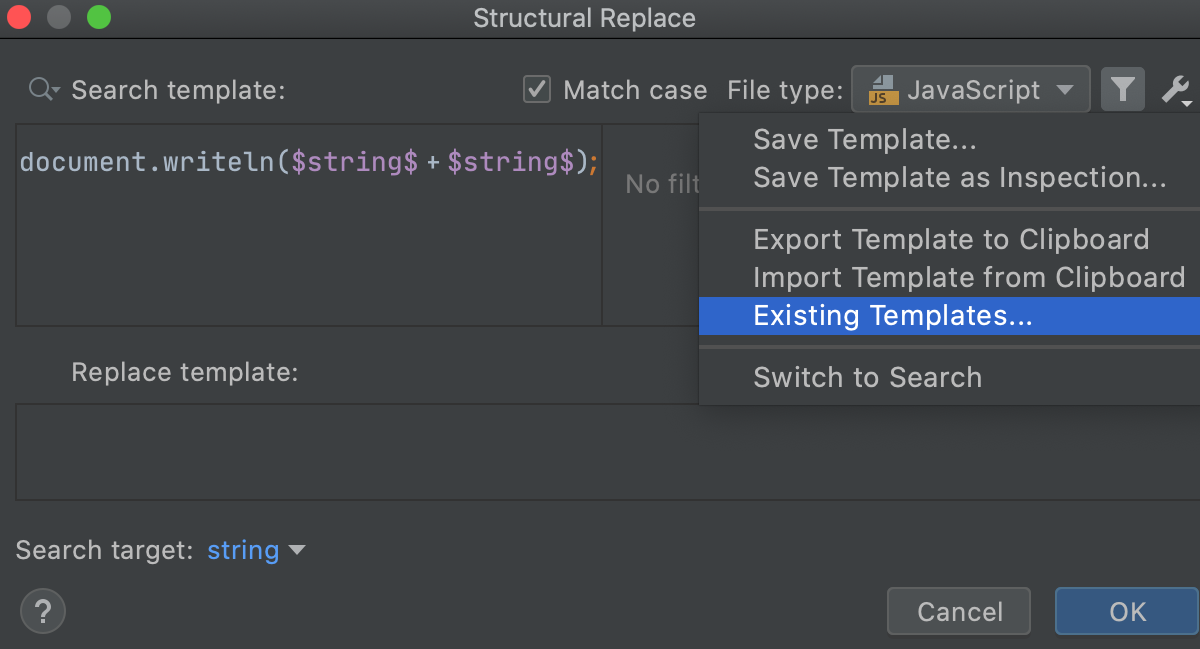
You can use a sample template and configure it according to your needs. To do so, click the Add Custom Inspection button (
) and select Existing Templates and then select the suitable one.
For more information on how to configure search and replace templates, refer to Search Templates.

When finished, click OK.
In the Structural Search Inspection dialog, type a name of the new inspection, specify a tooltip, description, and provide a suppress ID if necessary.
Apply the changes and close the dialog.
After that, your custom inspection is going to appear in the list of inspections of the current profile under the Structural search category. There, you can change its severity and the scope in which this inspection will run.
Note that the Structural search category is not available until you create at least one custom inspection.
When your inspection is ready, you can run it.