Connect to Heroku Postgres without SSL validation
If you want to connect to Heroku Postgres, create a data source connection that correspond to the data source vendor. In this case, you plan to work with PostgreSQL, so you need to create a connection to PosgreSQL. WebStorm already include the necessary JDBC driver.
Heroku Postgres requires you to use SSL for the connection. But for establishing a successful SSL connection, you need a certificate that you must upload to your Heroku application. SSL certificates are specific for each Heroku application. To configure these certificates, see the article about Heroku SSL.
If you do not plan to add the certificate in the keystore, you can bypass the server validation with the NonValidatingFactory option and establish an encrypted connection.
In your Heroku account, create an application with the Heroku Postgres add-on.
In settings of the Heroku Postgres add-on, get the database credentials.
In the Database tool window ( ) , click the Data Source Properties icon
.
Select .
In the Data Sources and Drivers dialog, click the Add icon (
) and select PostgreSQL.
At the bottom of the data source settings area, click the Download missing driver files link.
In data source settings, click the Advanced tab and change values of the following properties:
ssl:true: to validate both the SSL certificate and verify the server.sslmode:verify-ca: to verify the server by checking the certificate chain up to the root certificate stored on the client.sslfactory:org.postgresql.ssl.NonValidatingFactory: to allow SSL connections without validating the server certificate.
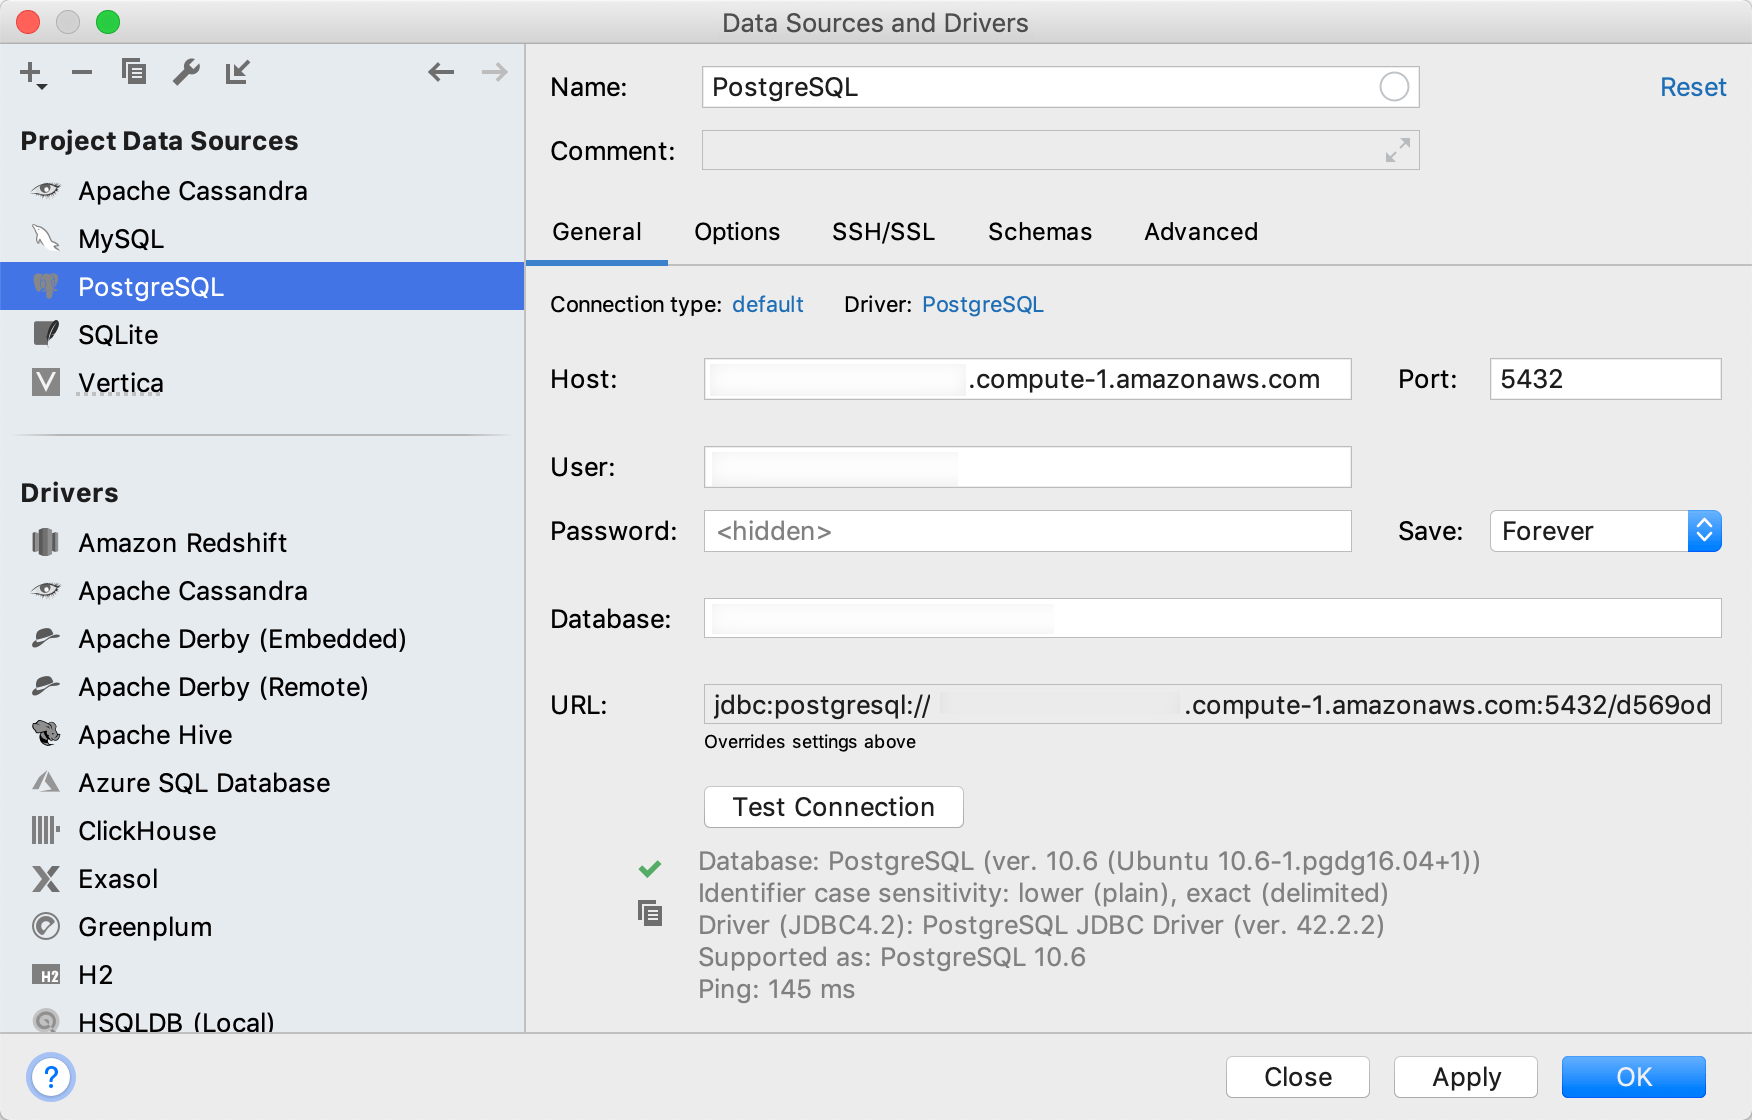
In Host, Database, User, Password, and Port fields, specify connection details that you received for the Heroku Postgres add-on.
To ensure that the connection to the data source is successful, click the Test Connection link.
(Optional) If you are connecting to a data source that contains a lot of databases and schemas, in the Schemas tab, select the schemas that you need to work with.
Click OK to create the data source.
