Menus and Toolbars
Use this page to configure the WebStorm menus and toolbars.
The list shows items in various menus and toolbars, grouped according to the areas of their use.
To configure an item, expand the corresponding node and select the desired item. Use the buttons on the toolbar to edit or remove the selected item, or add a new item under the selected node.
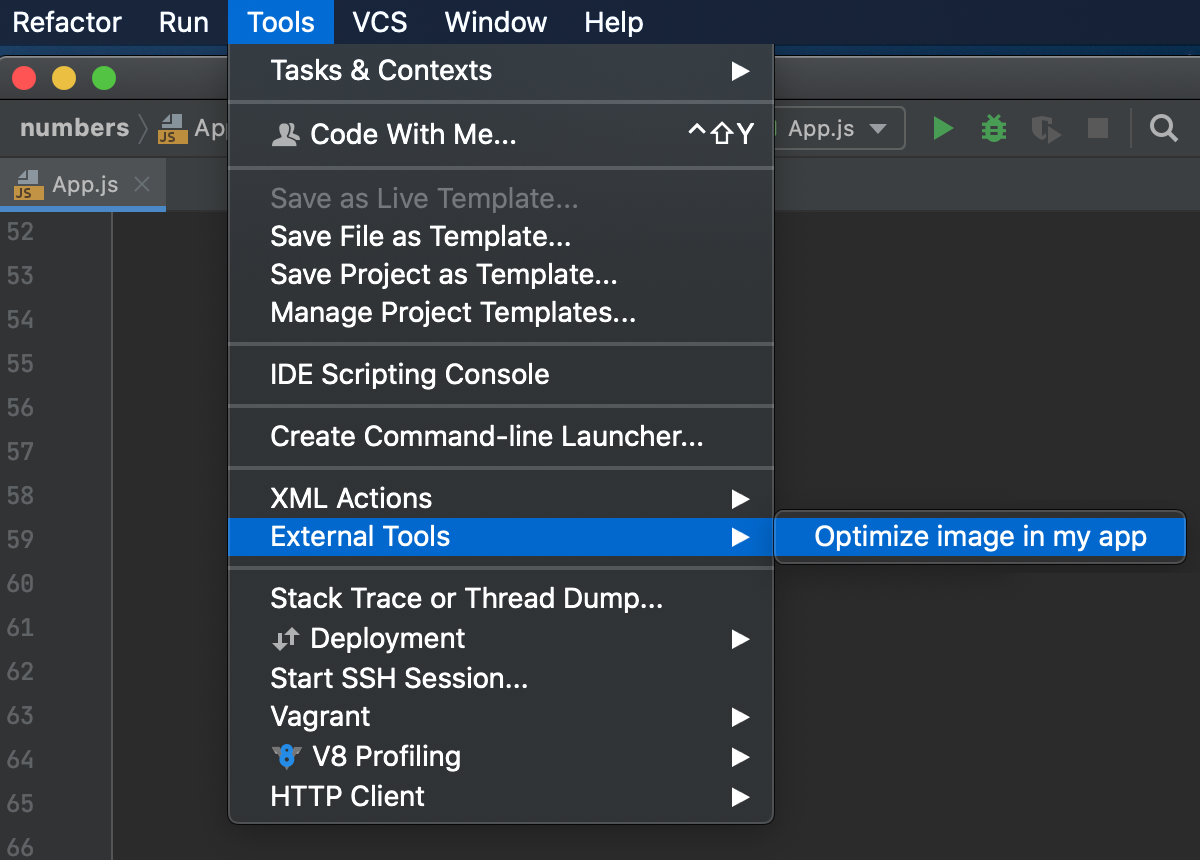
Suppose you want to use a third-party tool from WebStorm. First, you need to configure it as external tool described in External tools, after that it becomes available from .

You can also run the tool using an icon on the toolbar.
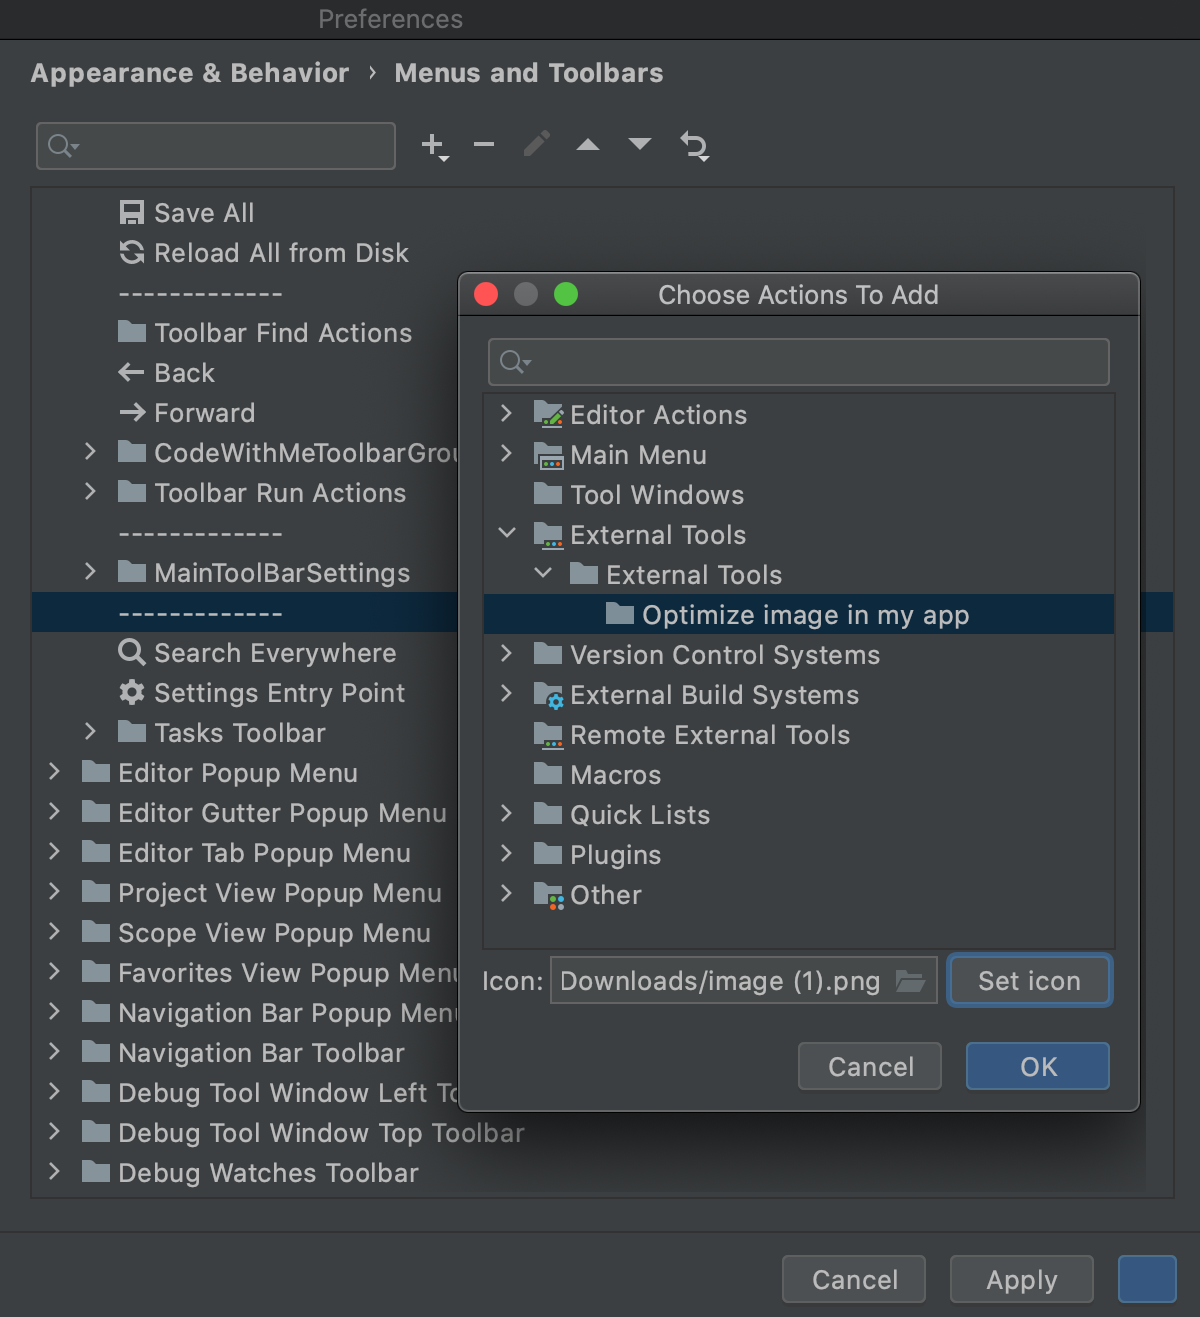
In the Settings dialog (Ctrl+Alt+S) , go to . In the list of available menus and toolbars, expand the Main Toolbar node, select the item after which you want to add the ImageOptim icon, and click .
In the dialog that opens, select , specify the icon to indicate it in the Icon field, and click Set icon, when ready.

The icon appears on the toolbar.

Learn more from Customizing menus and toolbars.
Button | Description |
|---|---|
| Add a new item to the list:
|
| Delete the selected item from the list. |
| Associate an icon with the selected menu item. In the Choose Action Icon dialog, specify the path to the desired image. |
| Move the selected item up. |
| Move the selected item one position down. |
| Discard changes and restore default settings, either for the selected item or for all items. |